Toolbar in Detail
详细工具栏
AOV Preview
AOV 预览
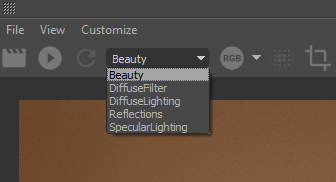
AOV dropdown menu
下拉菜单
The AOV dropdown menu lets you easily preview any AOVs currently active in your scene. This can be helpful for diagnosing render issues like noise by being able to isolate the different render passes and see where the source of your noise is coming from. Below are some examples of a simple sphere, ground plane, and domelight scene. You can even check most of your AOVs during an IPR.
AOV 下拉菜单可以让你轻松预览任何当前活跃在你的场景中的 AOVs。这可以帮助诊断渲染问题,如噪音,通过能够隔离不同的渲染通道,看看你的噪音来自哪里。下面是一些简单的球面、地面和穹顶灯场景的例子。你甚至可以在 IPR 期间检查大部分的 aov。
For more information on AOV's see here.
更多关于 AOV 的信息请看这里。

Changing current AOV
改变当前的视野
Color Channels
彩色通道
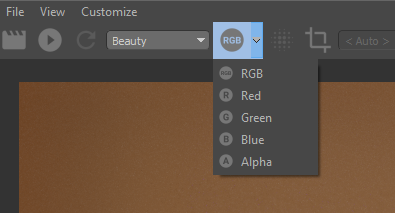
Color Channel dropdown menu
彩色通道下拉菜单
The Redshift Render View lets you quickly switch between viewing different color channels as demonstrated in the images below. This works on AOVs as well.
红移渲染视图可以让你在查看不同颜色通道之间快速切换,如下图所示。这也适用于 aov。

Changing the Color Channel display
更改颜色通道显示
Show Output Before Denoising
在去噪前显示输出

Toggling Show Output Before Denoising on and off
切换去噪前显示输出开关
The Show Output Before Denoising button simply toggles back and forth between the denoised output and the before denoising render output. This allows you to quickly switch back and forth seeing the difference with and without denoising.
在去噪前显示输出按钮只是来回切换去噪输出和去噪前渲染输出。这使你能够快速来回切换,看到不同的去噪和去噪。
Denoising must be enabled in order to make use of this function. Fore more information please see here.
为了使用这个函数,必须开启去噪功能。前面的更多信息请看这里。
Region Render
区域渲染

Region render demonstration with frame region feature
具有帧区域特征的区域渲染演示
The Region Render button: or "R" hotkey toggles between full-screen or region rendering. Once in region rendering mode you can move around and resize the rectangular marquee that defines where Redshift will render.
区域渲染按钮: 或“ r”热键切换全屏或区域渲染。一旦进入区域渲染模式,你就可以移动和调整矩形字幕的大小,这个矩形字幕定义了红移渲染的位置。
You can quickly define a region render area with the hotkey combination Shift + Mouse click & drag inside the Redshift render view.
您可以快速定义一个区域渲染区域与热键组合移位 + 鼠标点击和拖动内部红移渲染视图。
Camera Select & Camera Lock
相机选择 & 相机锁定
Camera selection dropdown menu
相机选择下拉菜单
Redshift allows you to select which scene camera to render from right inside the Render View by using the Render Camera dropdown menu. When you select a camera from the dropdown menu the Camera Lock button is automatically enabled. When the Camera Lock button is enabled Redshift will continue to render from your selected camera, even if you change active cameras in your DCCs viewport. This allows you to easily render from the correct perspective but continue working from a different perspective in your DCC. When the Camera Lock button is disabled again, Redshift will automatically switch back to the "< Auto >" camera selection mode which will render from the active camera.
红移允许你通过渲染相机下拉菜单在渲染视图中选择渲染哪个场景相机。当你从下拉菜单中选择相机时,相机锁定按钮会自动启用。当相机锁定按钮被启用红移将继续呈现从您选定的相机,即使您改变活跃的相机在您的 DCCs 视区。这使您可以轻松地从正确的角度进行渲染,但是在您的 DCC 中继续从不同的角度进行渲染。当相机锁定按钮再次被禁用,红移将自动切换回“ < 自动 >”相机选择模式,这将呈现从活跃的相机。

Changing cameras
更换相机
Freeze Tessellation
冻结镶嵌
The Freeze Tessellation button: lets you toggle on or off tessellation freezing. If you're using tessellation in your scene freezing tessellation can greatly improve your IPR responsiveness. When freeze tessellation is enabled Redshift will do its best to avoid re-translating the geometry each time a change is made. Depending on how much you are tessellating in your scene, freeze tessellation can mean the difference between near-real time IPR responsiveness or a slide show due to updating the tessellation on each new frame or scene change.
冻结镶嵌按钮: 让你切换或关闭镶嵌冻结。如果您使用镶嵌在您的场景冻结镶嵌可以大大提高您的知识产权反应。当冻结镶嵌是启用红移将尽最大努力避免重新翻译的几何每次改变。取决于你在场景中的镶嵌程度,冻结镶嵌可能意味着近实时 IPR 响应或幻灯片放映之间的差异,因为更新每个新帧或场景更改镶嵌。
Please note that if you manually change any of your scene tessellation settings Redshift will re-translate the scene so that the new tessellation settings can be used even if freeze tessellation is enabled.
请注意,如果你手动改变任何你的场景镶嵌设置红移将重新翻译场景,以便新的镶嵌设置可以使用,即使冻结镶嵌是启用。
If you are using adaptive tessellation in your scene freeze tessellation might cause your IPR renders to look wrong due to the tessellation not being allowed to update each time a change is made like moving the object or camera closer to one another as depicted in the animation below. Batch rendering will still render out fine but freeze tessellation should be handled with care when trying to determine the final settings to use for an animation.
如果你使用自适应镶嵌在你的场景冻结镶嵌可能会导致你的 IPR 呈现看起来错误,因为镶嵌不允许每次更新像移动对象或相机更接近彼此在下面的动画中描述的更新。批量渲染仍然会渲染出来,但冻结镶嵌应该小心处理时,试图确定最终设置使用的动画。

This demonstrates a scene with adaptive tessellation and how Freeze Tessellation will stop Redshift from updating the tessellation on a camera change.
这演示了一个场景自适应镶嵌,如何冻结镶嵌将停止红移更新的镶嵌相机变化。
Render Mode
渲染模式
Render Mode dropdown menu
渲染模式下拉菜单
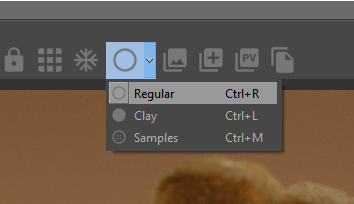
The Render Mode dropdown provides a quick way to switch between different diagnostic modes during an IPR render. Your three options are the default beauty render mode, a clay render mode, and a show samples view mode.
渲染模式下拉菜单提供了一种在 IPR 渲染期间在不同的诊断模式之间快速切换的方法。您的三个选项是默认的美丽渲染模式,一个粘土渲染模式,以及一个显示示例视图模式。
The clay render mode uses the same Material Override settings found in the Redshift Render Options > System tab.
粘土渲染模式使用相同的材质覆盖设置在红移渲染选项 > 系统选项卡。

Switching between the different render modes
在不同的渲染模式之间切换
The Show Samples render mode enables a debug rendering mode which shows the numbers of rays that were shot for each pixel in a grayscale form. Darker pixels mean that fewer rays were shot while brighter pixels mean that more rays were shot. A pure white color means that 'max samples' rays were shot for that pixel. When this rendering mode is enabled, the noisy parts of the image will typically be brighter because the unified sampler will shoot more rays trying to clean up the noise. For more information on Unified Sampling please see here.
显示示例呈现模式启用调试呈现模式,该模式以灰度形式显示每个像素的射线数。较深的像素意味着射出的光线更少,而较亮的像素意味着射出的光线更多。纯白色意味着“最大样本”射线是为该像素拍摄的。当这种渲染模式启用时,图像的噪声部分通常会更明亮,因为统一的采样器会拍摄更多的光线,试图清除噪声。有关统一抽样的更多信息,请参见这里。
The Show Samples mode automatically enables bucket rendering as this is necessary to show the correct information. This can be seen in the demo above.
Show Samples 模式自动启用 bucket 呈现,因为这是显示正确信息所必需的。这可以在上面的演示中看到。
Snapshots
快照
Snapshots are saved versions of previous renders, you can use this to compare different render settings or scene changes. Start by bringing up the Snapshots bar by clicking the Snapshots button: or and then click on the Take Snapshot button: to save a render to the Snapshots bar. You can switch back and forth between different snapshots by clicking on them. You can rename your snapshots by double clicking on the text over each snapshot and writing your own caption as demonstrated below.
快照是先前渲染的保存版本,你可以用它来比较不同的渲染设置或场景变化。通过点击快照按钮启动快照栏: 或者点击快照按钮: 保存快照栏的渲染。您可以通过点击它们在不同的快照之间来回切换。您可以通过双击每个快照上的文本来重命名您的快照,并按照下面的示例编写您自己的标题。

Opening the Snapshots bar and editing two snapshots
打开快照栏并编辑两个快照
You can also compare screenshots by setting an A and B snapshot by right clicking on them in the Snapshots bar or controlling this in the lower right of the Snapshots bar. Once set you can move around the point where the comparison is masked as well as rotate it and adjust the opacity between the comparison as demonstrated below.
你也可以通过在快照栏中右键点击 a 和 b 快照来比较截图,或者在快照栏的右下角控制截图。一旦设置好,你可以移动比较屏蔽点,旋转它,调整比较之间的不透明度,如下图所示。

Comparing two snapshots
比较两张快照
In the bottom right of the Snapshots bar you can view snapshot specific render data including the total render time, frame number, date, and resolution. Here you can also double click in this section to add your own notes as demonstrated below.
在快照栏的右下角,你可以查看特定于快照的渲染数据,包括总渲染时间、帧数、日期和分辨率。在这里你也可以双击本节添加你自己的笔记,如下所示。

Adding notes to a snapshot
给快照添加笔记
You can choose between either a horizontal or vertical Snapshots layout and control what notes are automatically saved with your snapshot as demonstrated below.
您可以选择水平或垂直快照布局和控制什么笔记自动保存与您的快照如下所示。

Customizing Snapshots
自定义快照
You can also retrieve the PostFX settings used at the time of your previously saved snapshots. For more information on PostFX please see here.
您还可以检索在您以前保存的快照时使用的 PostFX 设置。有关 PostFX 的更多信息,请参见这里。

Loading PostFX settings from snapshots
从快照加载 PostFX 设置
IPR Render Zoom
放大渲染
Render zoom toolbar options
呈现缩放工具栏选项
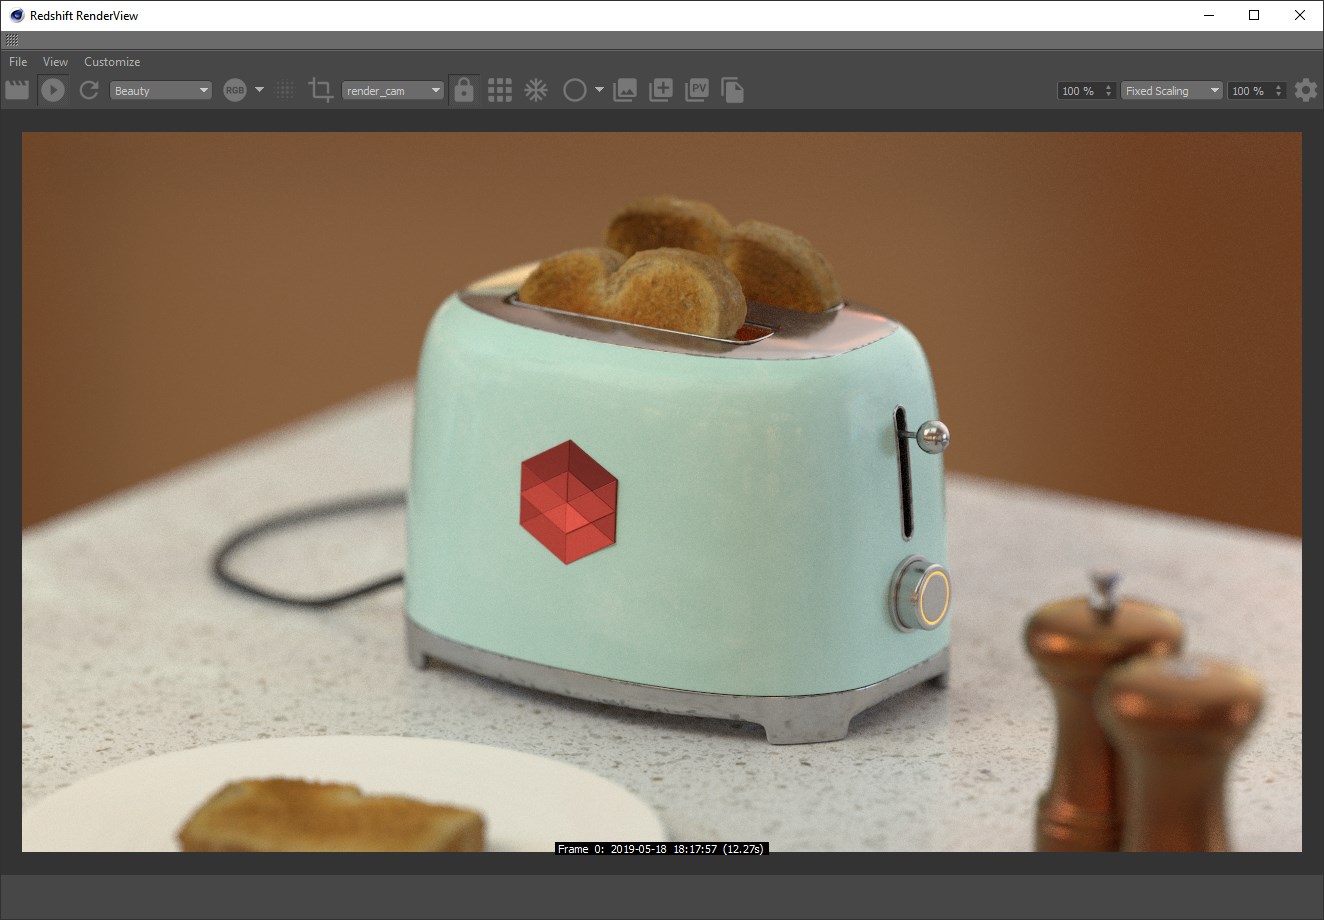
The Redshift Render View has several different IPR zoom modes that can behave quite differently as explained below:
红移渲染视图有几种不同的 IPR 缩放模式,可以表现得非常不同,如下所述:
-
Original Size: This mode forces Redshift to render at the current render resolution. You can control how zoomed in you are with the zoom percentage control.
原始尺寸: 此模式强制红移在当前渲染分辨率下渲染。您可以使用缩放百分比控件控制缩放的方式。
Original Size is not affected by changing the shape and size of the Render View as demonstrated below.
原始尺寸不受渲染视图的形状和尺寸变化的影响,如下所示。
A normal non-IPR render will always render at original size.
一个正常的非 ipr 渲染将始终呈现在原始大小。

Render View adjustment behavior when set to Original
设置为原始时呈现视图调整行为
-
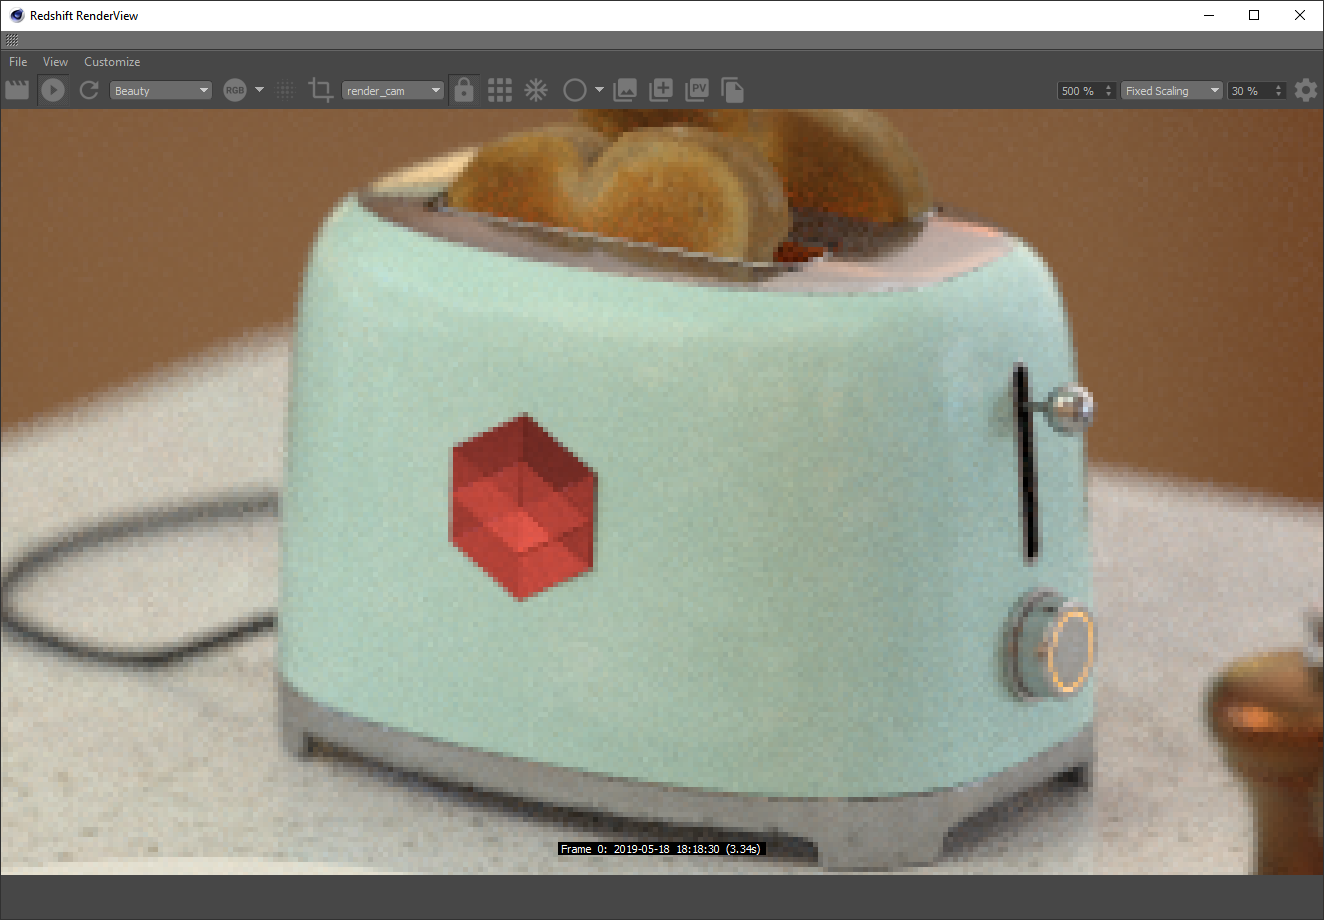
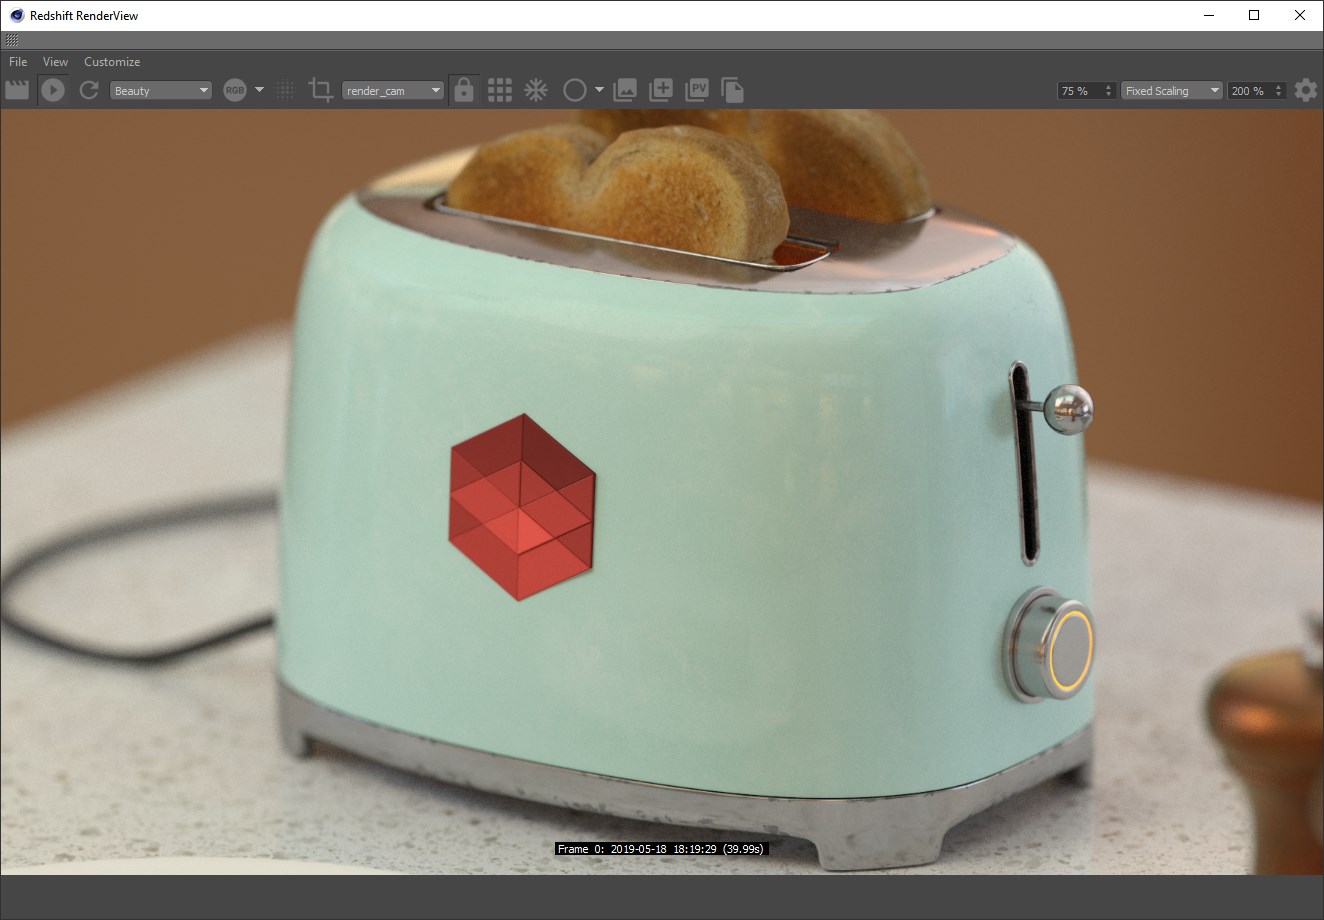
Fixed Scaling: This mode lets you render at a fixed resolution scale which is a custom percentage of the current render resolution. For example, if your current render resolution is 1920x1080 and you set the right percentage control to 50% then Redshift will render at 960x540. The left percentage controls how zoomed in you are as usual.
固定缩放: 这种模式可以让你在一个固定的分辨率尺度下渲染,这是当前渲染分辨率的一个自定义百分比。例如,如果你当前的渲染分辨率是1920x1080,并且你将正确的百分比控制设置为50% ,那么红移将渲染为960x540。左边的百分比控制你放大的程度。
Fixed Scaling is not affected by changing the shape or size of the Render View.
固定缩放不受渲染视图的形状或大小的影响。
|
|
|
|
|
Resolution Scale: 100% 分辨率: 100% Render Resolution: 1280x720 渲染分辨率: 1280x720 Zoom: 100% 100% |
30% 384x216 500% |
200% 2560x1440 75% |
|
|
||
|
Fixed Scaling controls 固定缩放控制 |
- Fit Window 适合窗口: This mode places an emphasis on always 当前位置这种模式强调总是fitting 装配 the entire render in view by using the shortest of either the width or height in determining the constraint on the render resolution. You can control how zoomed in you are with the percentage control. 通过使用最短的宽度或高度来确定渲染分辨率的限制,从而在视图中显示整个渲染。您可以通过百分比控制来控制放大的方式
Fit Window is directly affected by changing the shape or size of the Render View as demonstrated below.
改变渲染视图的形状或大小会直接影响到适合窗口,如下面所示。
This mode ignores the current render resolution and will render at whatever resolution is appropriate to fit the render view window while maintaining the current aspect ratio.
这个模式忽略当前渲染分辨率,并且会以适合渲染视图窗口的分辨率渲染,同时保持当前的纵横比。

Render View adjustment behavior when set to Fit Window
设置为“适合窗口”时呈现视图调整行为
- Fill Window 填充窗口: This mode places an emphasis on always 当前位置这种模式强调总是filling 填充 the render to the entire space available in the render view by using the longest of either the width or height in determining the constraint on the render resolution. You can control how zoomed in you are with the percentage control. 通过使用渲染视图中最长的宽度或高度来确定渲染分辨率的限制,来渲染整个可用的空间。您可以通过百分比控制来控制放大的方式
Fill Window is directly affected by changing the shape and size of the Render View as demonstrated below.
填充窗口直接受到渲染视图的形状和大小变化的影响,如下所示。
This mode ignores the current render resolution and will render at whatever resolution is appropriate to fill the render view window, original aspect ratio is not maintained.
这种模式忽略当前渲染分辨率,并将渲染在适当的分辨率,以填补渲染视图窗口,原始长宽比是不维持。

Render View adjustment behavior when set to Fill Window
设置为填充窗口时呈现视图调整行为




赶快留个言打破零评论!~