Lens Distortion 镜头失真
Introduction
引言
The "Lens Distortion" lens shader allows the rendered image to be distorted via a "UV Map" image.
“镜头失真”镜头着色允许渲染图像扭曲通过“紫外线贴图”的形象。
Due to their lens geometry, real-life cameras tend to distort the captured images. If the user needs to add CG elements to real-life (distorted) camera footage, the CG elements will also have to be distorted.
由于镜头的几何形状,现实生活中的照相机往往会使捕捉到的图像失真。如果用户需要添加 CG 元素到现实生活(扭曲的)摄像机镜头,CG 元素也将不得不扭曲。
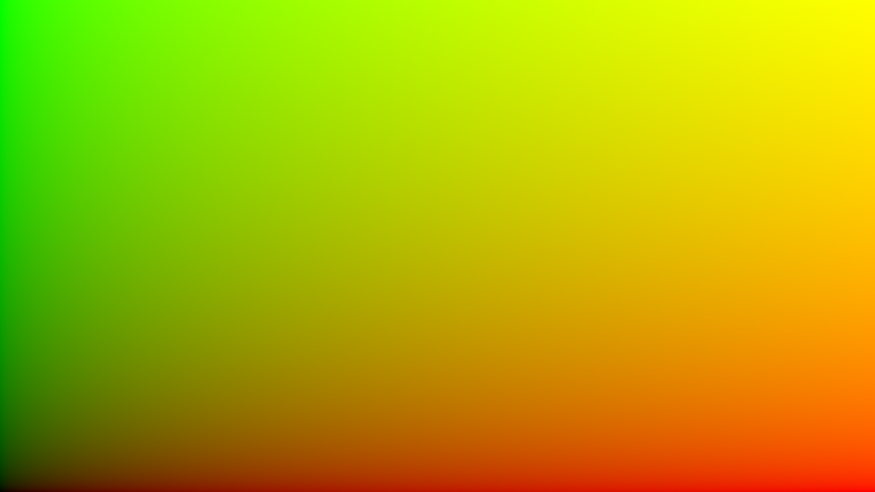
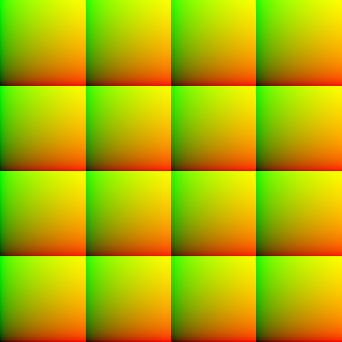
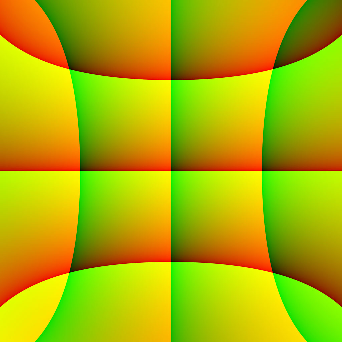
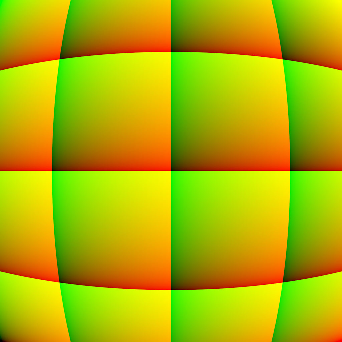
UV Maps can be generated in programs like Nuke and have the characteristic green/red gradient look.
紫外线贴图可以在 Nuke 这样的程序中生成,并且具有典型的绿/红渐变效果。
An example UV Map
一个紫外线地图的例子
How To Use
如何使用
You can enable lens distortion via the "Redshift Lens Distortion" lens shader as shown below.
您可以启用透镜失真通过“红移镜头失真”镜头着色如下所示。
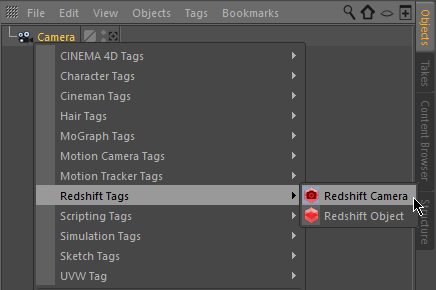
To Lens Distortion effect is available via the Redshift Camera tag. If the camera doesn't have one already, one can be created by right-clicking on the camera object and selecting the Redshift Camera tag from the Redshift Tags sub-menu.
镜头失真效果可以通过红移相机标签。如果相机还没有红移标签,你可以通过右键点击相机对象并从红移标签子菜单中选择红移相机标签来创建。
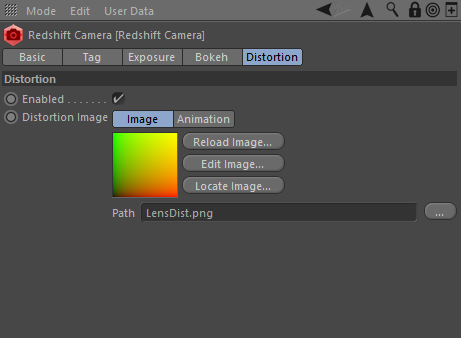
The settings for this effect are under the Distortion tab of the Redshift Camera tag
这个效果的设置在“红移相机”标签的“失真”标签下
Once the Lens Distortion lens shader is created, all you have to do is set the distortion image (UV Map) and render.
一旦镜头失真镜头着色创建,所有你需要做的是设置失真图像(紫外线贴图)和渲染。
Lens Distortion Examples
镜头失真的例子
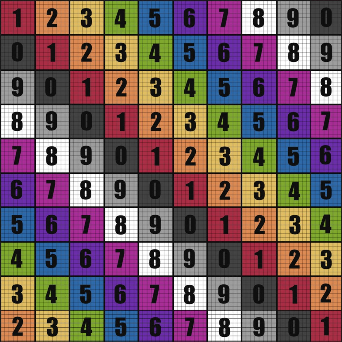
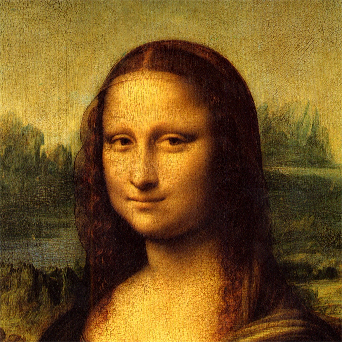
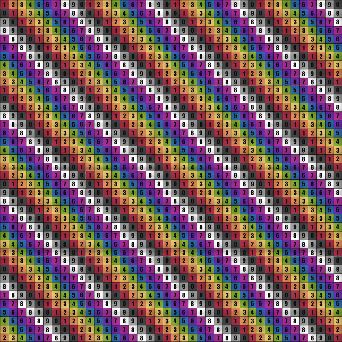
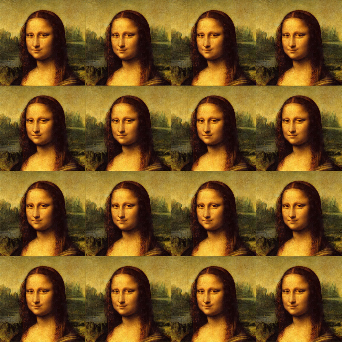
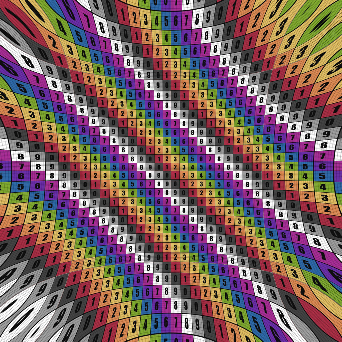
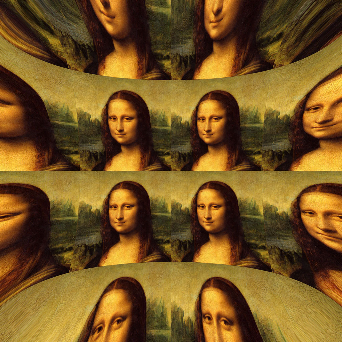
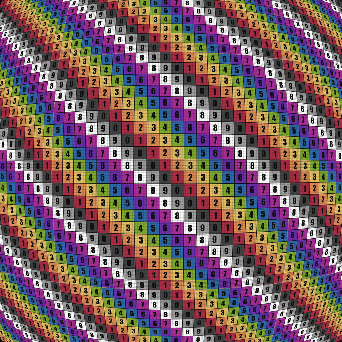
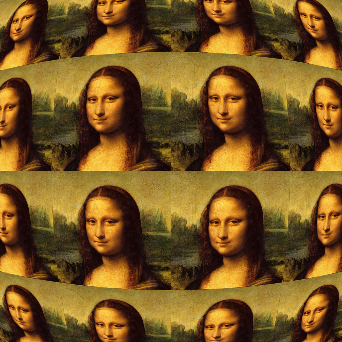
Below are several examples of different lens distortions, each with their appropriate UV distortion maps and an example output image.
下面是几个不同的镜头扭曲的例子,每个都有适当的紫外线扭曲图和一个例子输出图像。
|
|
|
|
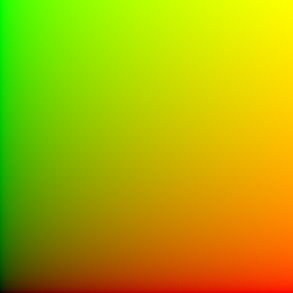
| Neutral UV Distortion Image 中性紫外失真图像 | UV Grid Result 紫外线栅格效果 | Image Result 图片结果 |
|
|
|
|
| UV Distortion Image 紫外线失真图像 | UV Grid Result 紫外线栅格效果 | Image Result 图片结果 |
|
|
|
|
| UV Distortion Image 紫外线失真图像 | UV Grid Result 紫外线栅格效果 | Image Result 图片结果 |
|
|
|
|
| UV Distortion Image 紫外线失真图像 | UV Grid Result 紫外线栅格效果 | Image Result 图片结果 |

赶快留个言打破零评论!~