OCTANE planetary envIronment
This new lighting model that comes with Octane 4 allows you to create a realistic view of the sky and beyond (orbital, space), including planetary body, sky model and atmospheric scattering. The Planetary Environment written on the basis of the "Nishita Sky Model", developed by a scientist named Tomoyuki Nishita in the 1990s. If you are interested, you can read original paper from this link.
"Atmospheric Scattering" and "Simulating Sky Colors" are broad and challenging subjects in the field of Computer Graphics. We won't go into details here, but those who wonder how the system works and what the "atmosphere" really is, can go to this link. There are quite good explanations there.
Important Note: The Planetary Environment has no effect on your objects in the scene. To do this, you should use Octane daylight and activate "Nishita Daylight Model" from "New Model" options.
Octane行星环境
Octane 4随附的这种新的照明模型使您可以创建天空以及更广阔范围(轨道,空间)的逼真的视图,包括行星体,天空模型和大气散射。 基于“西田天空模型”的行星环境,该模型是由一位名叫西田友之的科学家在1990年代开发的。 如果您有兴趣,可以从此链接阅读原始论文。
“大气散射”和“模拟天空的颜色”是计算机图形学领域中广泛且具有挑战性的主题。 我们不会在这里详细介绍,但是那些想知道系统如何工作以及``大气层''到底是什么的人可以访问此链接。 那里有很好的解释。
重要说明:行星环境对场景中的对象没有影响。 为此,您应该使用Octane日光并从“新模型”选项中激活“西田日光模型”。
AccessIng OCTANE planetary
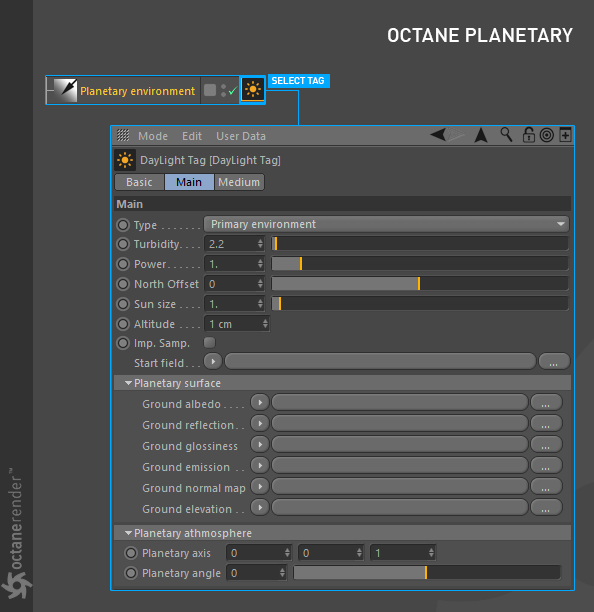
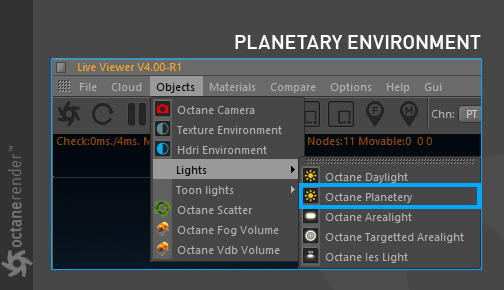
To use the Octane Planetary, go to the Object menu in the Live Viewer and select Octane Planetary under Lights. Just like in Octane Daylight, you can access the options in Object Manager by clicking the "Planetary Environment" tag.
访问OCTANE行星
要使用Octane Planetary,请转到Live Viewer中的“对象”菜单,然后在“灯光”下选择Octane Planetary。 就像在Octane Daylight中一样,您可以通过单击“行星环境”标签来访问对象管理器中的选项。
planetary envIronment settIngs
When you select the Octane Planetary tag, some options will appear. We recommend that you read "Transform Operations of the Daylight" and "Setting up Sun's Latitude & Longitude from the Sun tag" on the "Daylight" subject. Because you'll play plenty of your light object's rotation in the viewport. And one last reminder; The planetary's "R.H" rotation value from the viewport corresponds to "North Offset" in the tag settings. However, the two are not synchronized. So the physical rotation of your light does not change when you change the north offset. Or vice versa.
行星环境沉降
当选择“ Octane Planetary”标签时,将出现一些选项。我们建议您阅读“日光”主题上的“变换日光的操作”和“根据Sun标签设置太阳的纬度和经度”。因为您将在视口中播放大量灯光对象的旋转。最后提醒一下;视口中行星的“ R.H”旋转值对应于标签设置中的“北偏移”。但是,两者不同步。因此,更改北偏移量时,灯光的物理旋转不会改变。或相反亦然。
type, turbIDITY, power, north offset and sun sIZE
We will not explain these five options here, as we have already explained in "Octane Daylight". You can go to this link for related explanations.
类型,浊度,功率,北偏移和太阳大小
正如我们在“辛勤日光”中已经解释的那样,我们将不在这里解释这五个选项。您可以转到此链接以获取相关说明。
ALTITUDE
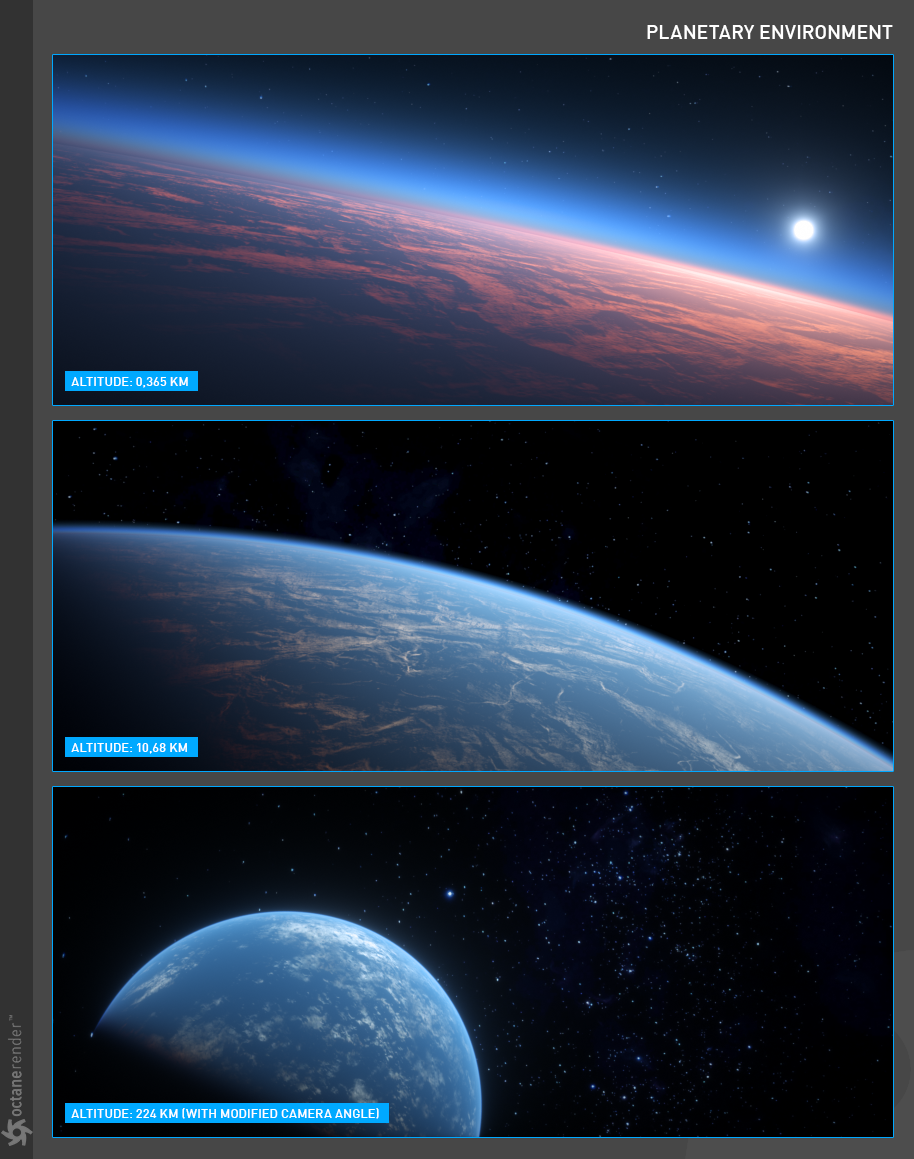
This option is used to set how high the virtual camera is from the planet body. The virtual camera of the Planetary Environment is only responsible for the altitude. You can only change your altitude of the virtual camera by using this option. However, if you have a physical camera in the scene, you can do all the transformation operations except "altitude". In the planetary environment, there is no connection between the physical camera in the scene and the virtual camera (if any).
高度
此选项用于设置虚拟摄像机距行星体的高度。行星环境的虚拟摄像机仅负责海拔高度。您只能使用此选项更改虚拟相机的高度。但是,如果场景中有物理摄像机,则可以执行“高度”以外的所有变换操作。在行星环境中,场景中的物理相机和虚拟相机(如果有)之间没有连接。
star fIeld
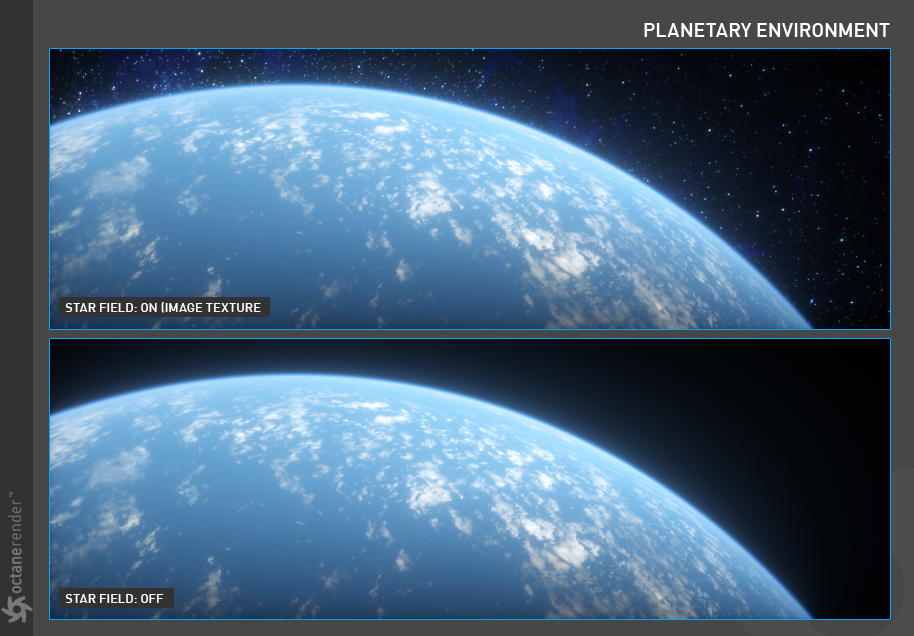
This option allows you to assign a star map to the background. The black color of the background may be boring when you go out to high altitudes. Here you can load the classic RGB star/nebula texture (available on the Internet) or another creative Rgb image.
星域
使用此选项可以将星图分配给背景。 当您在高海拔地区旅行时,背景的黑色可能会很无聊。 在这里,您可以加载经典的RGB星形/星云纹理(可在Internet上获取)或其他具有创意的Rgb图像。
planetary surface
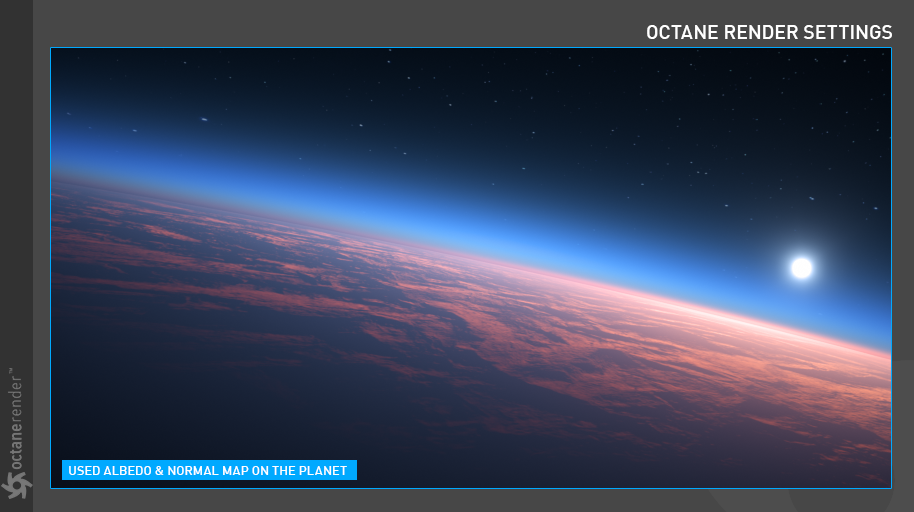
You can assign texture to the planet from this section. These textures are respectively Ground Albedo, Reflection, Glosiness, Emission, Normal Map and Height Map. Classic texture types that you know. Emission Map is especially used for the night lights. You can use other texture slots to make your planet looks good the way you want. For the Workflow, if you're going to work on low altitudes, you have to choose a texture size greater than 8k, but if you're working on high altitudes you can try lower sizes. You can use some tools on the internet for producing Planet texture (Google it) and you can use them to create interesting planetary textures. By the way, the best tool is the "Substance Designer" if you create any texture.
行星表面
您可以从此部分为行星分配纹理。 这些纹理分别是地面反照率,反射,光泽度,发射度,法线贴图和高度贴图。 您知道的经典纹理类型。 发射图特别用于夜灯。 您可以使用其他纹理槽使您的星球看起来像您想要的样子。 对于工作流,如果要在低海拔上工作,则必须选择大于8k的纹理大小,但是如果在高海拔上工作,则可以尝试较小的大小。 您可以在互联网上使用一些工具来生成“行星”纹理(Google it),也可以使用它们来创建有趣的行星纹理。 顺便说一句,如果您创建任何纹理,最好的工具就是“物质设计器”。
Info: The planet body is not actually physical and you cannot see any objects in the viewport. However, you can do all the transform and projection operations described in "Using Textures" section of this manual.
信息:行星体实际上不是物理物体,您无法在视口中看到任何物体。 但是,您可以执行本手册“使用纹理”一节中介绍的所有变换和投影操作。
planetary AXIS
The rotational axis of the planet running through the North and South Poles.
行星轴
穿过北极和南极的行星旋转轴。
planetary ANGLE
The rotation around the planetary axis, this has a default value of -1.041.
行星角
绕行星轴旋转,其默认值为-1.041。


评论已关闭。
1 条评论