Overview
概览
Cinema 4D's Redshift Render View
4 d 电影的红移渲染视图
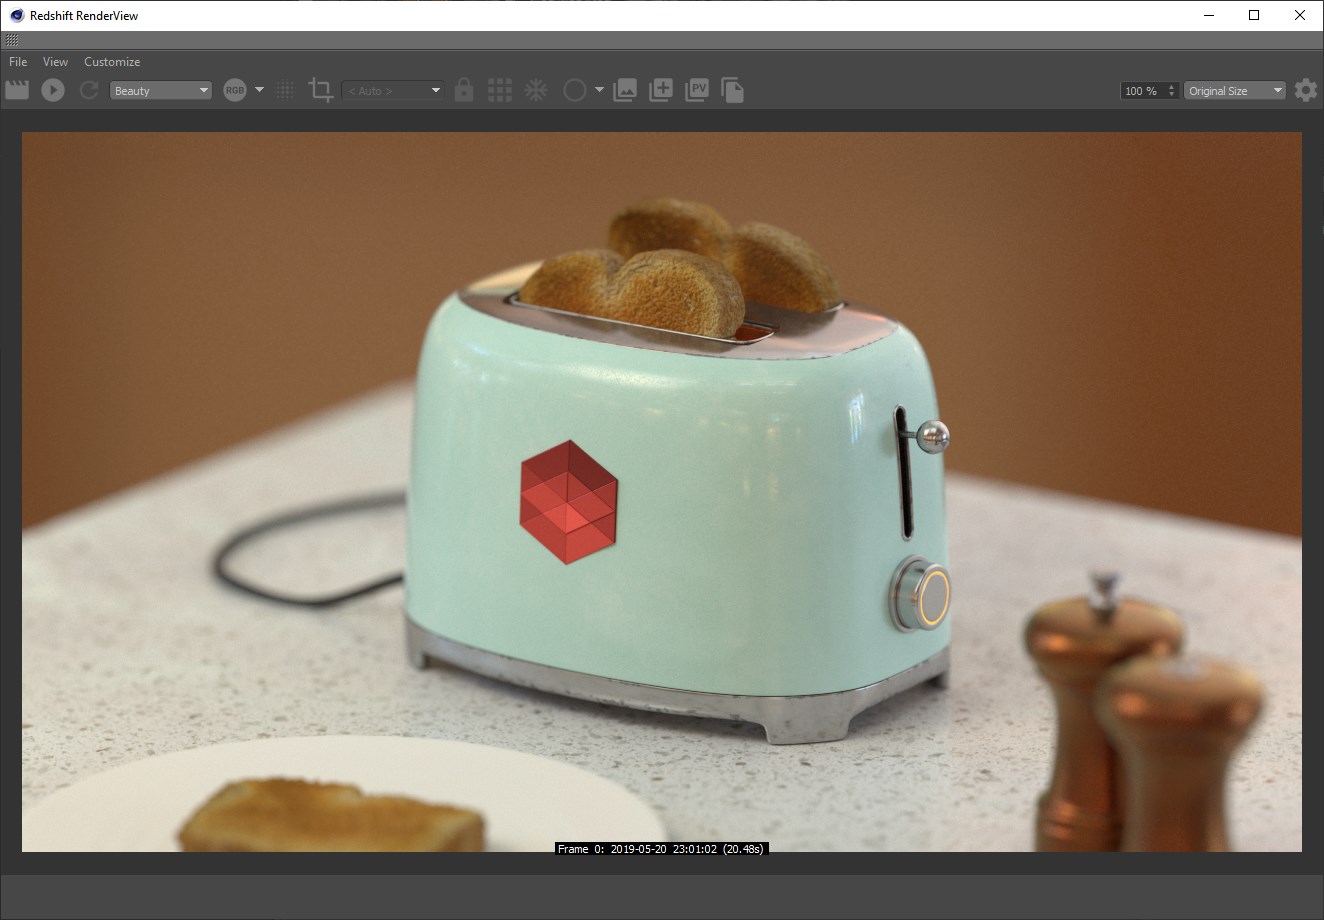
Redshift has its own custom render view (RV) with a number of exclusive benefits over Cinema4D's native render view. Some of the primary Redshift RV benefits are:
Redshift 有自己的自定义渲染视图(RV) ,与 Cinema4D 的原生渲染视图相比有许多独有的优点。红移 RV 的一些主要好处是:
- Faster Interactive Preview Rendering (IPR) 更快的交互式预览渲染(IPR)
- IPR undersampling 知识产权抽样不足
- Redshift AOV previews 红移 AOV 预览
- Tessellation freezing 镶嵌冷冻
- Quick toggles for bucket rendering, clay rendering, and samples diagnostic rendering. 快速切换桶渲染,粘土渲染和样品诊断渲染
- Built in PostFX like bloom and flare. 内置的 PostFX,比如 bloom 和 flare
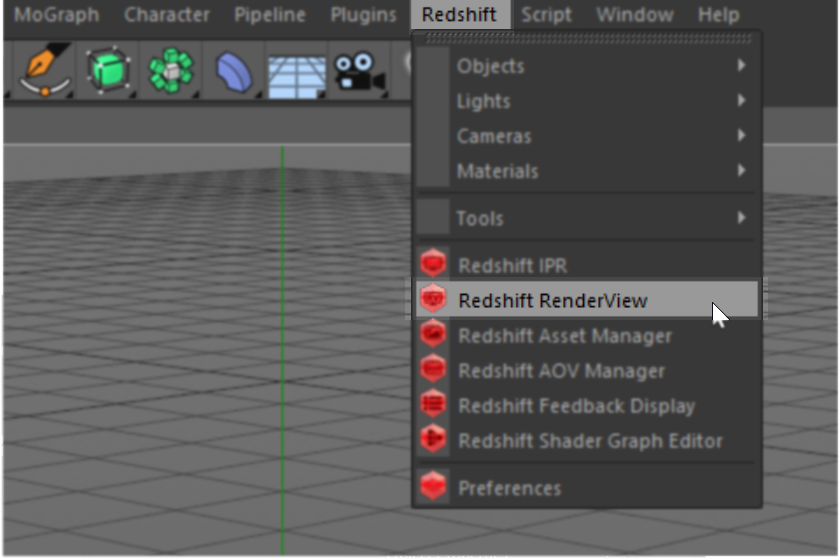
To open the Redshift RV go to your Redshift toolbar and select "Redshift Render View."
要打开红移 RV 到你的红移工具栏并选择“红移渲染视图”
Cinema 4D has some DCC specific features, for more information please see here.
电影4D 有一些 DCC 特有的功能,更多的信息请看这里。
Toolbar
工具栏
Cinema 4D's Redshift Render View Toolbar
|
Icon
|
Title
|
Description
|
|---|---|---|
|
Icon
|
Title
|
Description
|
|
|
Render Button 渲染按钮 | Starts a new render. 开始新的渲染 |
|
|
Start / Stop IPR |
Starts and stops Redshift's Interactive Preview Rendering, intended for quick render feedback. 启动和停止红移的交互式预览渲染,用于快速渲染反馈 |
|
|
Refresh IPR 更新 IPR | Forces a refresh for your Interactive Preview Render. 为交互式预览渲染强制刷新 |
|
|
AOV Preview AOV 预览 | Lets you select which AOV is currently displayed from a dropdown menu, this defaults to the primary Beauty pass. For more information on AOV's see 让你选择当前显示的 AOV 从下拉菜单,这默认为主美丽通行证。有关 AOV 的更多信息,请参见here 这里and for examples and more information on the AOV Preview menu please see 有关 AOV 预览菜单的示例和更多信息,请参见here 这里. |
|
|
Color Channels 彩色通道 | This button lets you select which RGB channel is visible. You can choose from an isolated view of the red, green, blue, and alpha channels. For more information please see 这个按钮让你选择哪个 RGB 通道是可见的。您可以从红、绿、蓝和阿尔法通道的独立视图中进行选择。更多信息请参见here 这里. |
|
|
Show Output Before Denoising 在去噪前显示输出 | Toggles between the noisy beauty image and the image after denoising. This helps you quickly see the positive (less noise) and potentially negative (less detail) effects of denoising. Denoising must be enabled in the Redshift Render Settings in order for this to work. For more information please see 去噪后在含噪图像和图像之间进行切换。这有助于您迅速看到积极(较少的噪音)和潜在的消极(较少的细节)的效果去噪。去噪必须在红移渲染设置中启用,以便这样工作。更多信息请参见here 这里. |
|
|
Region Render |
Draw a custom rectangular selection to render inside using either primary bucket or interactive preview rendering. For more information please see 绘制一个自定义矩形选区,以使用主桶或交互式预览呈现内部呈现。更多信息请参见here 这里. |
|
|
Camera Select 相机选择 | This dropdown lets you specify which scene camera to use when rendering. By default the Render View is set to < Auto > and will use whatever camera is currently active in the viewport. 这个下拉菜单可以让你指定渲染时使用哪个场景摄像机。默认情况下渲染视图设置为 < 自动 > ,并且会使用当前在视区中处于活动状态的相机 |
|
|
Lock 锁定 | Locks the render view to the current camera when enabled. Changing the active viewport while this setting is enabled will not change the render view camera. 启用时锁定当前摄像机的呈现视图。在启用此设置时更改活动视图端口将不会更改渲染视图相机 |
|
|
Bucket 水桶 | Toggles bucket rendering on and off. If enabled during IPR rendering Redshift will start a new bucket render with each scene change which can help you if you are previewing AOVs, Subsurface Scattering or other things that require bucket rendering. 切换桶渲染的开启和关闭。如果在 IPR 渲染期间启用 Redshift,每次场景更改都会启动一个新的渲染桶,如果你预览 aov,次表面散射或者其他需要渲染桶的东西,这会对你有所帮助 |
|
|
Freeze Tessellation 冻结镶嵌 | When enabled this button freezes any Redshift 当启用此按钮时,将冻结任何红移tessellation 镶嵌 from updating. This is useful for ensuring quick render previews with scenes that have tessellation, especially the adaptive variety. For more information on the freeze tessellation button please see 从更新。这是有用的,以确保快速渲染预览场景,具有镶嵌,特别是自适应品种。有关冻结镶嵌按钮的更多信息,请参见here 这里. |
|
|
Render Mode 渲染模式 | This button provides a quick way to switch between different diagnostic modes during an IPR render. Yoou can switch between the default beauty render mode, a clay render mode, and a show samples view mode. For examples and more information please see 这个按钮提供了在 IPR 渲染期间在不同的诊断模式之间快速切换的方法。你可以在默认的美丽渲染模式、粘土渲染模式和展示示例视图模式之间切换。有关例子和更多信息,请参见here 这里. |
|
|
Snapshot Panel 快照面板 | Toggles the visibility of the Snapshots bar. Snapshots are saved versions of previous renders that are helpful when comparing different renders. For examples and more information please see 切换快照栏的可见性。快照是先前渲染的保存版本,在比较不同渲染时很有帮助。有关例子和更多信息,请参见here 这里. |
|
|
Snapshot 快照 |
Saves the current image visible in the Render View to the Snapshots bar. This includes the ability to save images of AOVs besides the default Beauty. For examples and more information please see here . 将渲染视图中可见的当前图像保存到快照栏中。这包括能力保存图像的 aov 除了默认的美丽。例子和更多信息,请看这里。 |
|
|
Copy Frame Buffer 复制帧缓冲区 | Copies the current image visible in the Render View to your clipboard allowing for easy pasting elsewhere. 将渲染视图中可见的当前图像复制到剪贴板,以方便在其他地方粘贴 |
|
|
IPR Render Zoom 放大渲染 | This displays and controls how far you are currently zoomed into your render in the render view. 100% means you are viewing it at native resolution. 这将显示和控制当前在呈现视图中放大到呈现的距离。100% 意味着你看到的是原生分辨率 For more information please see 更多信息请参见here 这里. |
|
|
Zoom Mode 缩放模式 | There are several different zoom modes to choose from in the render view via this dropdown menu. For more information please see 在渲染视图中有几种不同的缩放模式可以通过下拉菜单进行选择。更多信息请参见here 这里. |
|
|
Settings 设置 | Toggles the visiblity of the Render View settings panel and it's three tabs: display, pixel, and snapshot. This panel can provide you with many different details and options for your renders. For more information please see 切换渲染视图设置面板的可视性,它有三个选项卡: 显示、像素和快照。这个面板可以为你的渲染提供许多不同的细节和选项。更多信息请参见here 这里. |


赶快留个言打破零评论!~