Volumetric Scattering And Fog 体积散射与雾
Volumetric Scattering And Fog Explained 体积散射和雾的解释
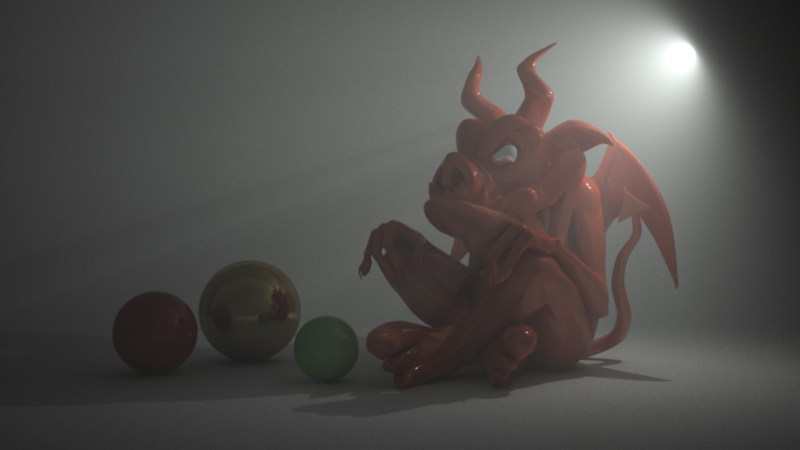
The space around us is not empty. It contains small particles of water, dust, ash, etc. As light travels through this space (called the "medium") and depending on the composition of these particles, it changes. Parts of the lighting get absorbed while the remaining lighting gets scattered around.
我们周围的空间并不是空的。它含有水、灰尘、灰烬等小颗粒。当光穿过这个空间(称为“介质”)时,由于这些粒子的组成不同,它就会发生变化。部分光线被吸收,而剩余的光线被分散。
The volumetric scattering shader allows the user to describe the lighting properties of the medium and, therefore, its effects on lighting.
Using the volumetric scattering shader, it's possible to render:
体积散射着色器允许用户描述介质的照明特性,因此,它对照明的影响。使用体散射着色器,可以渲染:
- A global fogging effect 全球雾化效应
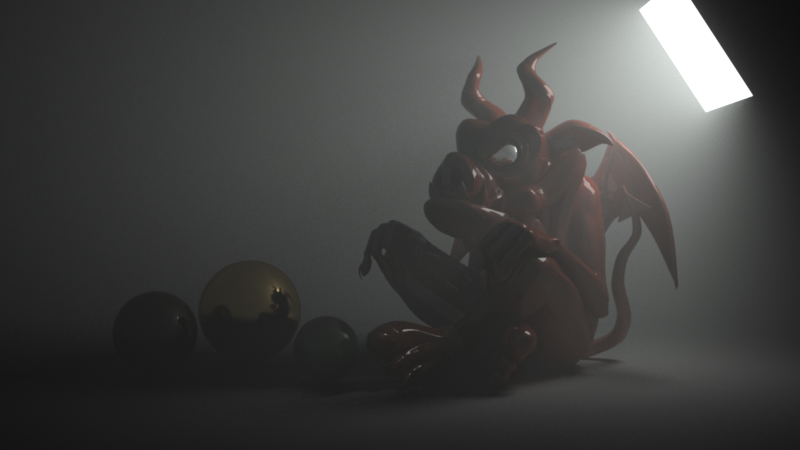
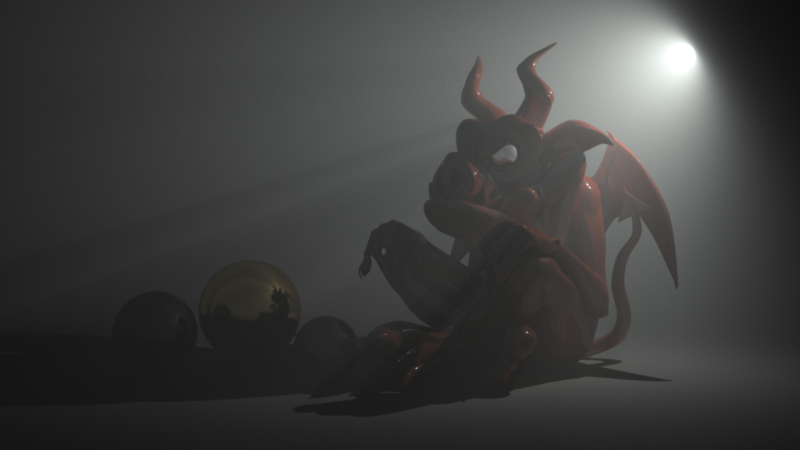
- Volumetric light beams and shadows 体积光束和阴影
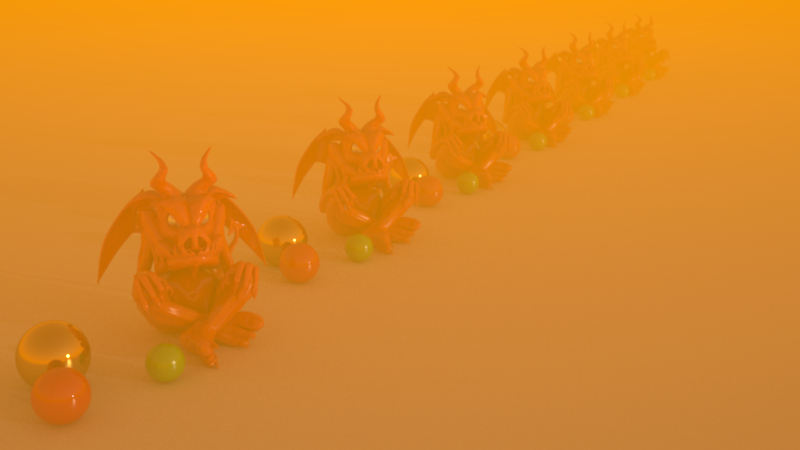
Orange fog
橙色雾
|
|
|
|
Quad area light casting volumetric lighting 四区域灯光铸造体积照明 |
A smaller area light casts more defined shadows 较小的区域光线投射出更多明确的阴影 |
Using The Volumetric Scatter Shader
使用体积散射着色器
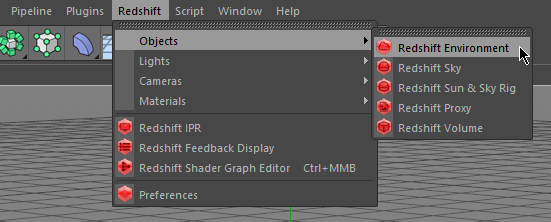
To use the Volumetric Scattering effect simply create a Redshift Environment object from the Redshift menu like so:
要使用体积散射效果,只需从红移菜单中创建一个红移环境对象,如下所示:
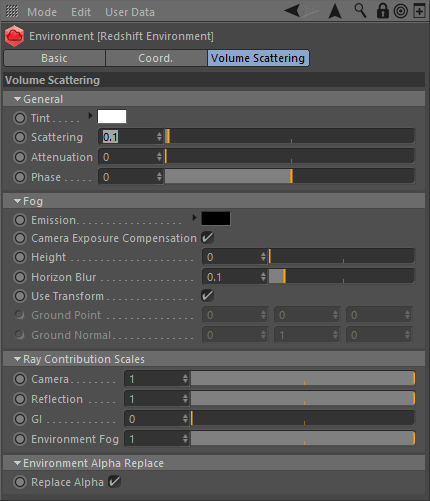
General Settings
一般设置
Enable
启用
Toggles the volumetric scattering effect (fog and volumetric lighting) on/off
切换体积散射效果(雾和体积照明)的开/关
Tint
淡色
A global tint for all volumetric lighting effects (this doesn't include global fog)
一个全局色调的所有体积照明效果(这不包括全球雾)
Scattering
散开
Defines how strong the volumetric lighting effect should be. Higher values will generate brighter volumetric lighting and vice-versa. If you enable volumetric scattering and you get a completely washed-out-white frame, you might need to reduce this setting significantly.
定义了体积照明效果应该有多强。更高的数值将产生更明亮的体积照明,反之亦然。如果您启用了体积散射,并且您得到一个完全被洗掉的白色框架,那么您可能需要显著减少此设置。
Attenuation
衰减
Controls both the strength of the fog and the amount by which light gets attenuated as it travels through the medium. Higher numbers introduce stronger fogging and more light attenuation.
控制雾的强度和光在介质中传播时衰减的程度。较高的数字带来更强的雾和更多的光衰减。
Lighting attenuation only happens for non-infinite lights. Dome lights, the physical sun and infinite lights will not be attenuated. This is intentional! Because these lights are at an infinite distance, any amount of attenuation (which is dependent on distance) would completely block them out.
光衰减只发生在非无限光源。穹顶的光芒,物质的阳光和无限的光芒都不会减弱。这是故意的!因为这些灯是在一个无限的距离,任何数量的衰减(这取决于距离)将完全阻止他们。
Phase
第二阶段
The "Phase" parameter controls how much the lighting will bounce around inside the medium and get scattered. In some ways, this setting is similar to the "Diffuse/Specular" settings of a surface material.
“阶段”参数控制多少照明将在媒体内部反弹和得到散射。在某些方面,这种设置类似于表面材质的“漫反射/高光”设置。
A phase of 0.0 means that the lighting will bounce around more and will appear more diffuse. Values greater than 0.0 produce what is known as "forward scattering". Forward scattering means the lighting doesn't bounce around in the medium as much and is mostly visible when travelling towards the camera. On the other hand, negative numbers will produce "backward scattering' which means that volumetric lighting will mostly be visible as it travels away from the camera.
一个0.0的阶段意味着光线会反射更多,并且会显得更分散。大于0.0的值会产生所谓的“前向散射”。前向散射意味着光线在介质中不会反弹很多,并且在面对相机的时候大部分是可见的。另一方面,负数将产生“后向散射”,这意味着体积照明将主要是可见的,因为它从相机旅行。
We show some forward scattering examples below.
下面我们展示一些前向散射的例子。
|
|
|
|
|
|
|
Original settings. Phase 0.0 原始设置阶段0.0 |
Phase 0.5 第0.5阶段 |
|
|
|
| Phase 0.8 第0.8阶段 | Phase 0.9 第0.9阶段 |
Fog Settings
雾景
Emission Color
发光颜色
Allows fog to be self-illuminating. This is useful when you want the fog to have color and not just be black.
允许雾自我照明。这是有用的时候,你希望雾有颜色,而不只是黑色。
Apply Camera Exposure Compensation
应用相机曝光补偿
Since the fog can be self-illuminating via the "emission" setting, this option ensures that, if a photographic exposure lens shader is present, the emission color will be scaled appropriately so that the user won't have to use large RGB numbers.
由于雾可以通过“发射”设置自我照明,这个选项确保,如果摄影曝光镜头着色存在,发射颜色将被适当地缩放,以便用户不必使用大的 RGB 数字。
We strongly recommend users leave this option enabled.
我们强烈建议用户启用此选项。
Height
身高
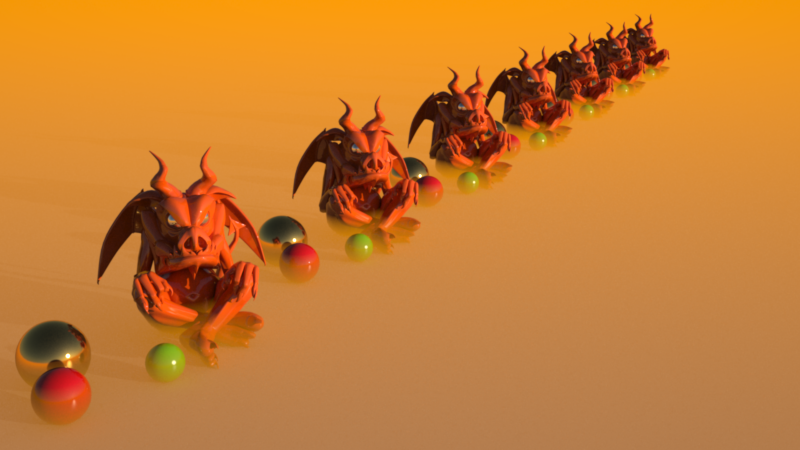
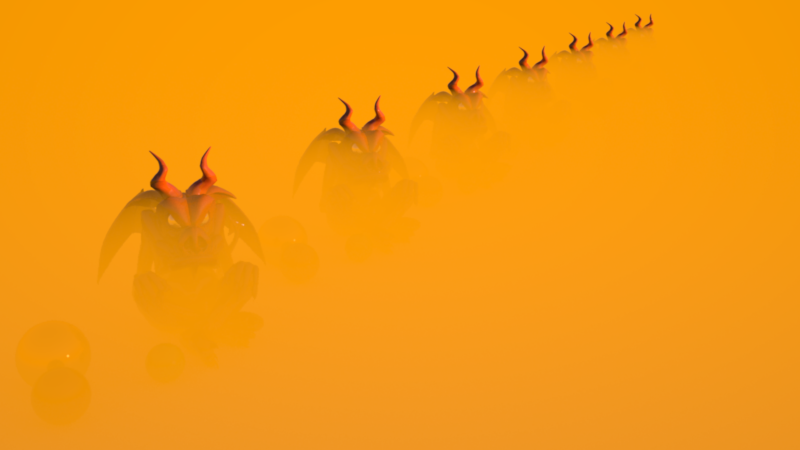
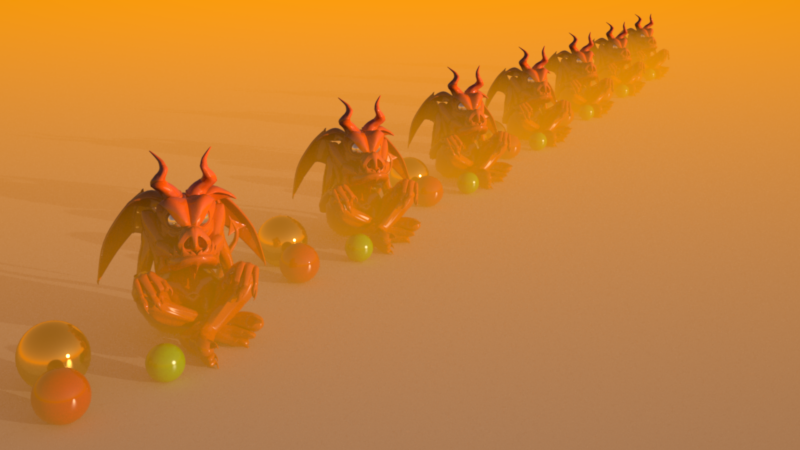
When height is set to zero, fog is omnipresent. A non-zero value enables "height fog" and sets the height of the fog. See examples images below.
当高度设置为零时,雾是无处不在的。非零值启用“高度雾”并设置雾的高度。请看下面的图片。
|
|
|
|
|
Low Height Fog (yellow emission) 低高度雾(黄色发射) |
Higher Height Fog 更高的雾 |
Same as last image but with a lower attenuation value 与上一幅图像相同,但衰减值更低 |
Horizon Blur
地平线模糊
When using height fog on a large-scale scene, there might be a sharp shading line where the fog joins the horizon. Even though "correct" this effect is not visually appealing. The horizon blur setting allows the height fog's horizon to be faded out which will smooth out the effect.
在大规模场景中使用高度雾时,在雾与地平线交汇处可能会出现一条明显的阴影线。尽管“纠正”这种效果在视觉上并不吸引人。地平线模糊设置允许高度雾的地平线被淡出,这将平滑的效果。
Ground Point
地点
If using height fog, this setting determines where the fogging effect starts.
如果使用高度雾,这个设置决定了雾效果从哪里开始。
Ground Normal
地面正常
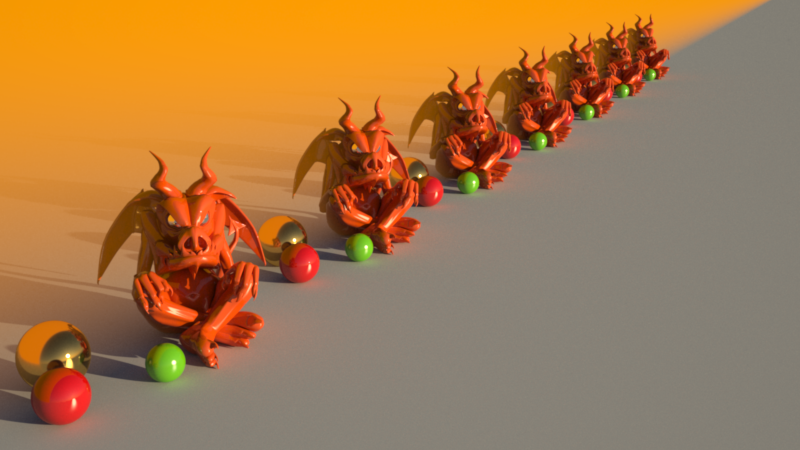
If using height fog, this setting determines the direction of the fog. Using this setting you can create a 'wall of fog' instead of a 'blanket of fog'. See example images below.
如果使用高度雾,此设置决定雾的方向。使用这个设置你可以创建一个雾墙而不是一个雾毯子。见下面的例子图片。
Adjusting the fog plane to create a wall of fog. Instead of the default (0, 1, 0) ground normal, we used a (0, 0, 1) setting instead.
调整雾平面,形成雾墙。我们使用了(0,0,1)设置来代替默认的(0,1,0)接地正常值。
Ray Contribution Scales
射线贡献量表
Environment
环境
Defines how much fogging and volumetric lighting should be applied to rays that don't hit anything and go to infinity.
定义了多少雾和体积照明应适用于射线,没有击中任何东西,到无穷远。
Camera 相机
Defines how much fogging and volumetric lighting should be applied to rays that hit scene objects.
定义多少雾和体积照明应适用于射线击中场景物体。
Reflection 反思
Defines how much fogging and volumetric lighting should be applied to rays that were spawned from reflection.
定义多少雾和体积照明应适用于从反射衍生的光线。
Horizon Blur 地平线模糊
Defines how much fogging and volumetric lighting should be applied to rays that were spawned from refractions or transparency.
定义多少雾和体积照明应适用于光线,从折射或透明度衍生。
GI 胃肠道
Defines how much fogging and volumetric lighting should be applied to any GI lighting. Applying volumetric lighting on GI computations can wash out the results, produce noise (especially if strong phase settings are used) and be computationally intensive. For this reason, Redshift has this contribution turned off by default.
定义多少雾和体积照明应适用于任何胃肠道照明。应用体积照明的 GI 计算可以洗掉的结果,产生噪音(特别是如果强相位设置使用)和计算密集。由于这个原因,红移默认关闭此贡献。
Environment Alpha Replace
环境 Alpha 替换
Enable
启用
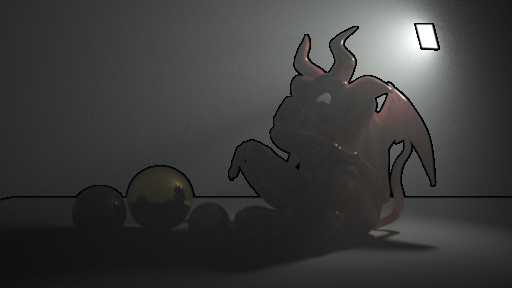
The 'Environment Alpha Replace' option replaces environment alpha with 1. This is because alpha pre-multiplied output can make the volumetric effect disappear in areas where the alpha is not 1 or 0. The example below shows a light volume over a black environment with an alpha of 0. You can clearly see the artifacts caused by disabling the option in the preview window of Softimage, where anti-aliasing produces 'halos' of alpha values between 0 and 1. You should only disable this option if you expect to composite and effectively replace the volumetric effect where the environment is.
“ Environment Alpha Replace”选项将 Environment Alpha 替换为1。这是因为阿尔法前乘输出可以使体积效应在阿尔法不是1或0的区域消失。下面的示例显示了黑色环境上的一个光体,其 alpha 值为0。在 Softimage 的预览窗口中,您可以清楚地看到禁用该选项所导致的工件,其中反走样会产生0到1之间的阿尔法值“晕”。如果您希望复合并有效地替换环境中的体积效果,那么应该只禁用此选项。
|
|
|
|
Enabled (the default) 启用(默认值) |
Disabled 残疾人士 |
Enabling Volumetric Lighting
启用体积照明
To enable volumetric lighting for a light, increase it's contribution scale (it is set to zero by default). You also need to choose a number of samples for the volumetric lighting effect.
为了使体积照明的光,增加它的贡献规模(它是设置为零默认)。您还需要选择一定数量的样品的体积照明效果。
For best performance, we recommend solving noise originating from volumetric lighting by increasing the light's volume samples instead of increasing the global unified samples! While both solutions would produce equal (visual) results, adjusting the number of volume samples on a per-light basis can render considerably faster!
为了获得最好的性能,我们建议通过增加光的体积采样来解决来自体积照明的噪声,而不是增加全球统一的采样!虽然这两种解决方案都会产生相同的(视觉)结果,但是调整每光基础上的体积采样数量可以显著提高速度!
Below, we show the effect of some more volumetric-lighting-related settings.
下面,我们展示一些更多的体积照明相关设置的效果。
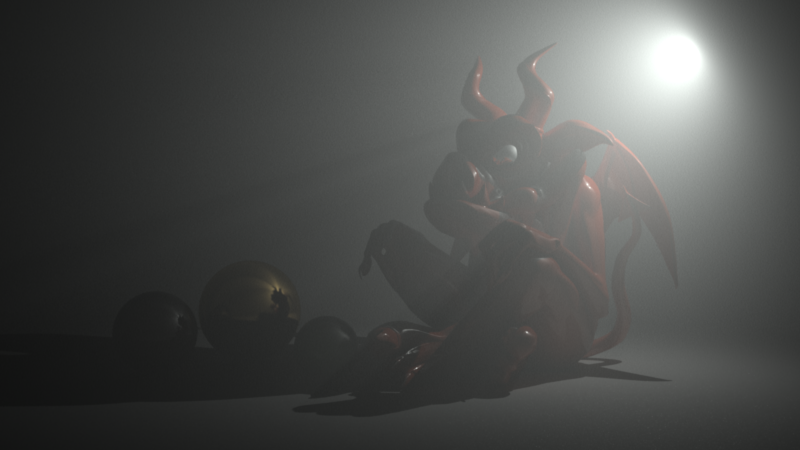
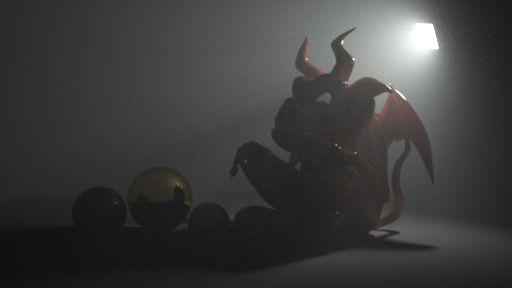
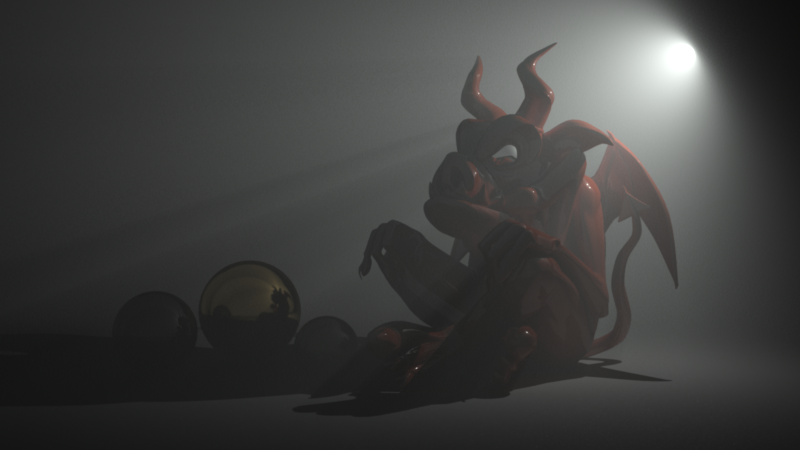
Original settings
原始设置
With reflection contribution scale set to 0.0. The reflections can no longer 'see' the volumetric lighting. For this particular scene, it's a subtle difference.
反射贡献比例设置为0.0。反射再也不能“看到”体积照明。对于这个特殊的场景,这是一个微妙的区别。
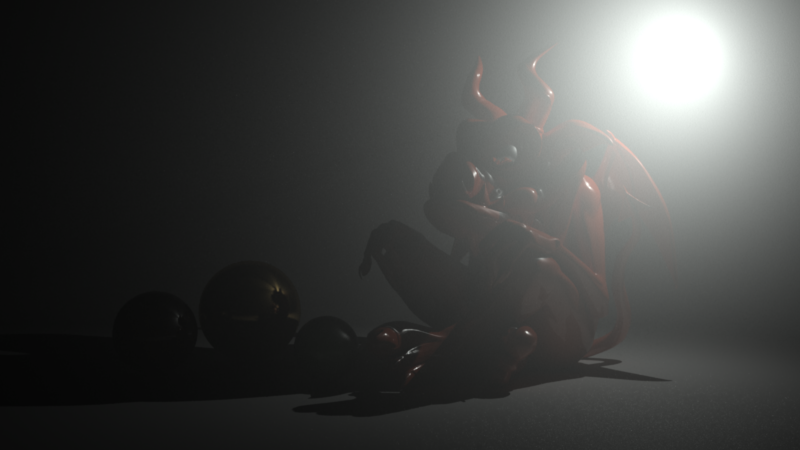
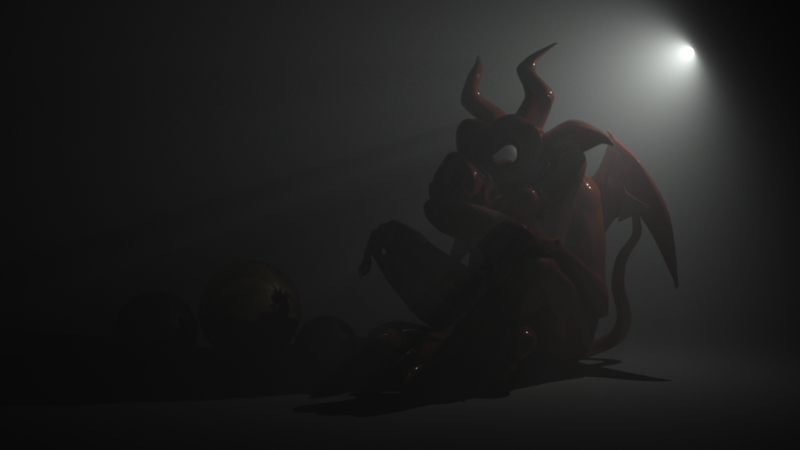
With some attenuation added. Lighting now gets dimmed as it passes through the medium.
随着一些衰减的增加。照明现在变得暗淡,因为它通过媒体。
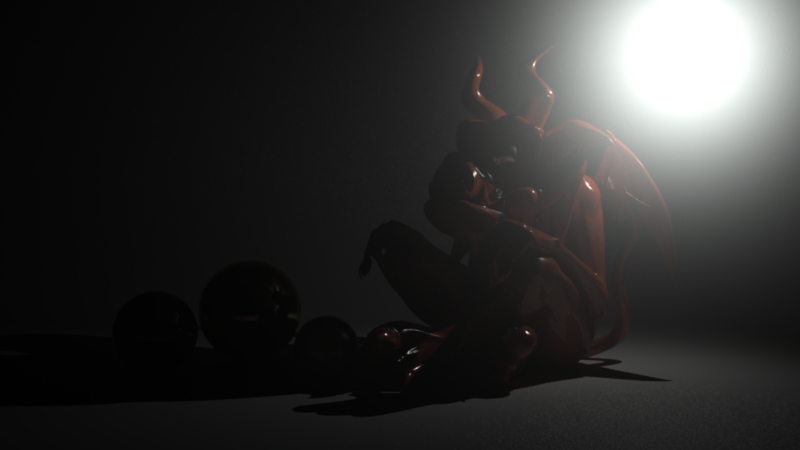
Setting GI contribution scale to 1.0. Now the GI rays can 'see' the volumetric lighting which creates extra lighting in the scene.
将 GI 贡献量表设置为1.0。现在,胃肠道光线可以“看到”空间照明,这在场景中创造了额外的照明。


赶快留个言打破零评论!~