Overview
概览
Maximum PostFX
最大 PostFX
PostFX consists of several post processing features available as optional effects in the Redshift Render View. These can range anywhere from broad image tweaks like saturation and colors curves to adding visual effects like light blooms, flares, and streaks. All of these features give you great flexibility at previewing what your final rendered image could look like after final composite.
由几个后期处理特性组成,可以在红移渲染视图中作为可选效果使用。这些可以在任何地方从广泛的图像调整,如饱和度和颜色曲线,增加视觉效果,如轻花,耀斑,和条纹。所有这些特性都为您提供了极大的灵活性,可以预览最终渲染的图像在最终合成之后的样子。
LUT
下降速度
LUTs (Look-Up Tables) apply a color transform to your render. A LUT file changes the RGB information in your render to a new range of colors to match a certain look as defined inside a LUT file.
Lut (查找表)将颜色转换应用到渲染中。LUT 文件将呈现中的 RGB 信息更改为新的颜色范围,以匹配 LUT 文件中定义的特定外观。
Redshift supports .cube and .3dl LUT file formats and comes with 125 free LUTs.
Redshift 支持. cube 和. 3 dl LUT 文件格式,并附带125个免费 LUT。

Adjusting the strength of a LUT
调整 LUT 的强度
LUT Parameters
LUT 参数
LUT Location
位置图
The LUT location determines which folder the LUT files will be loaded from.
LUT 位置确定将从哪个文件夹加载 LUT 文件。
LUT File
文件
This dropdown menu lets you select which LUT is applied.
这个下拉菜单允许您选择应用哪个 LUT。
Convert to log space before applying LUT
在应用 LUT 之前转换为日志空间
When enabled your rendered image will be converted to a logarithmic color space before the LUT is applied.
如果启用,在应用 LUT 之前,您渲染的图像将转换为对数色彩空间。
Apply color management before LUT
在 LUT 之前应用色彩管理
When enabled your Color Management options will be applied to the rendered image before the LUT is applied.
当启用色彩管理选项时,将在应用 LUT 之前应用于渲染的图像。
LUT Strength
强度
The LUT strength controls how heavily the color transform is applied. A value of 0 means no color changes occur.
LUT 强度控制颜色转换的应用程度。值为0意味着不会发生颜色变化。
|
|
|
|
|
LUT Strength: 0 强度: 0 LUT File: Fuji Neopan (Black & White) 图片来源: Fuji Neopan (黑白) |
0.5 |
1 |
Color Controls
色彩控制
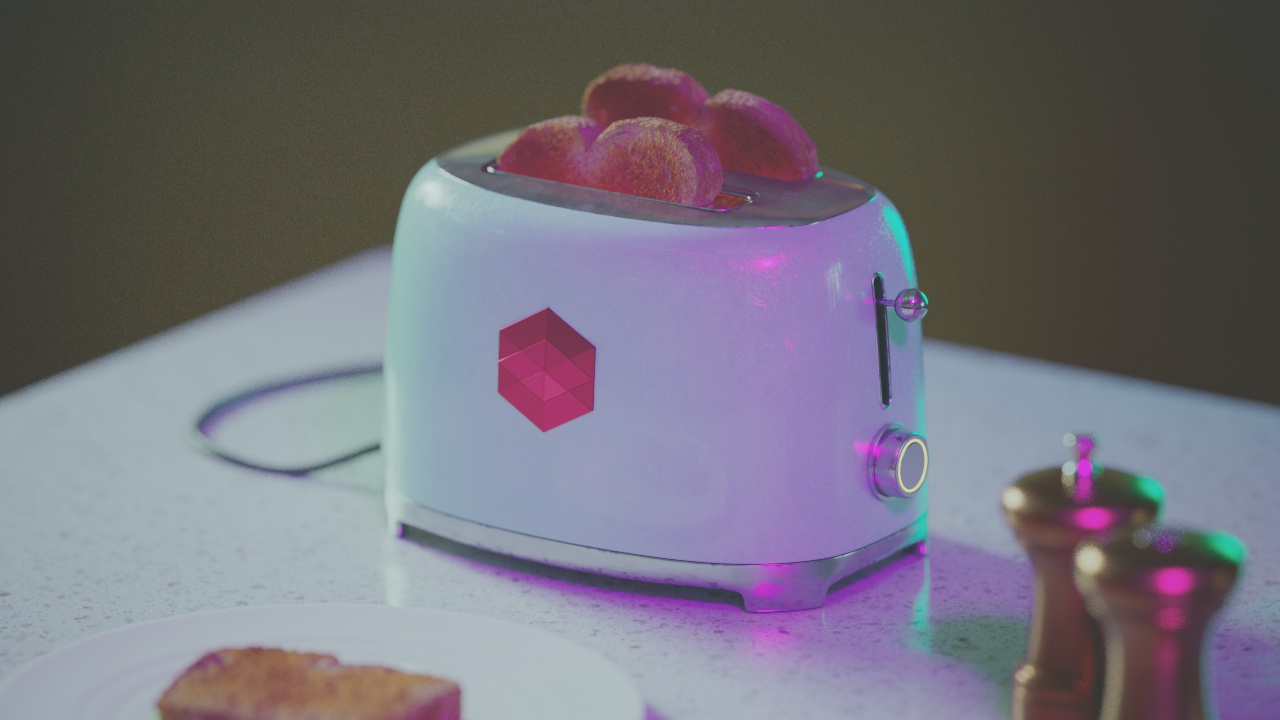
The Color Controls PostFX section lets you make overall color and brightness adjustments to your rendered image.
颜色控制 PostFX 部分允许您对渲染图像进行整体颜色和亮度调整。

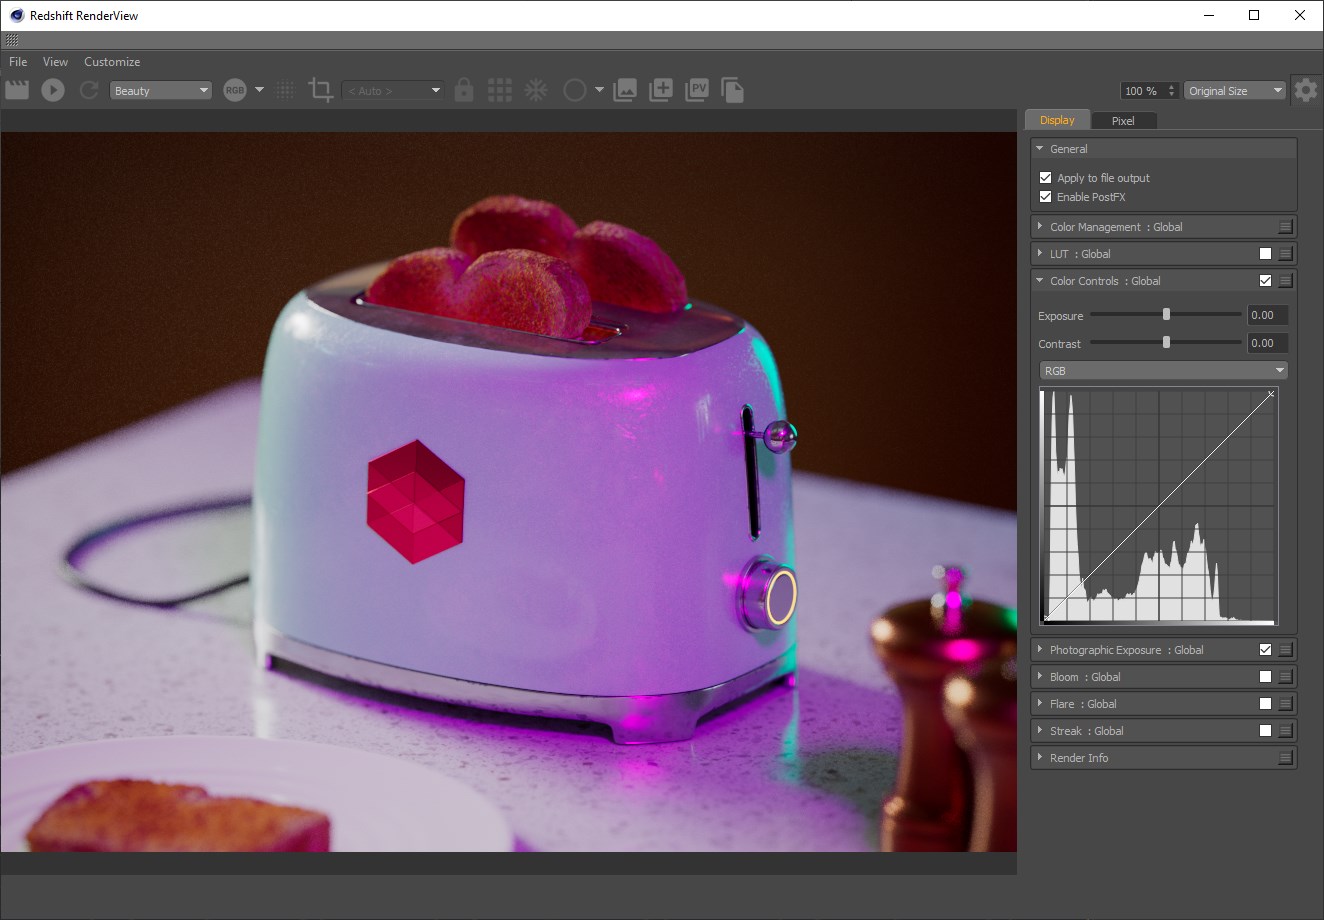
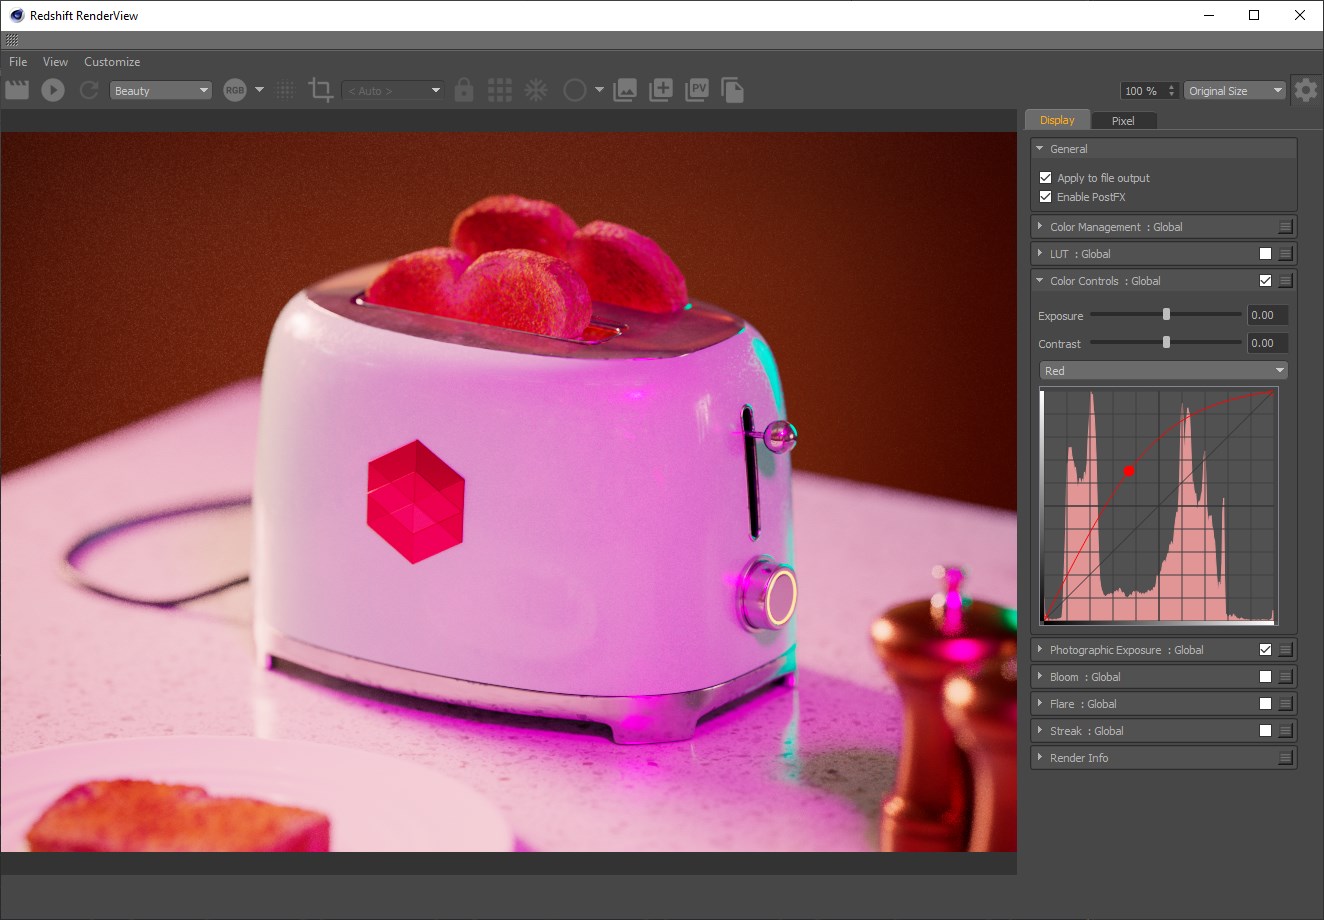
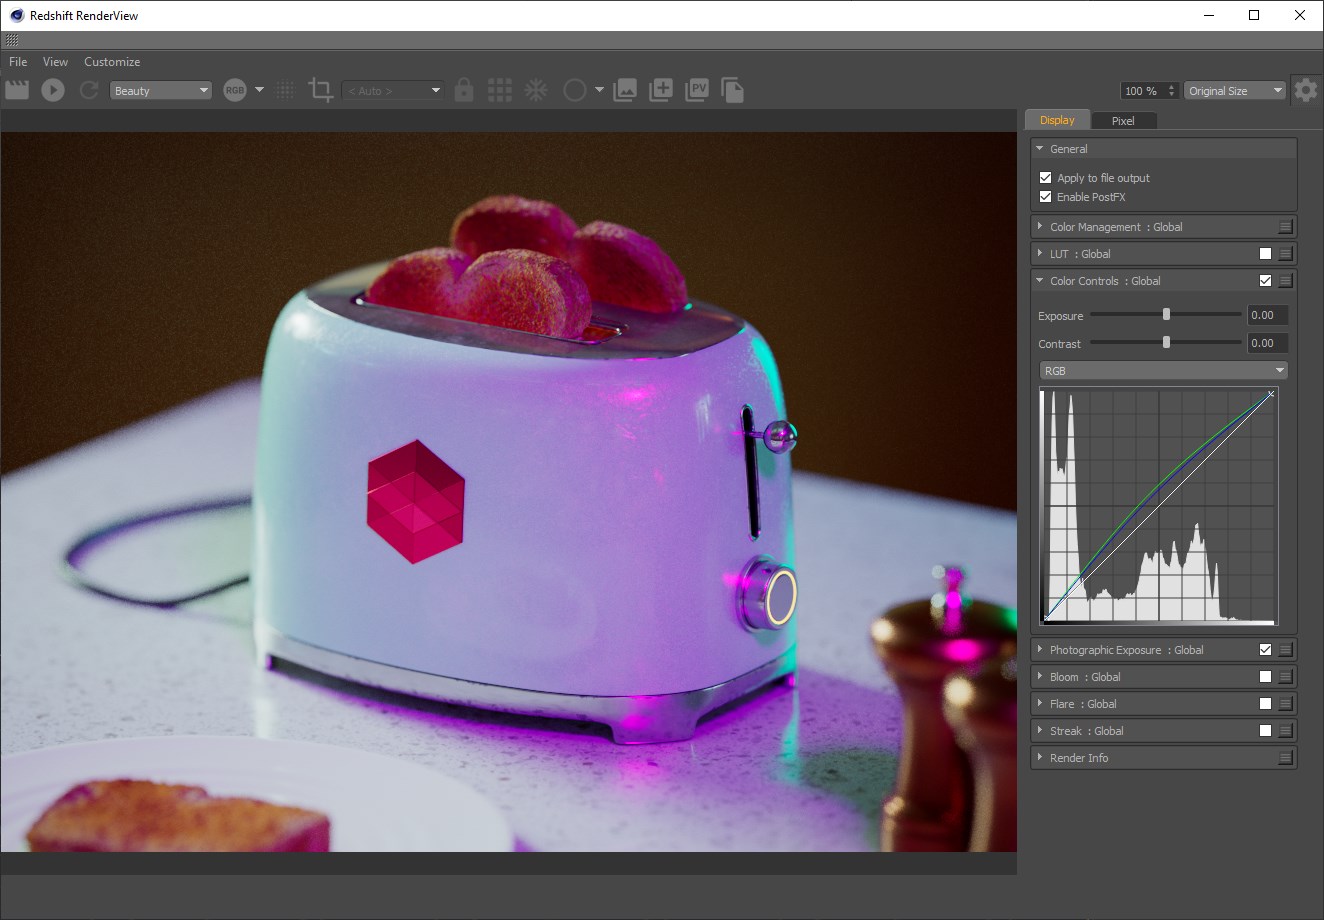
Adjusting RGB curve
调整 RGB 曲线
Color Controls Parameters
颜色控制参数
Exposure
曝光
Here you can increase or decrease your exposure.
在这里你可以增加或减少你的曝光。
|
|
|
|
|
Exposure: 0 曝光: 0 |
1 |
-1 - 1 |
Contrast
对比
Here you can increase or decrease your contrast.
在这里你可以增加或减少你的对比度。
|
|
|
|
|
Contrast: 0 对比度: 0 |
0.2 |
-0.2 - 0.2 |
RGB Curves
RGB 曲线
The RGB curves feature allows you to easily tweak the brightness of your image on either all color channels or the red, green, and blue channels individually.
RGB 曲线功能允许你轻松调整你的图像的亮度在任何颜色通道或红色,绿色,蓝色通道单独。
|
|
|
|
|
Color Curves: Neutral 色彩曲线: 中性 |
Red channel strong adjustment 红色通道强力调整 |
Green / Blue subtle adjustment 绿色/蓝色的微妙调整 |
Photographic Exposure
摄影曝光
Photographic Exposure lets you control the look of your image using the same kind of familiar camera controls that you are used to like ISO, f-stop, and shutter speed. Here you can also add a vignette, tonemap, and adjust the saturation of your image.
摄影曝光可以让你使用相同类型的熟悉的相机控制,你习惯于像 ISO,f-stop,和快门速度控制你的图像的外观。在这里,您还可以添加一个小插图,tonemap,并调整图像的饱和度。
Using Photographic Exposure is important when working with certain features of the renderer such as IES lights and the physical sun/sky. The reason is that these features can generate very high light intensities. For a more in-depth look please see the Photographic Exposure page.
使用摄影曝光在处理渲染器的某些特征时非常重要,例如 IES 光和物理的太阳/天空。原因是这些特征可以产生非常高的光强。更深入的观察请参阅摄影曝光页。

Toggling Photographic Exposure and adding a vignette
切换摄影曝光和添加一个小插图
Photographic Exposure Parameters
摄影曝光参数
Film Speed (ISO)
胶片速度(ISO)
Film Speed controls the sensitivity of the film. Higher ISOs mean the film is more sensitive and will capture more light in a short amount of time.
胶卷速度控制胶卷的感光度。更高的 iso 值意味着胶片更敏感,能在短时间内捕获更多的光线。
|
|
|
|
|
Film Speed (ISO): 100 胶卷速度(ISO) : 100 |
10 图10 |
200 |
Shutter Time Ratio
快门时间比
Shutter Time Ratio controls how long the shutter stays open. A value of 30 means 1/30, i.e. a 30th of a second. The smaller the value, the longer the shutter stays open and the brighter the image and vice-versa.
快门时间比控制快门打开的时间。30表示1/30,即1/30秒。值越小,快门保持打开的时间越长,图像越亮,反之亦然。
|
|
|
|
|
Shutter Time Ratio: 100 快门时间比: 100 |
10 图10 |
200 |
f-Stop
别说了
f-Stop is a divider of the aperture of the camera (the hole through which light come onto the film). If the aperture of the camera is 1.0, an f-Stop of 2.0 means 1.0/2.0. An f-Stop of 16.0 means 1.0/16.0. So the larger the f-Stop value the smaller the aperture. and less light enters the camera and lands on the film, so the image is brighter. The larger the f-Stop, the dimmer the image.
f-Stop 是相机孔径的分配器(光线通过这个孔进入胶片)。如果相机的光圈是1.0,光圈2.0表示1.0/2.0。f-Stop 的16.0表示1.0/16.0。所以 f 值越大光圈越小。进入相机并落在胶片上的光线减少,所以图像更加明亮。F 光圈越大,图像就越暗淡。
|
|
|
|
|
f-Stop: 8 |
1 |
22 图22 |
Whitepoint
怀特波因特
Whitepoint controls what is considered "white" in the image. The color you choose for "Whitepoint" is the color that will be removed from the image. So if your image is slightly reddish you should make "Whitepoint" a bit red (for example [1.0, 0.9, 0.9]) in order to remove the red tint.
Whitepoint 控制图像中被认为是“白色”的部分。您为“ Whitepoint”选择的颜色是将从图像中移除的颜色。因此,如果你的图像是略带红色的,你应该把“ Whitepoint”调成稍微红一点(例如[1.0,0.9,0.9]) ,这样可以去除红色色调。
|
|
|
|
|
Whitepoint R / G / B: 1.0 / 1.0 / 1.0 白点 r/g/b: 1.0/1.0/1.0 |
0.2 / 1.0 / 1.0 0.2/1.0/1.0 |
1.0 / 1.0 / 0.2 1.0/1.0/0.2 |
Vignetting
渐晕
Vignetting controls the darkening around the edges of the image, simulating imperfections in real world lenses. The higher the Vignetting value, the more darkening there will be around the edges of the image.
虚光晕控制图像边缘的暗化,模拟真实世界镜头的瑕疵。渐晕值越高,图像的边缘就会越暗。
|
|
|
|
|
Vignetting: 0 渐晕: 0 |
200 |
1000 |
Allow Desaturation
允许去饱和
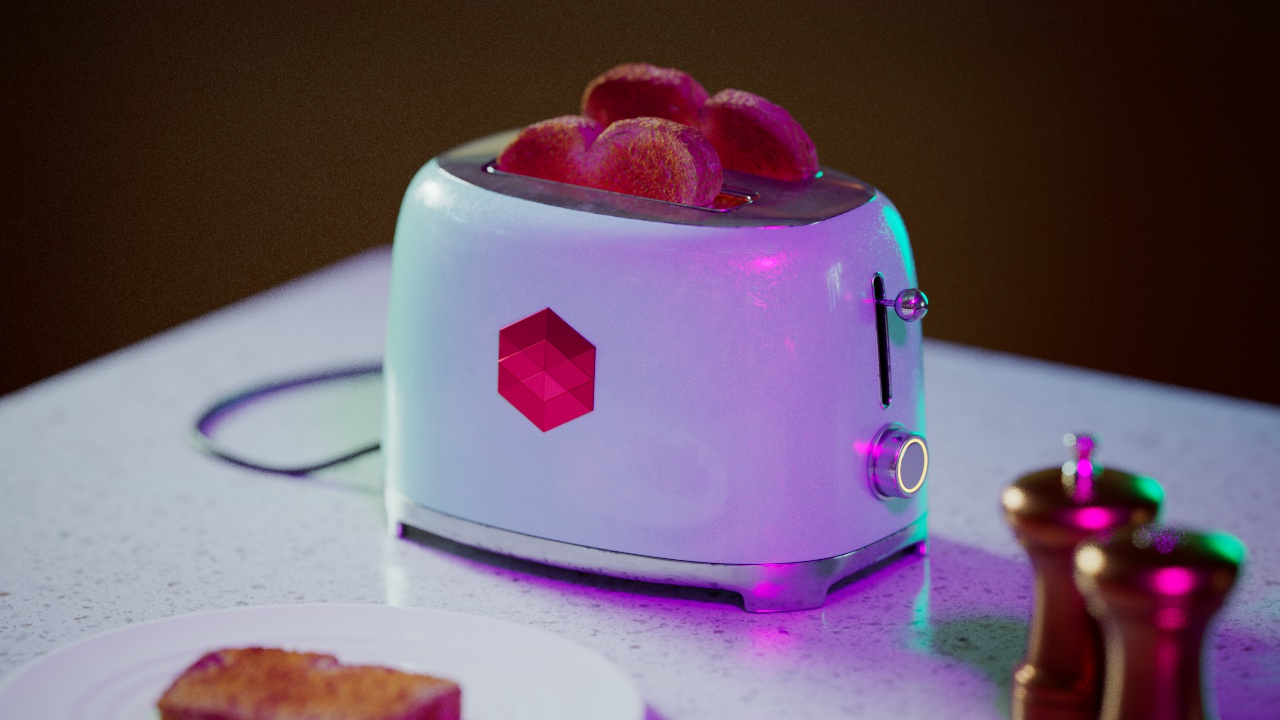
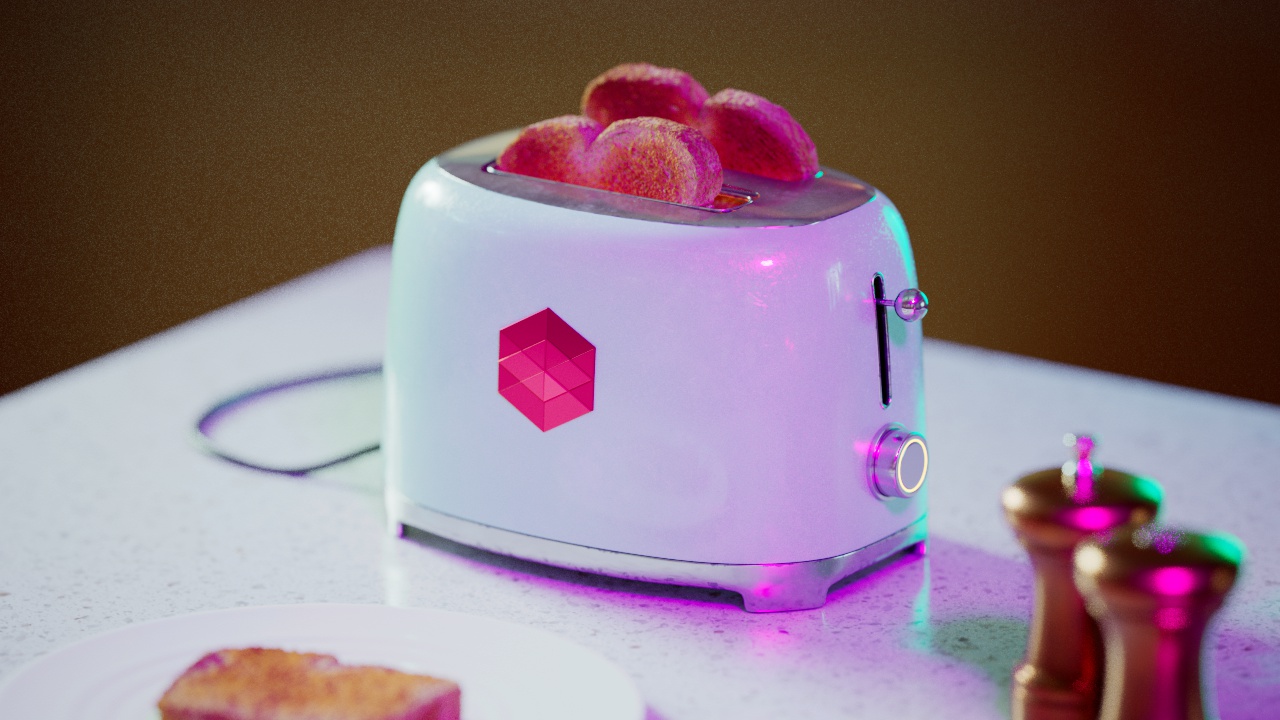
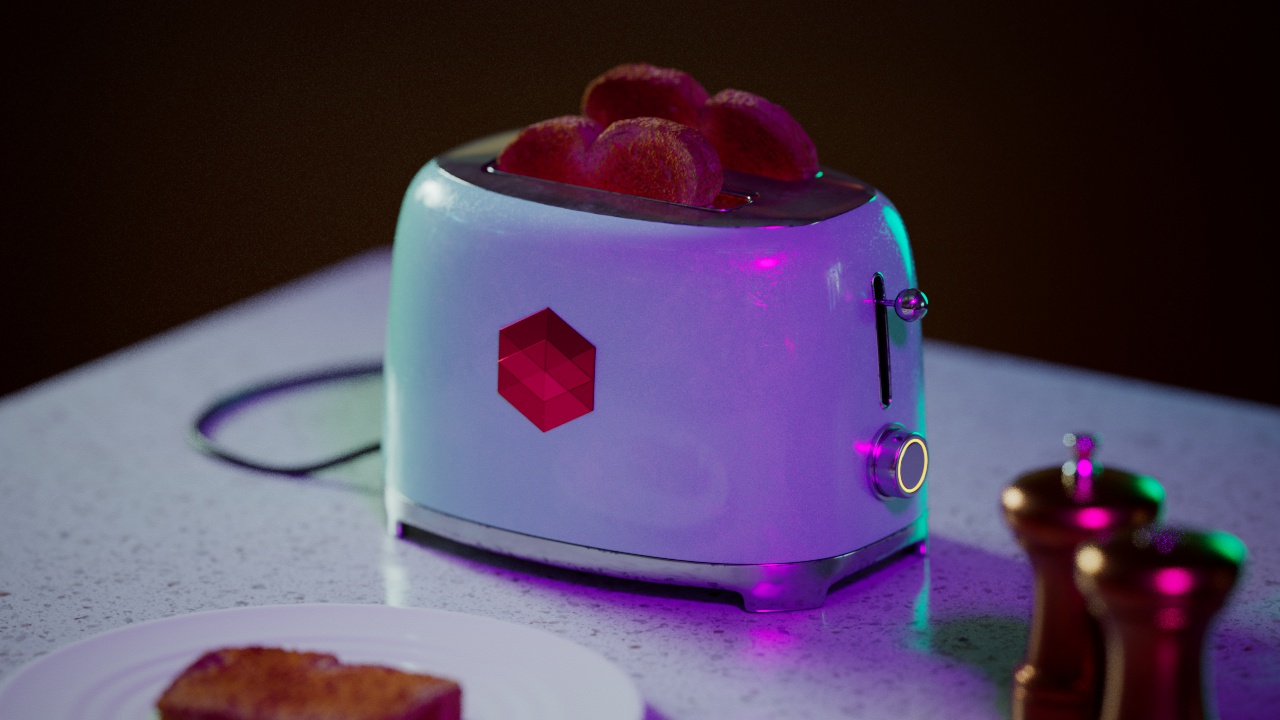
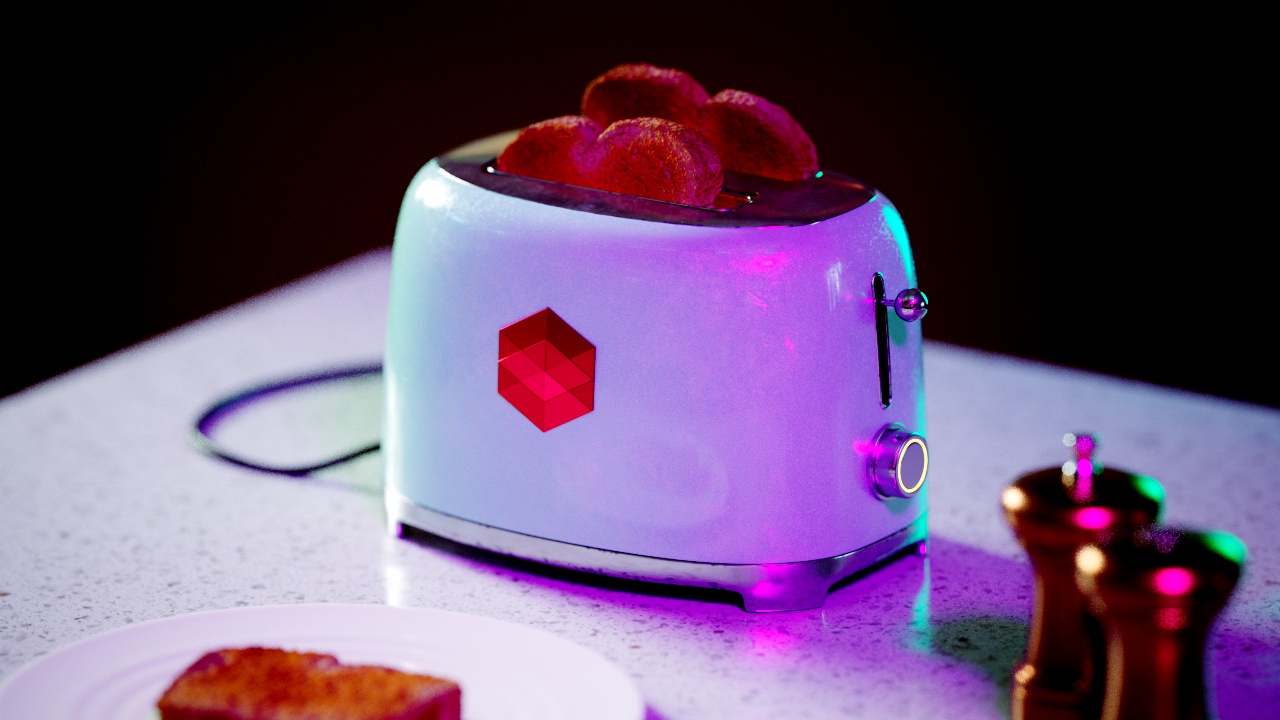
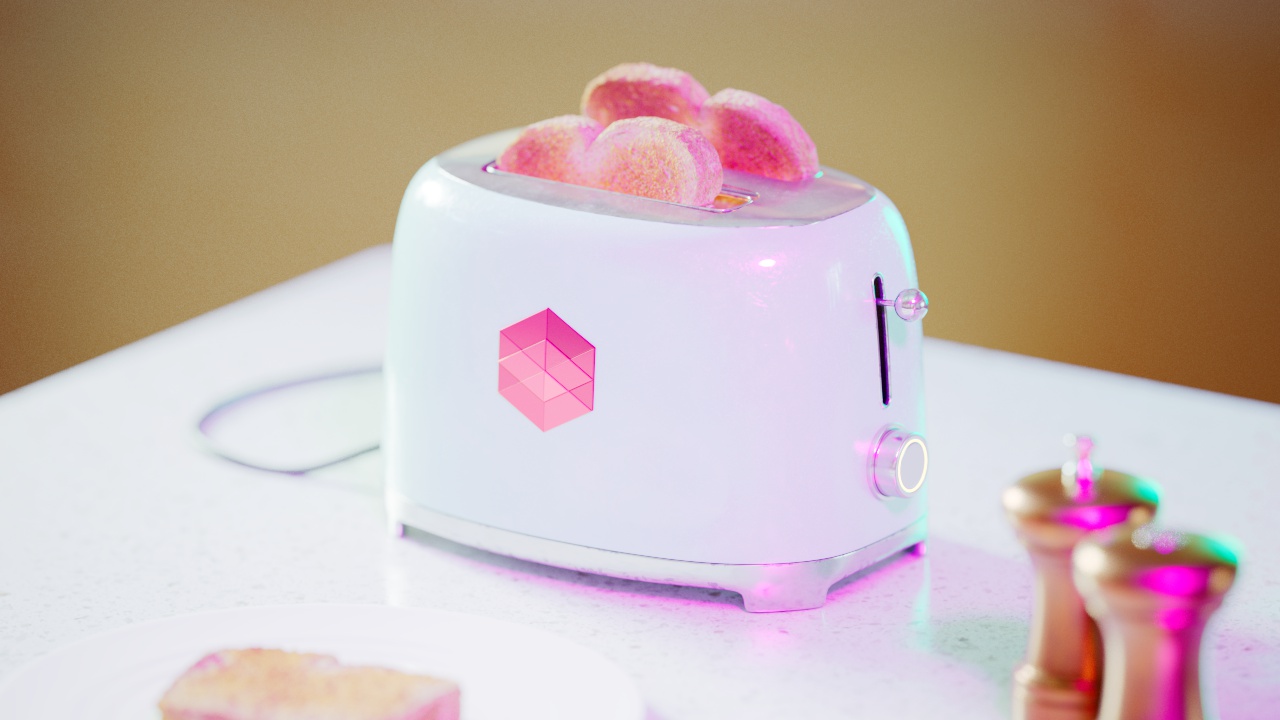
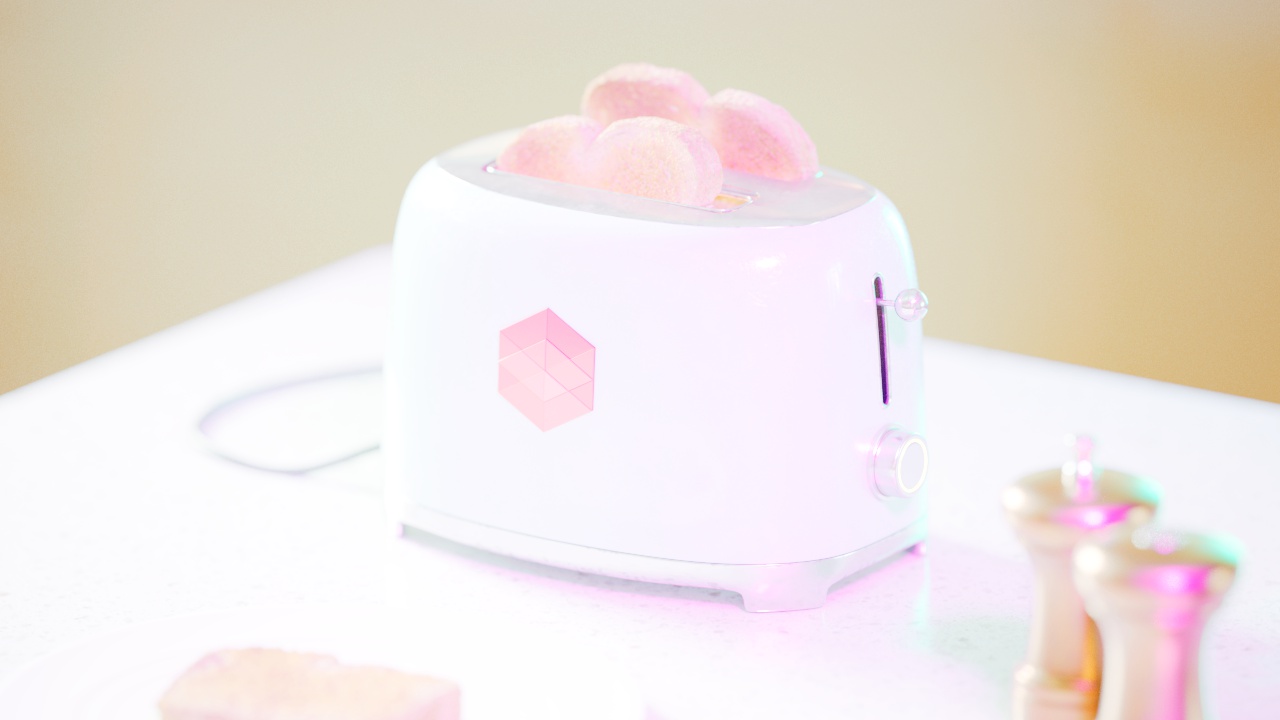
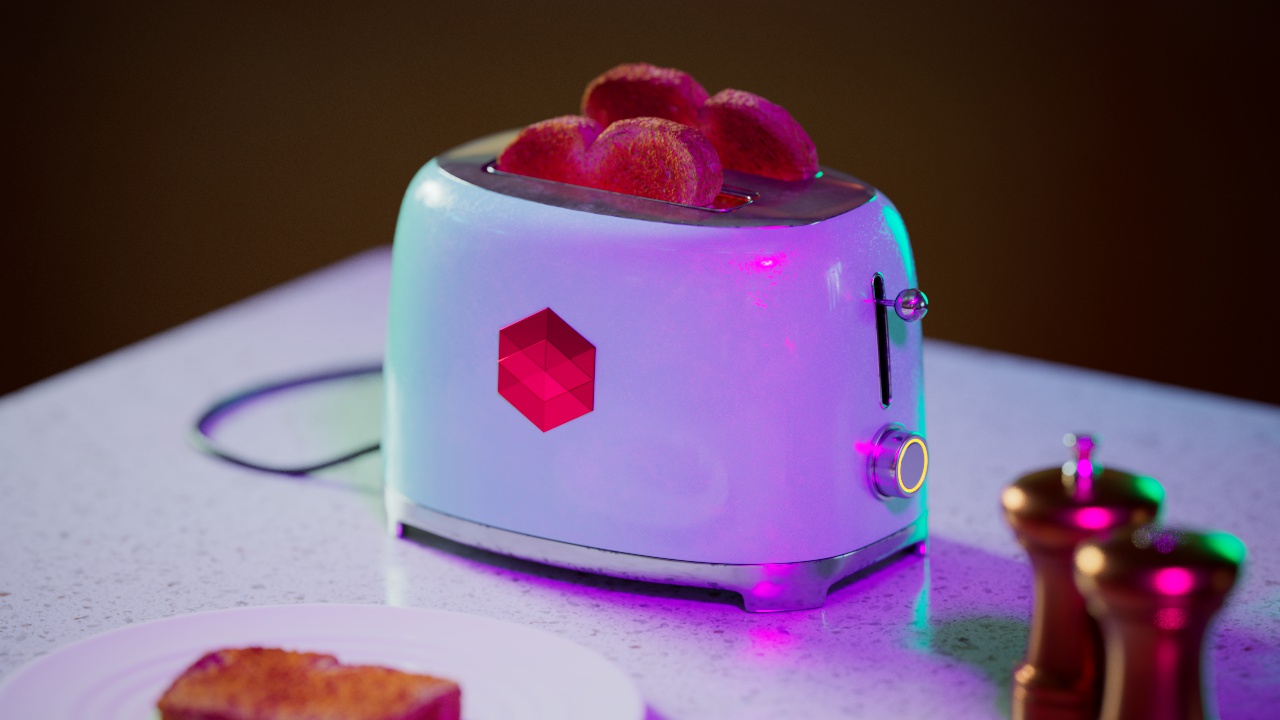
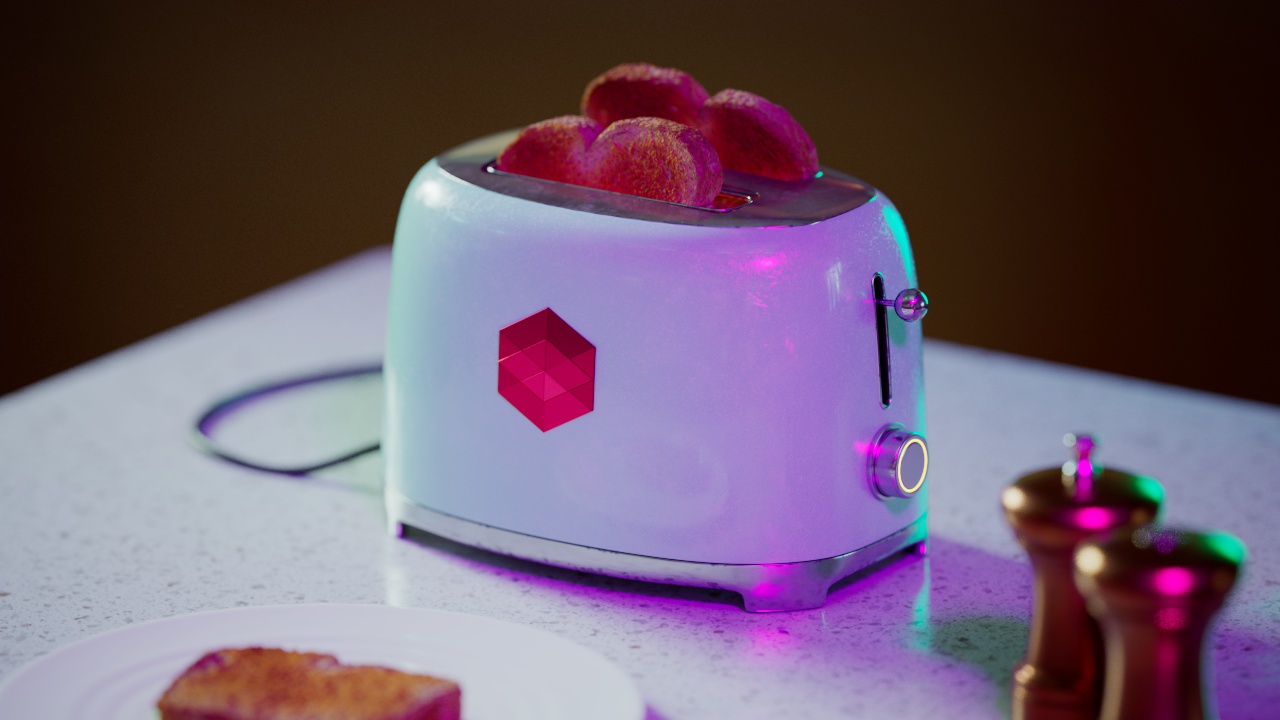
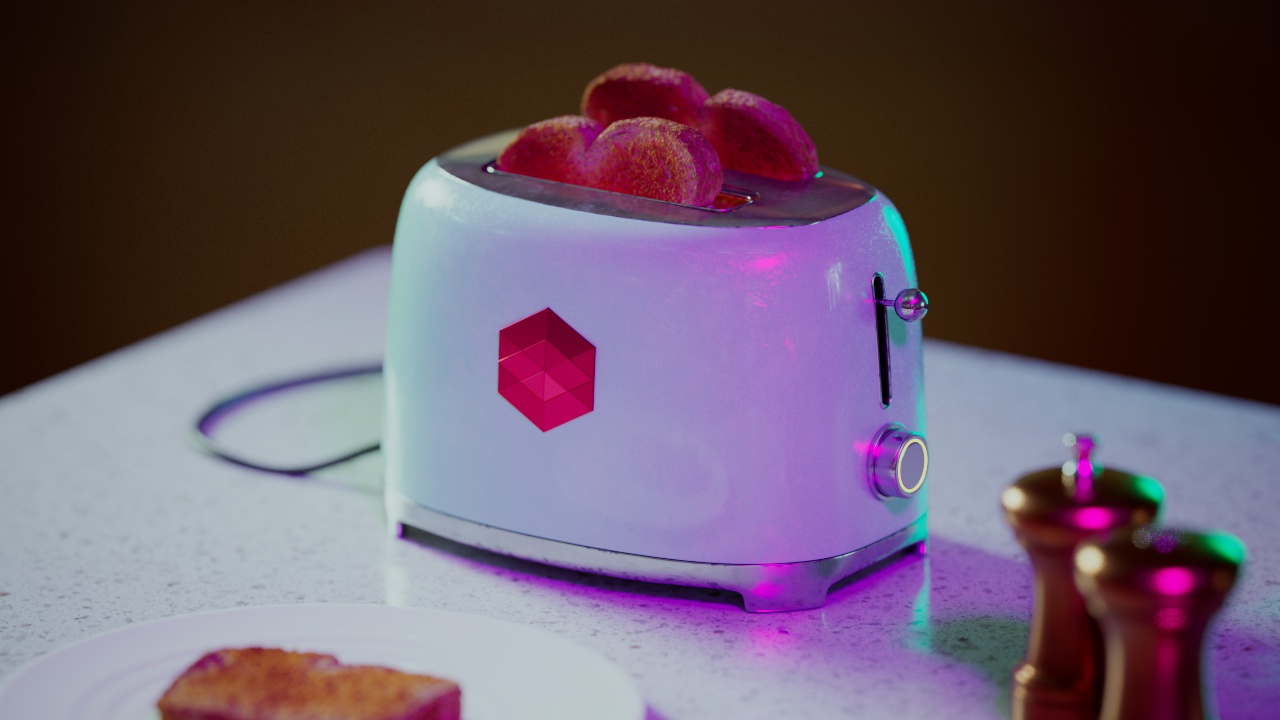
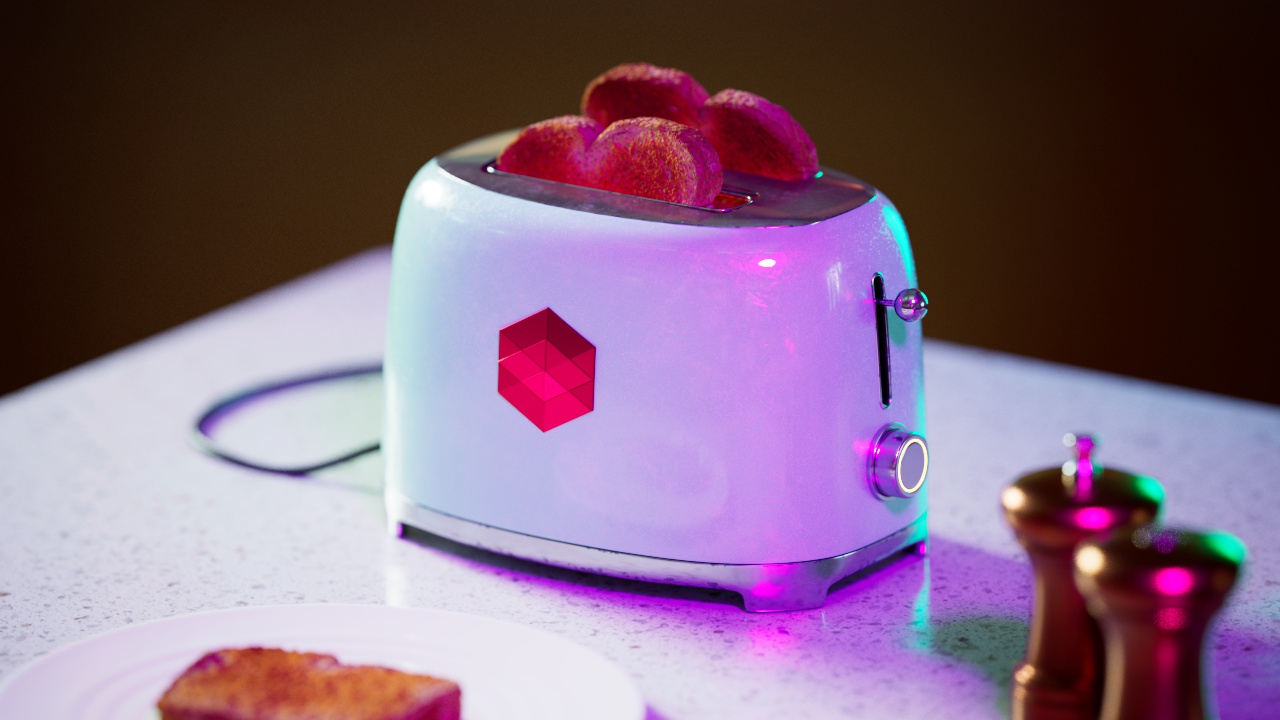
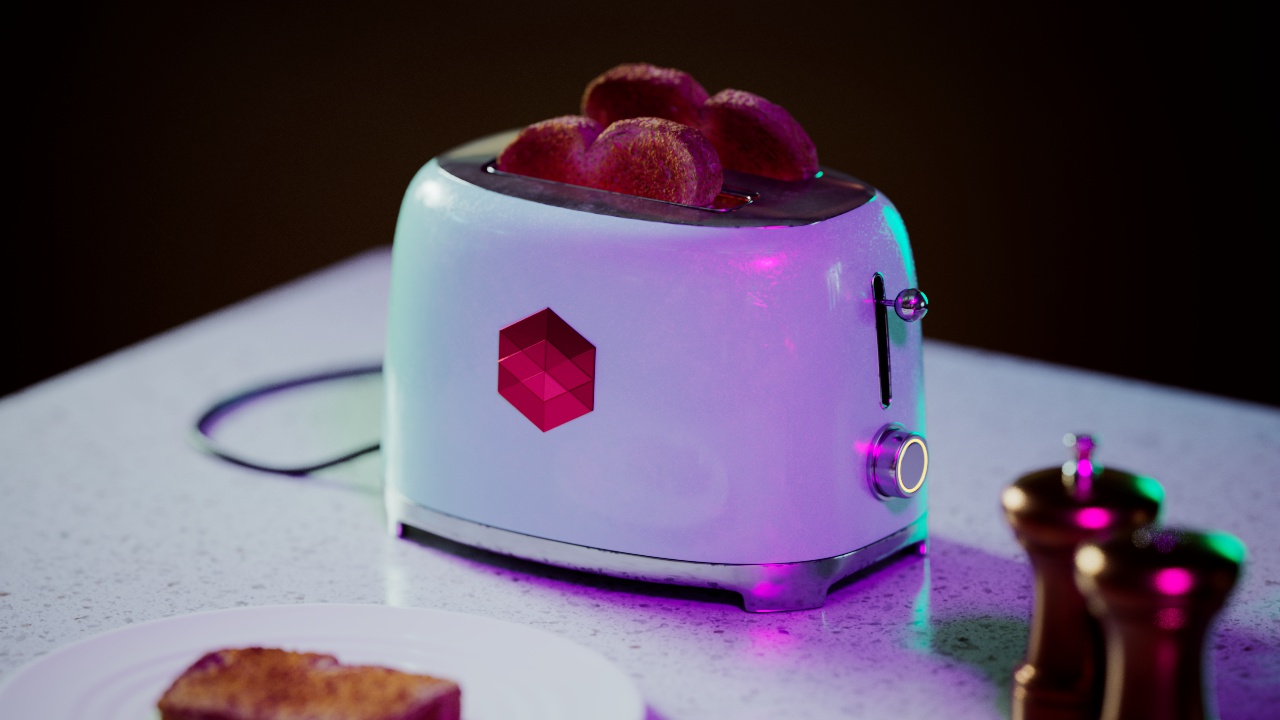
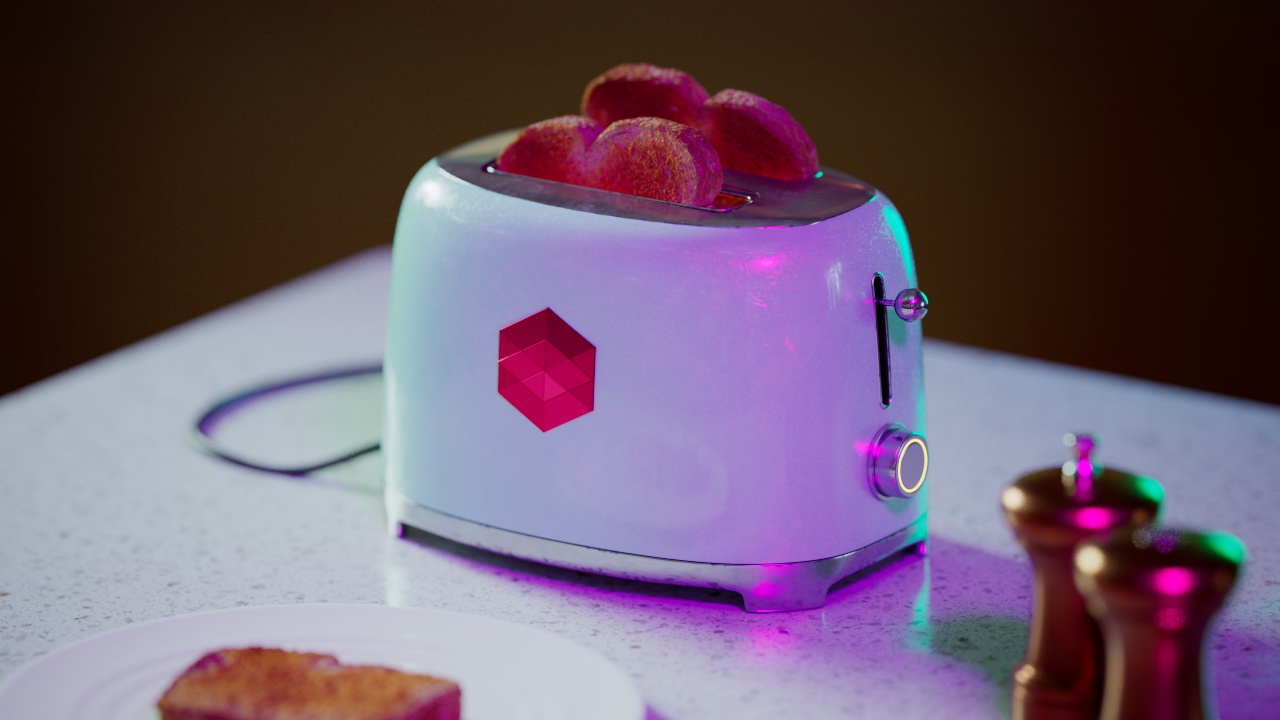
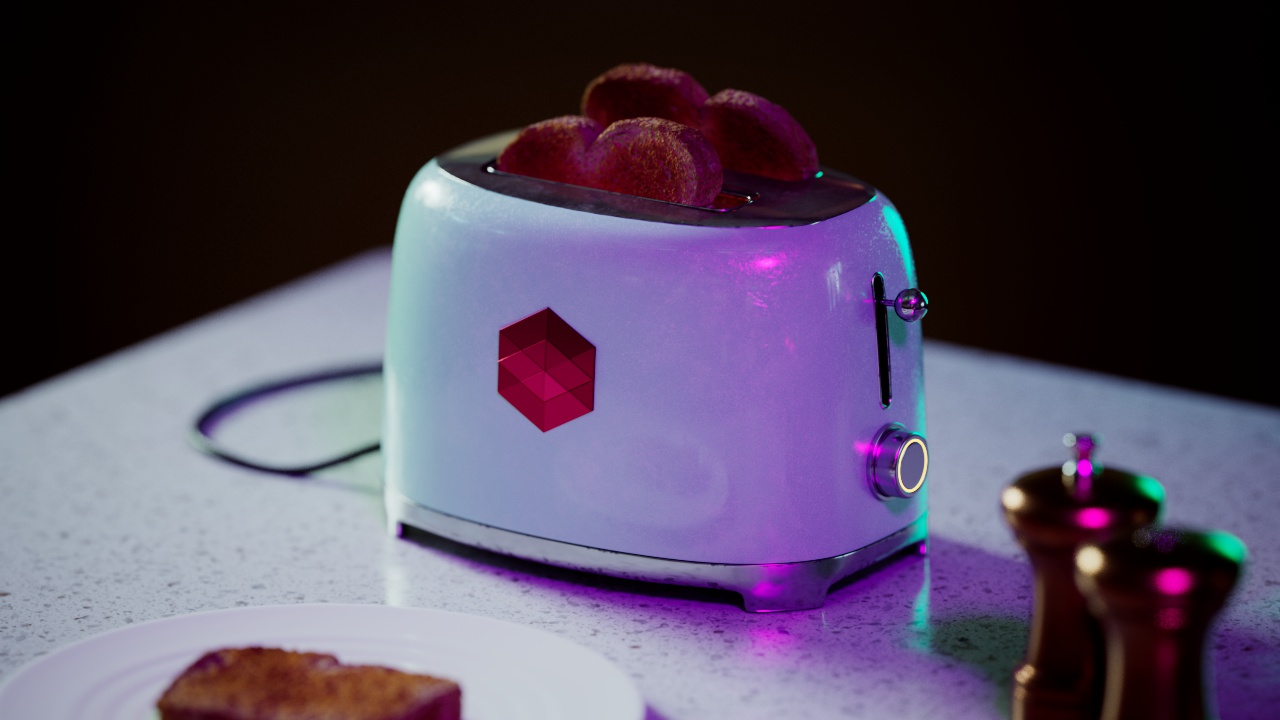
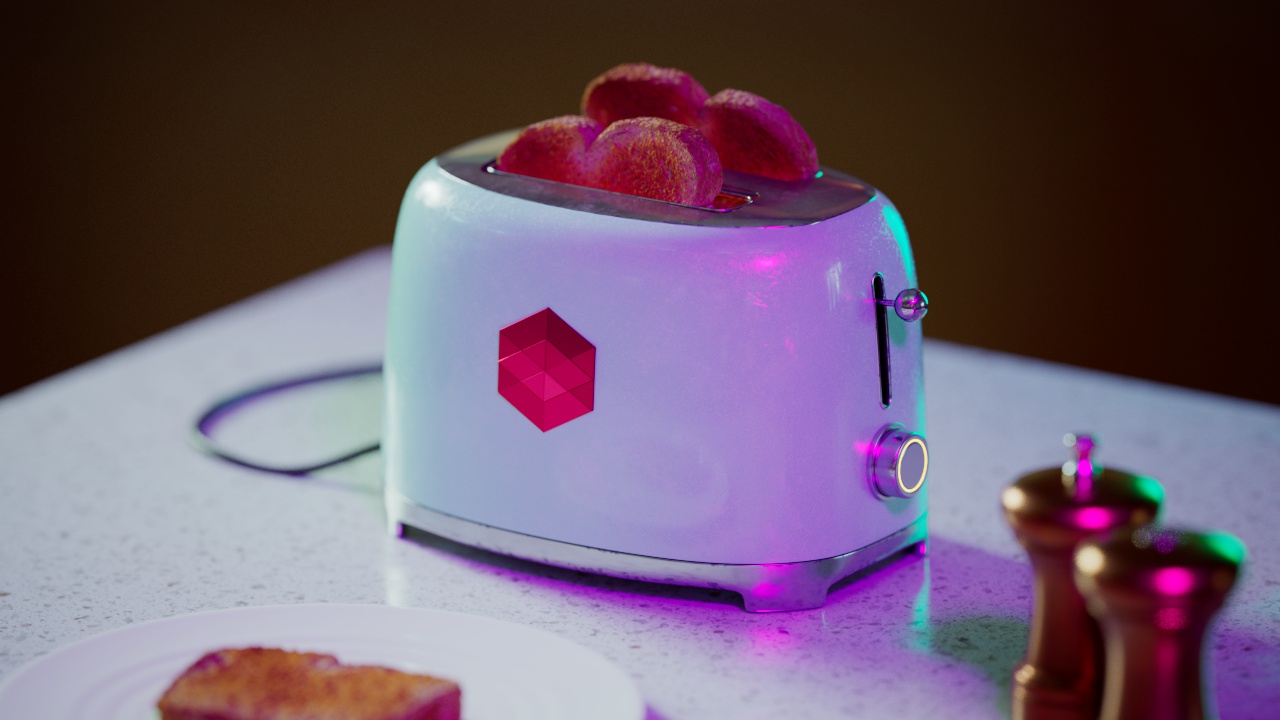
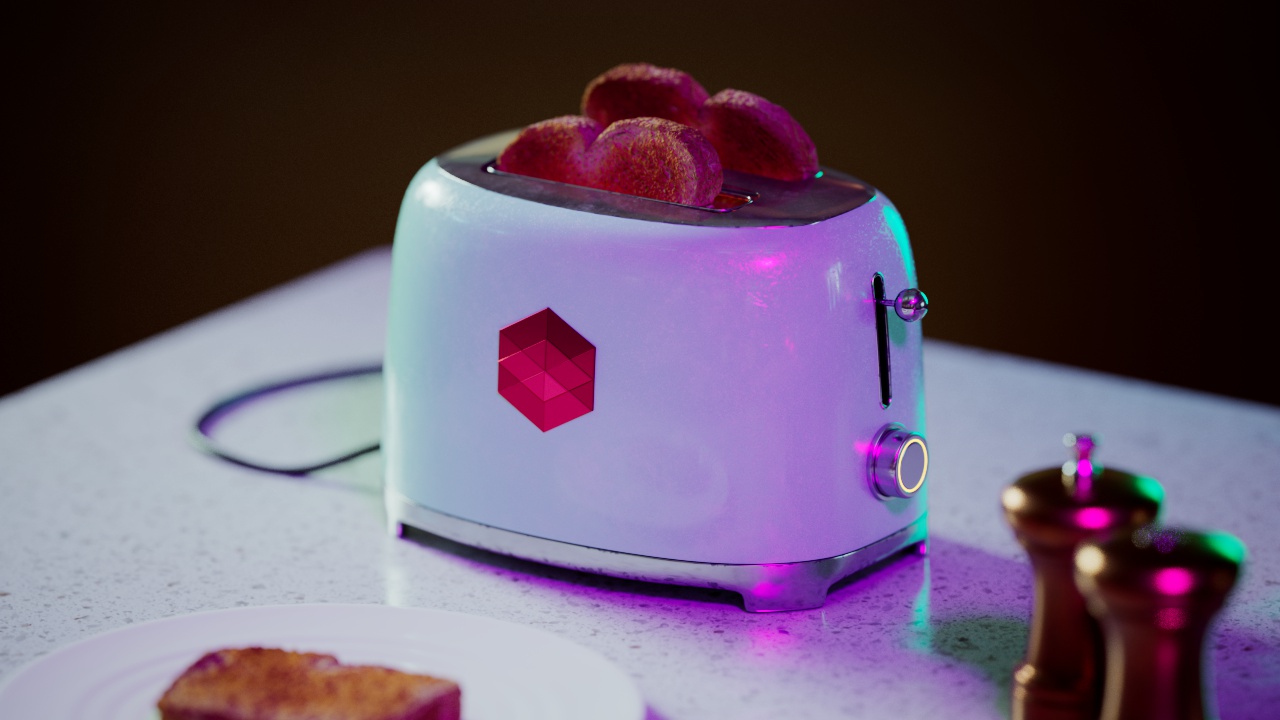
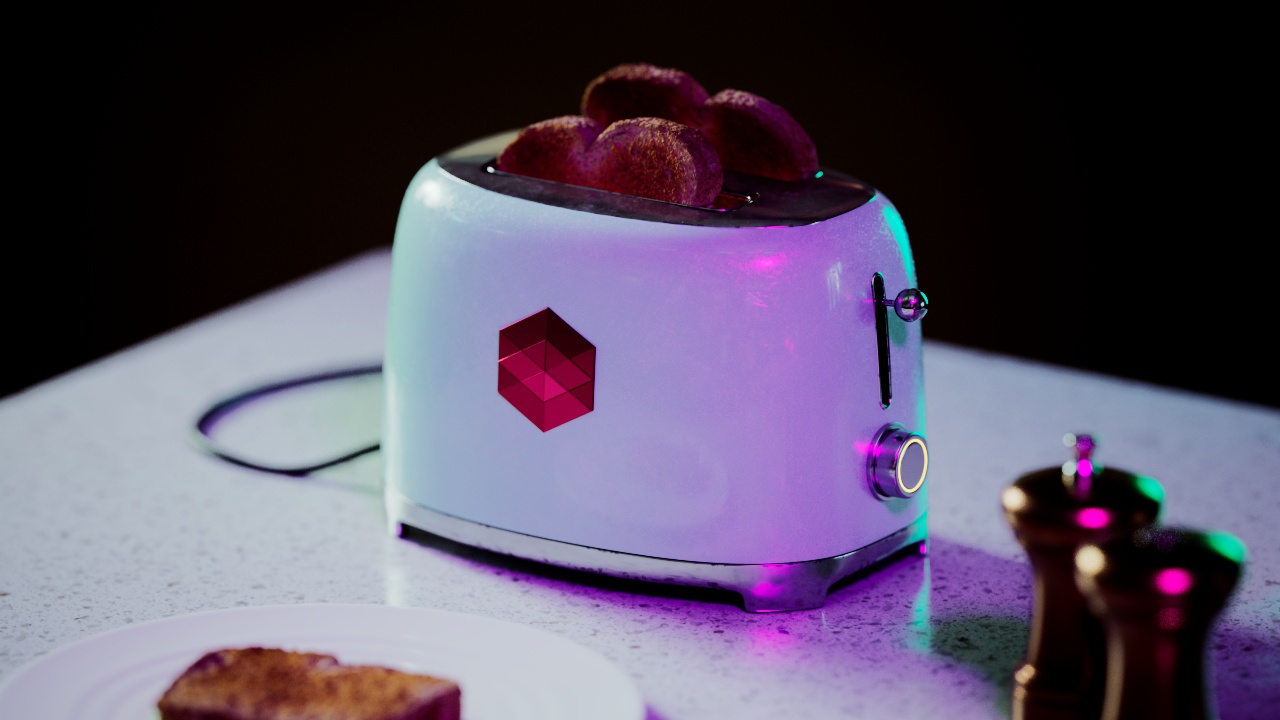
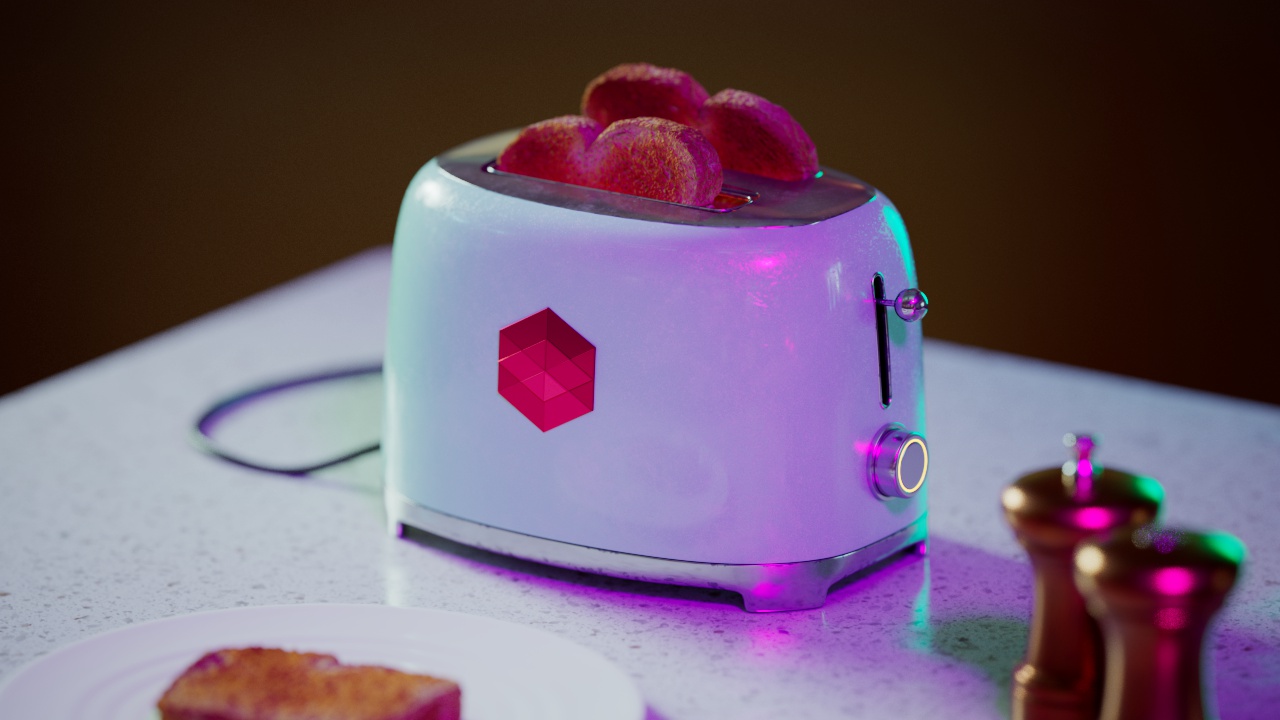
When enabled Allow Desaturation desaturates the highlights of your image once they reach a certain threshold. This desaturation effect simulates what happens in real world cameras/film.
当允许去饱和度达到一定阈值时,它会去饱和度。这种去饱和效果模拟了真实世界中的相机/胶片。
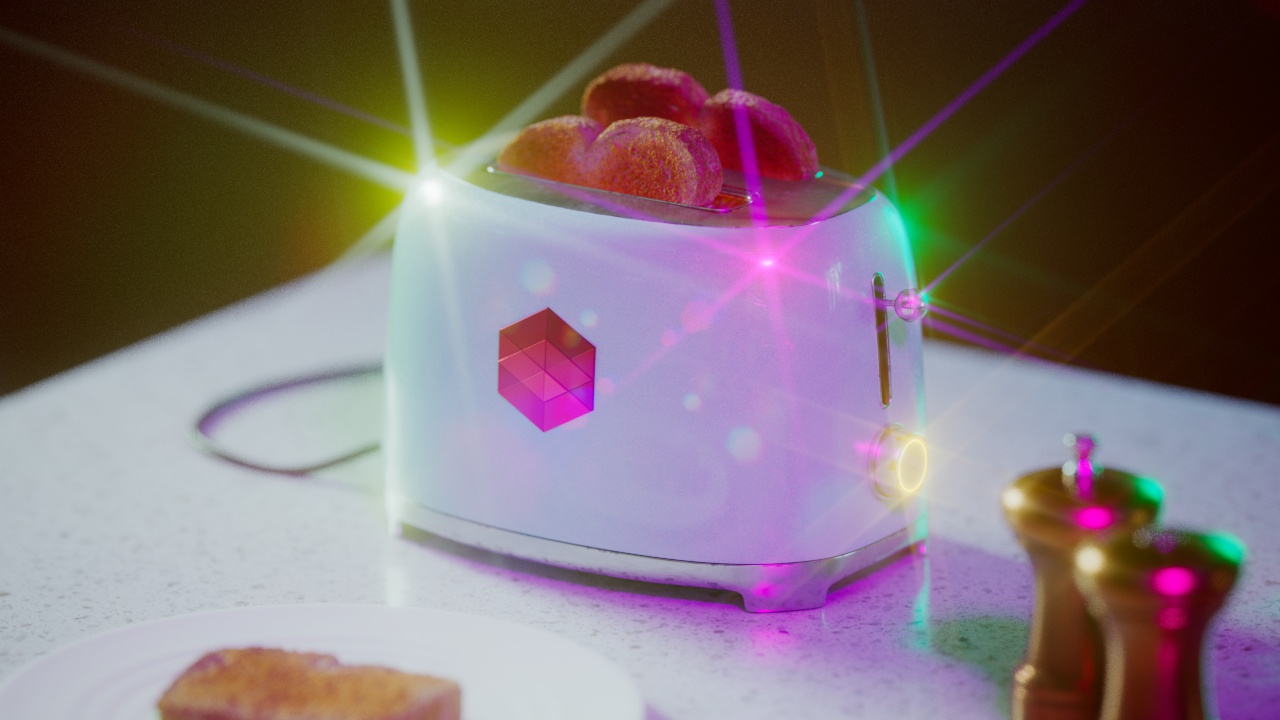
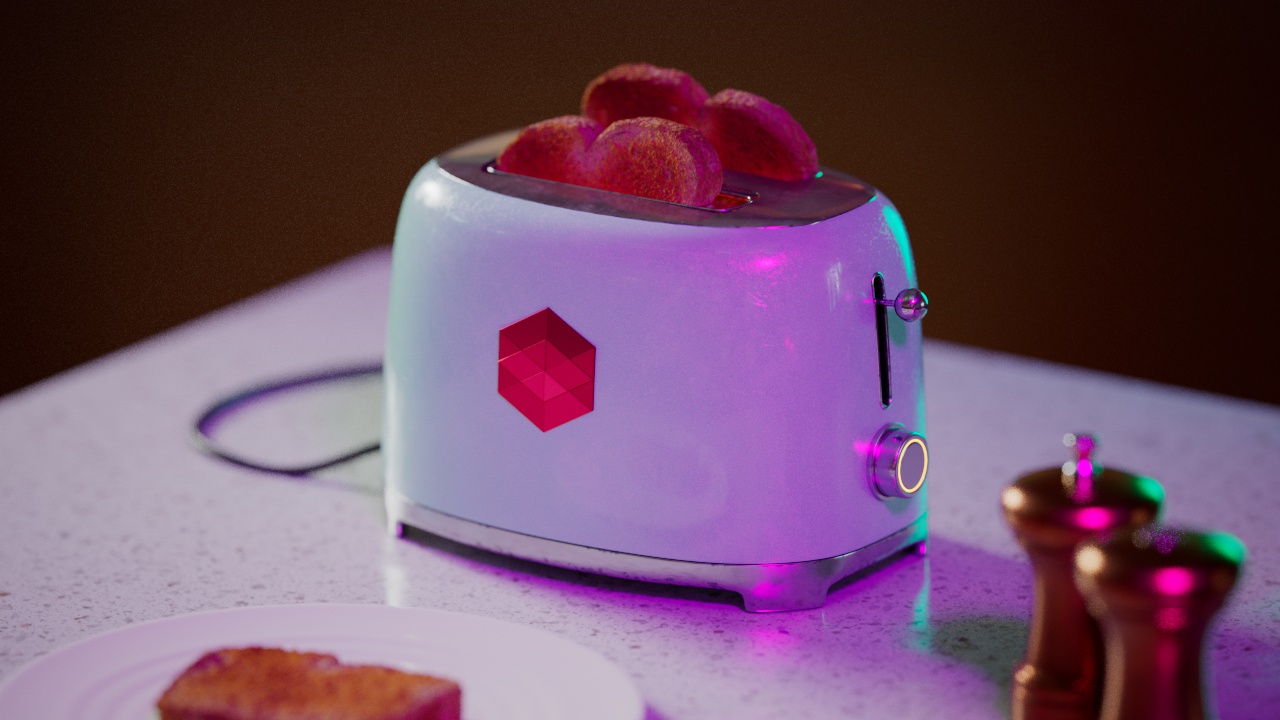
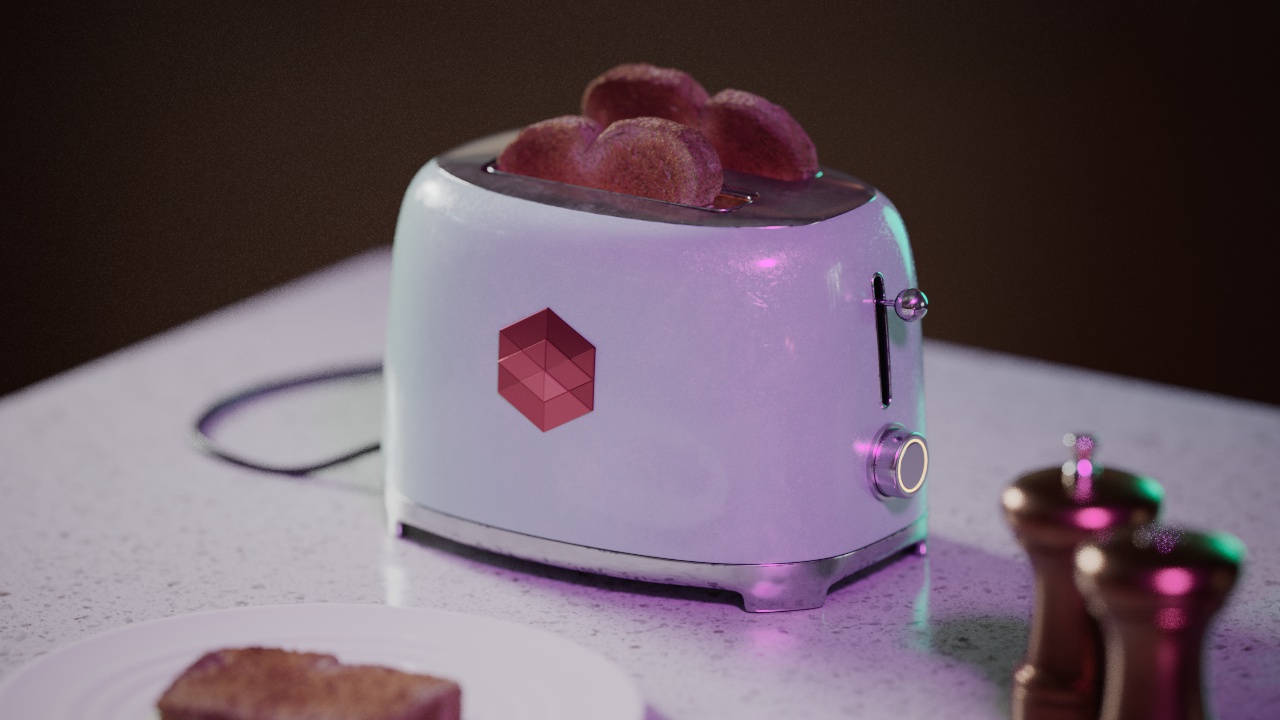
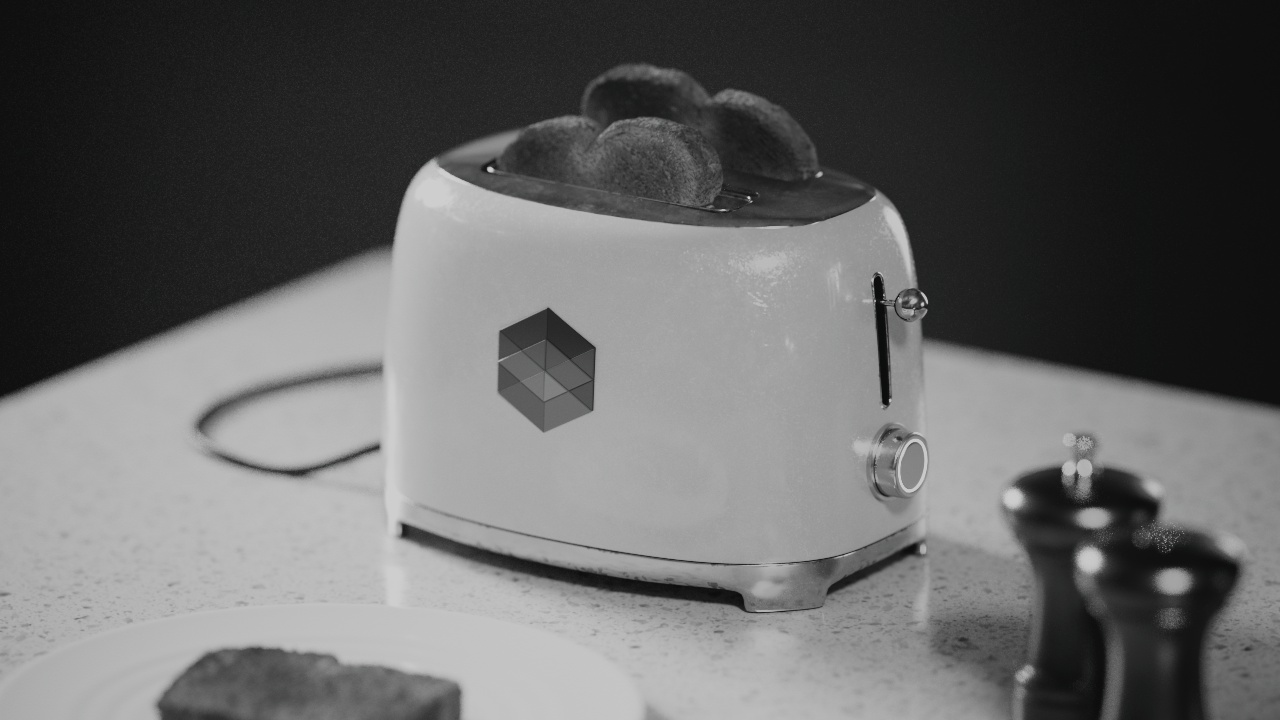
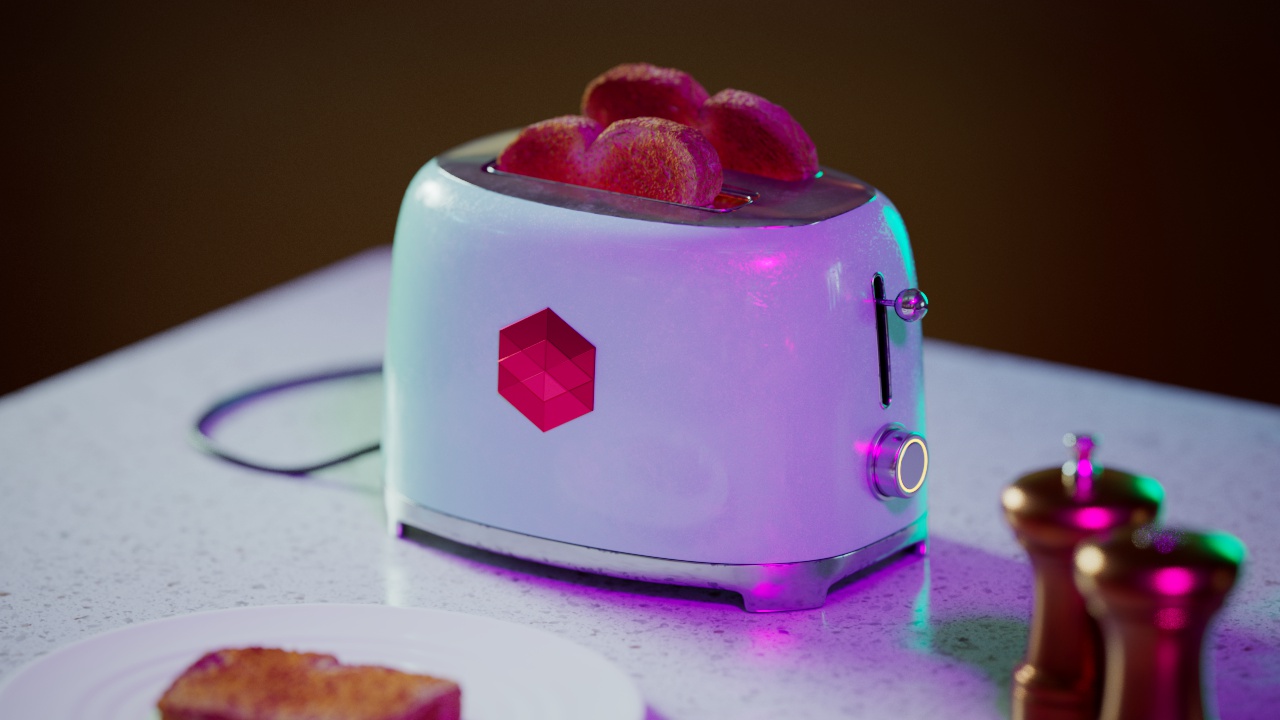
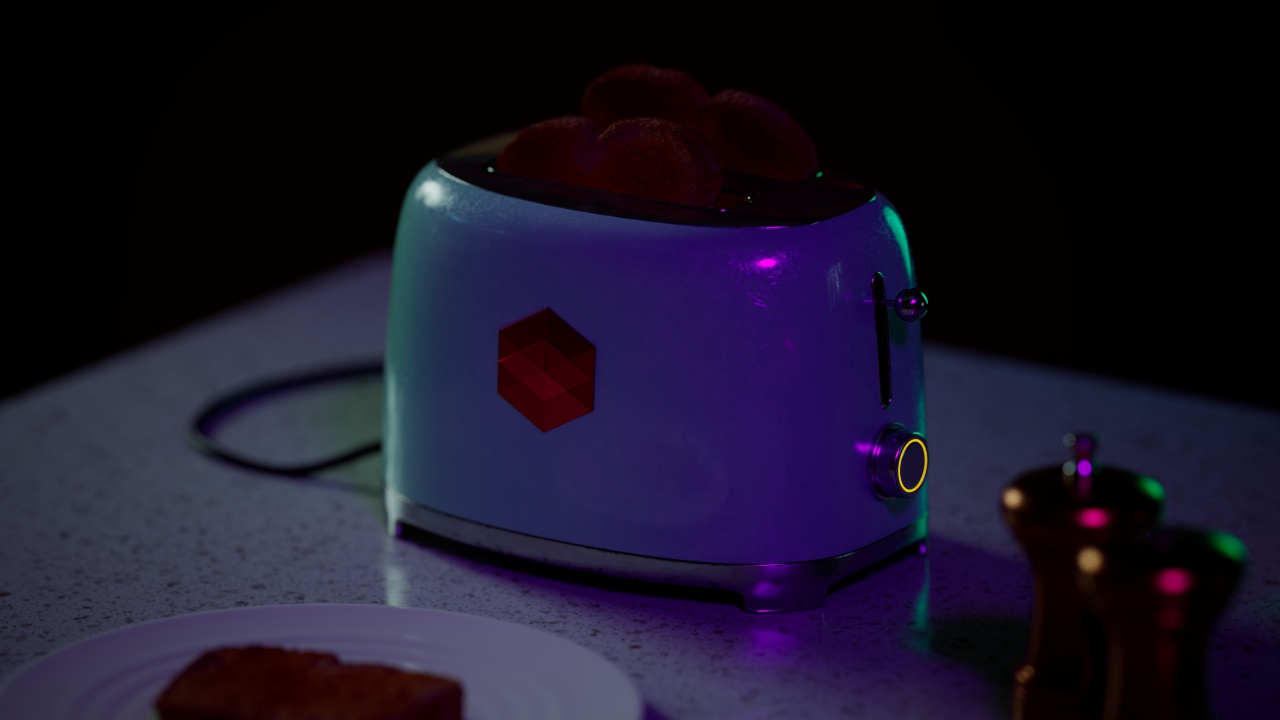
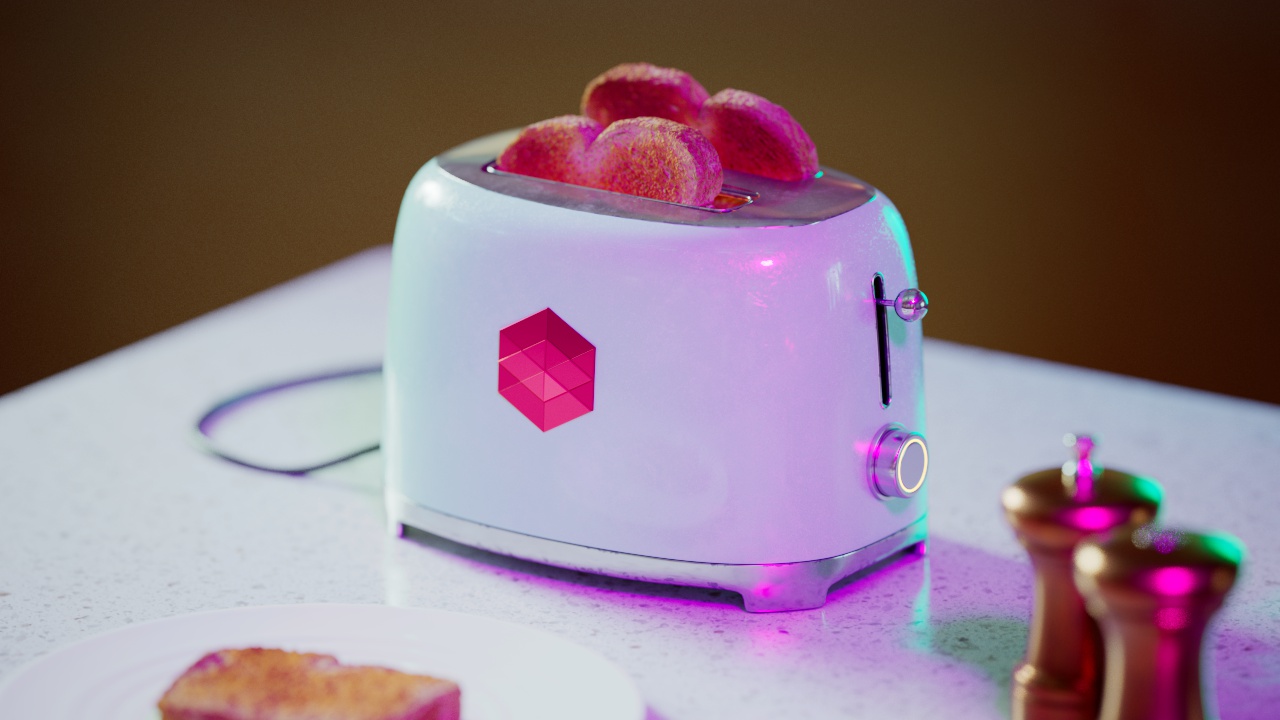
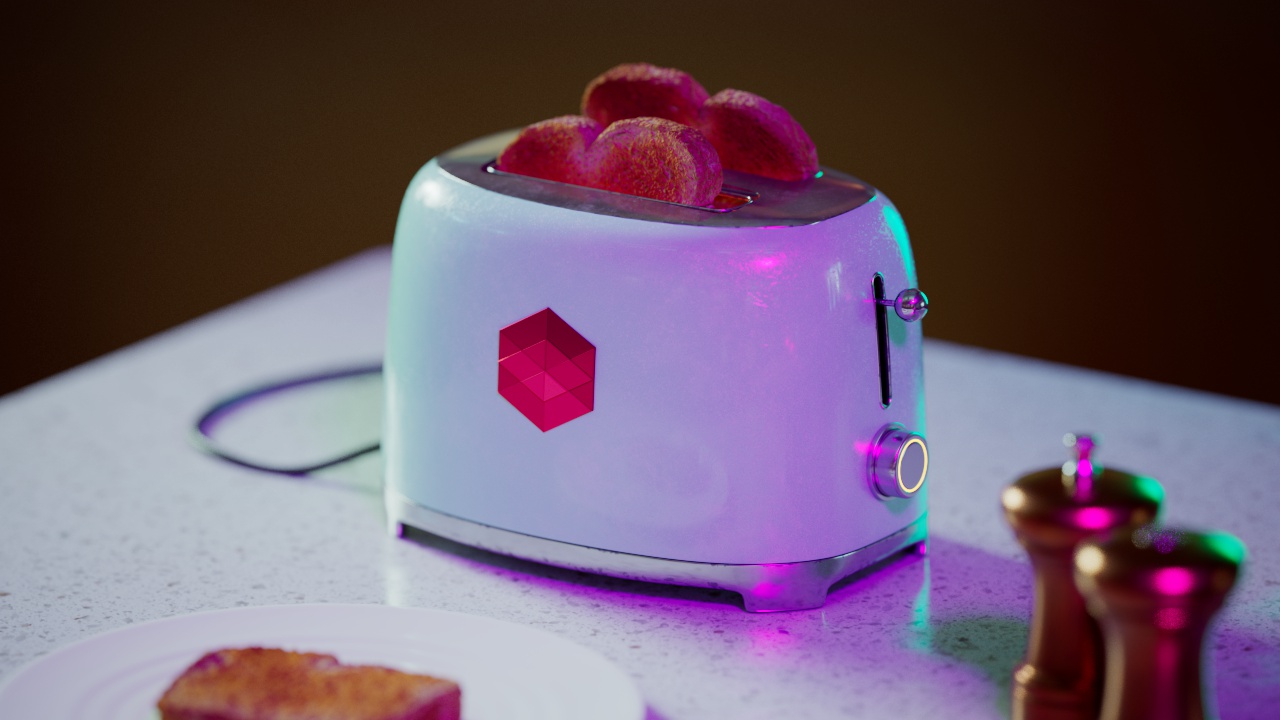
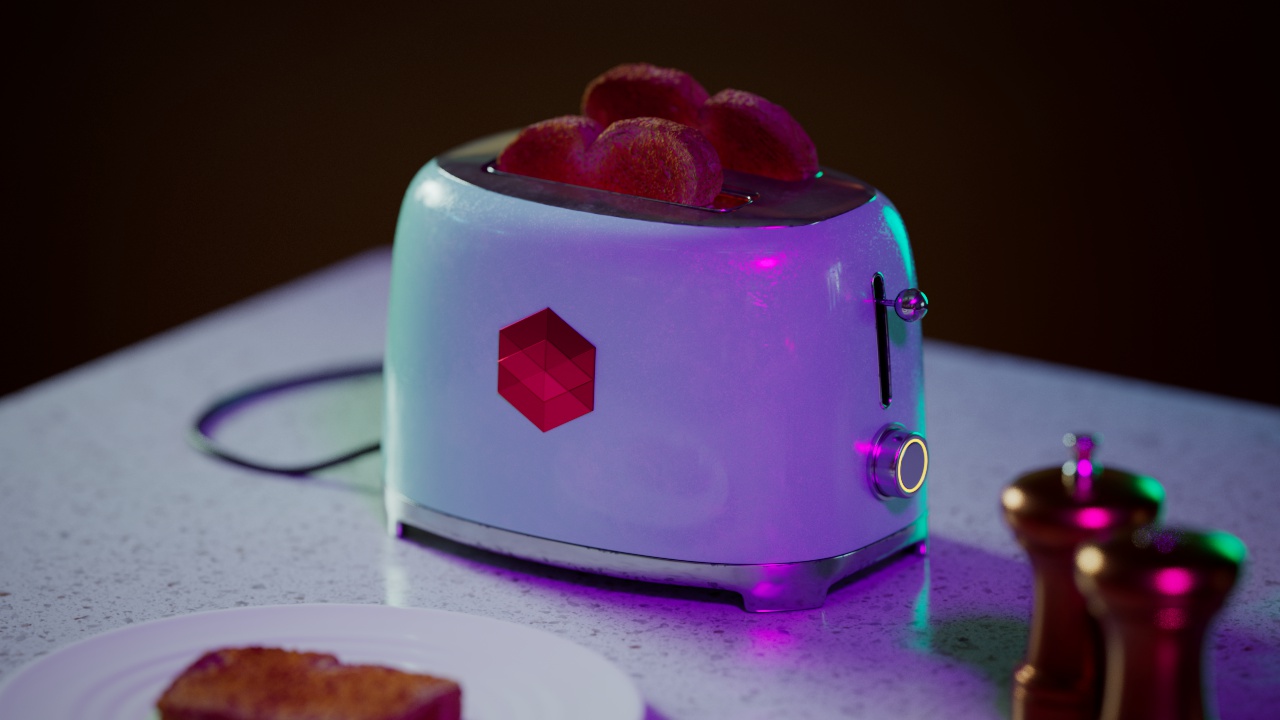
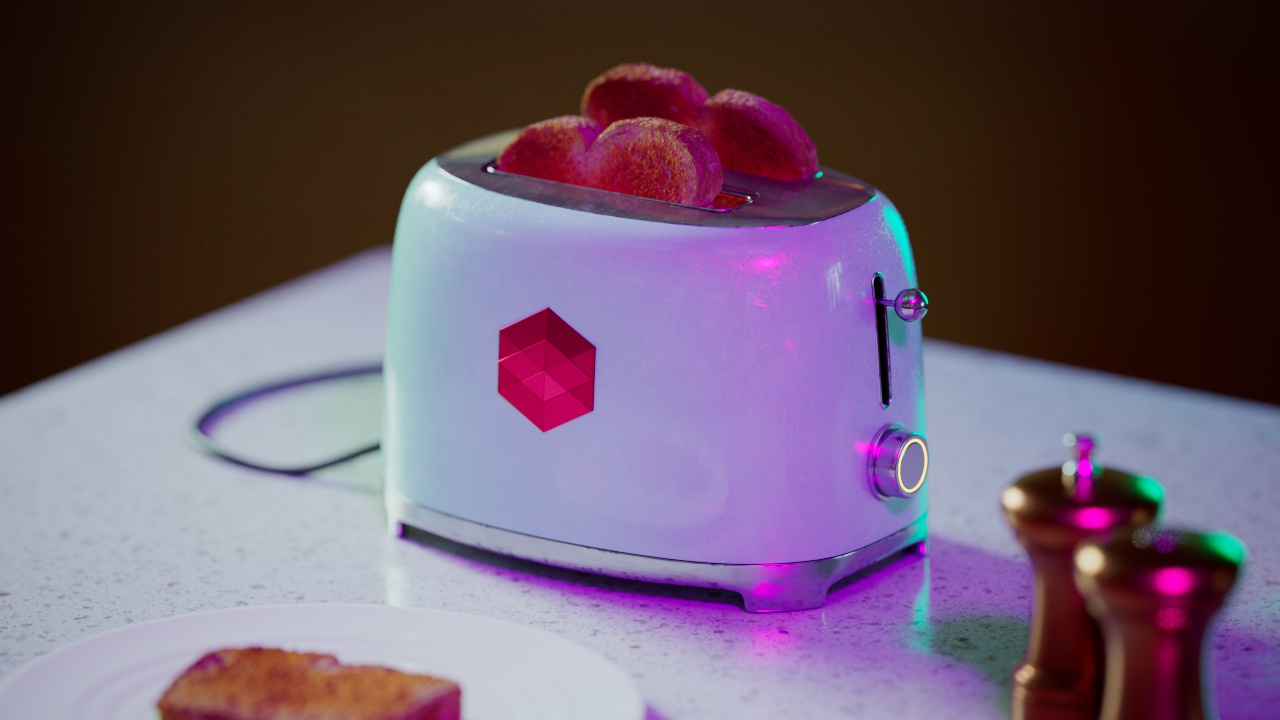
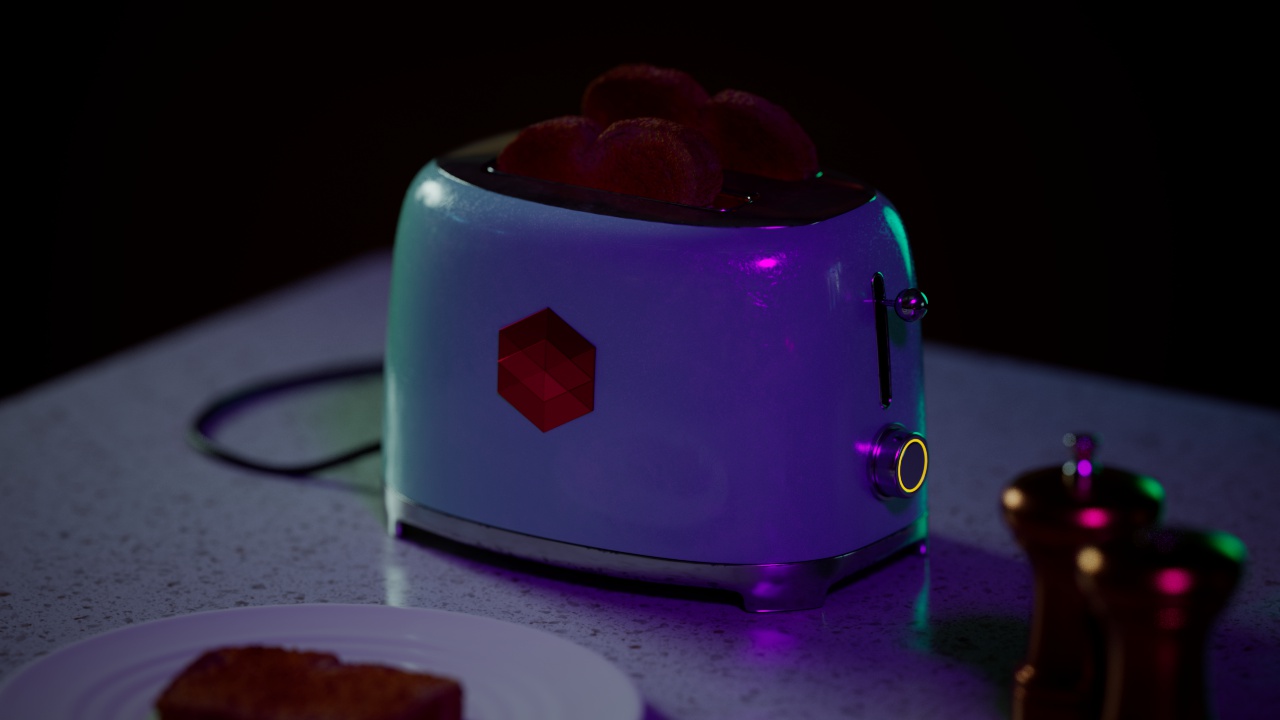
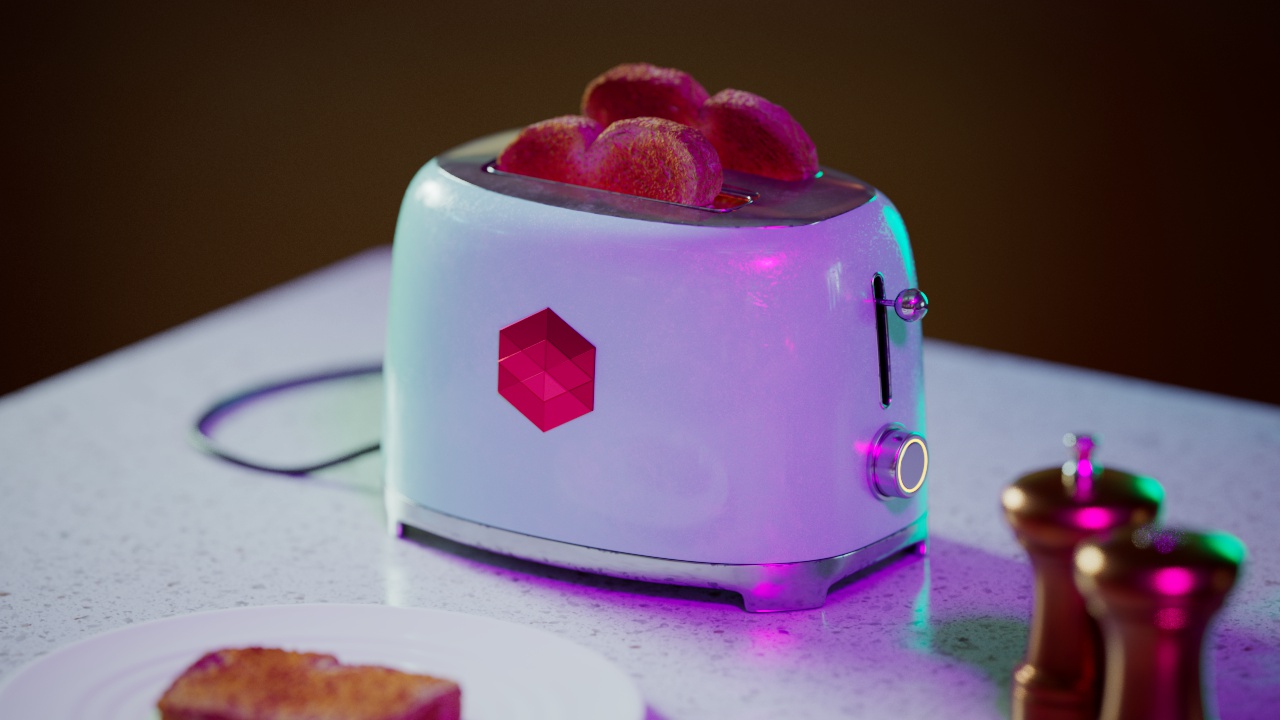
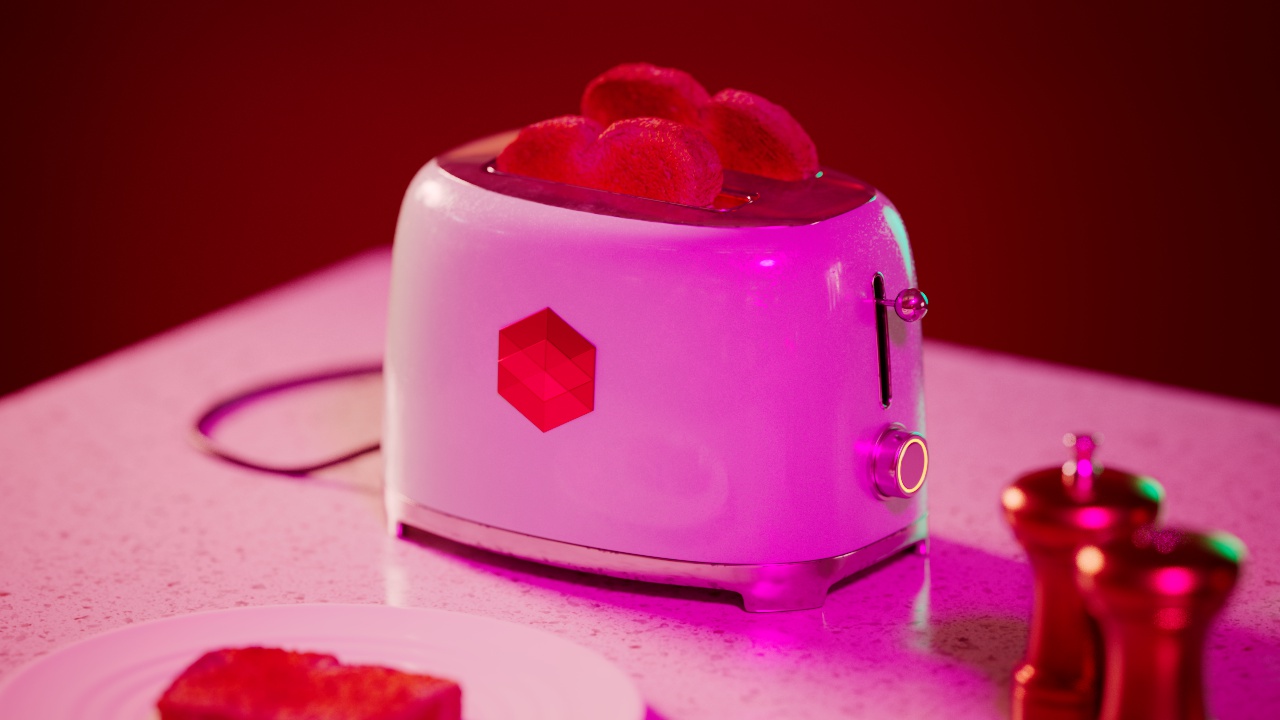
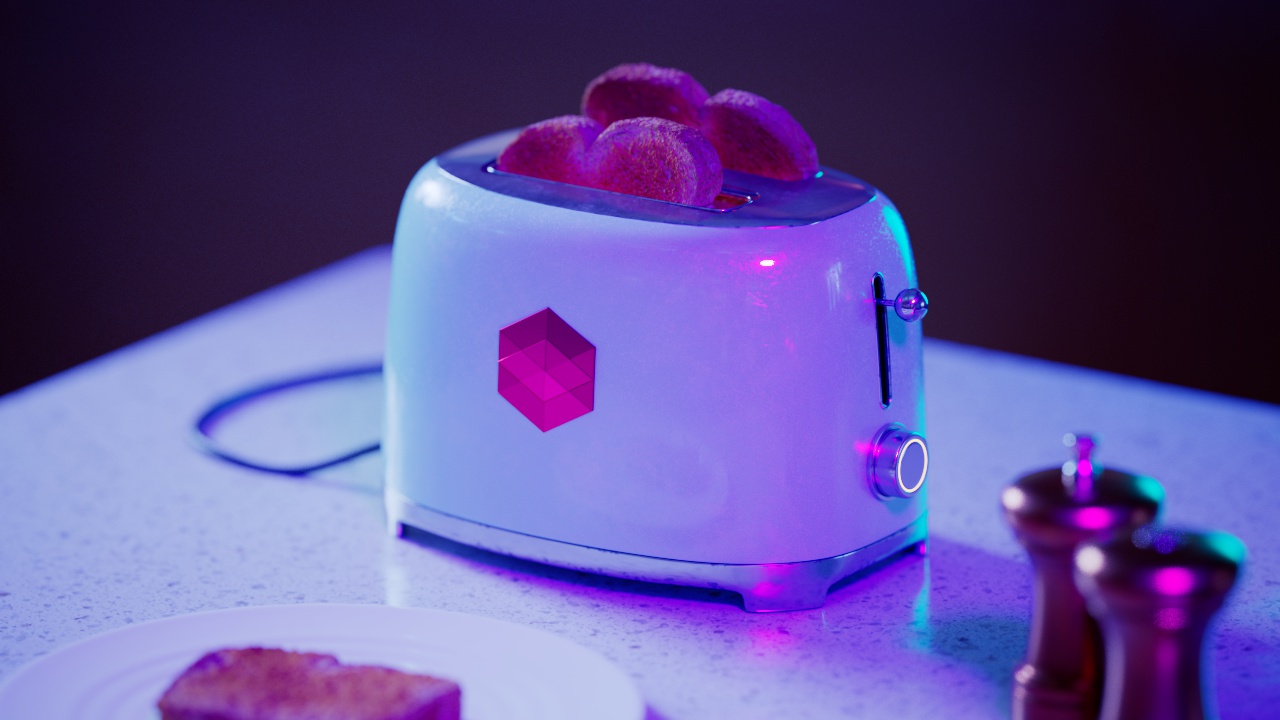
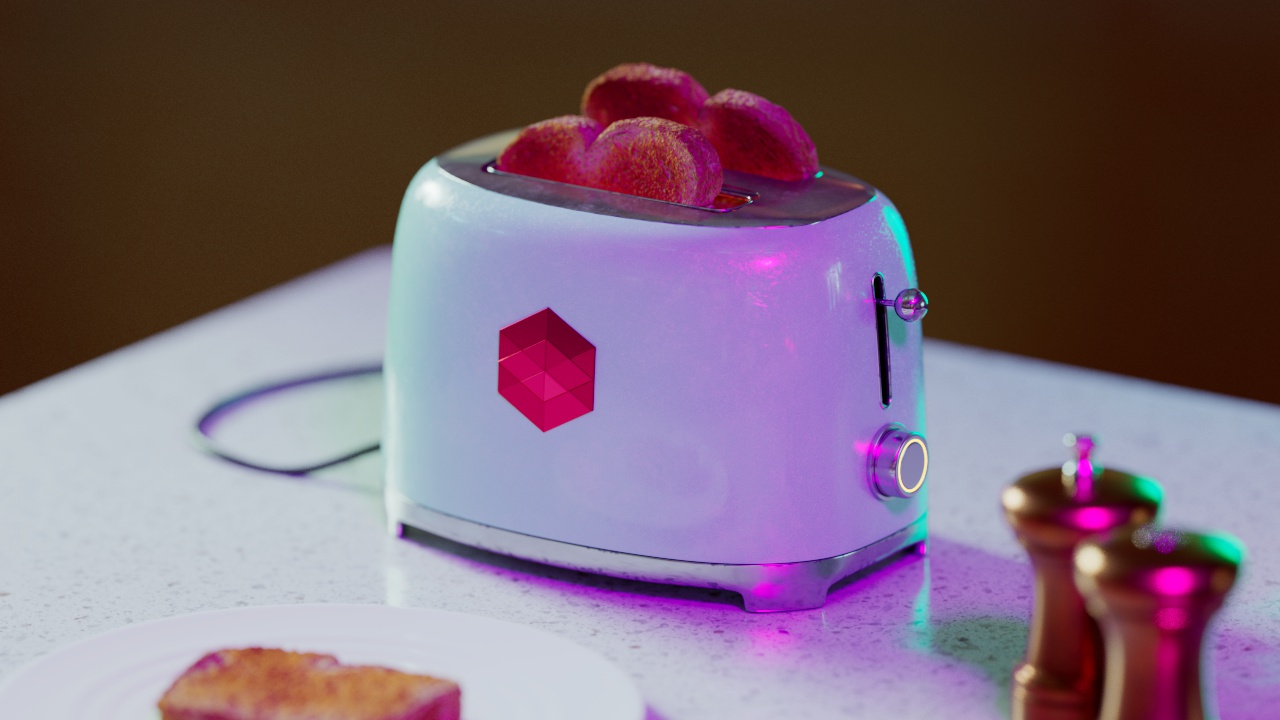
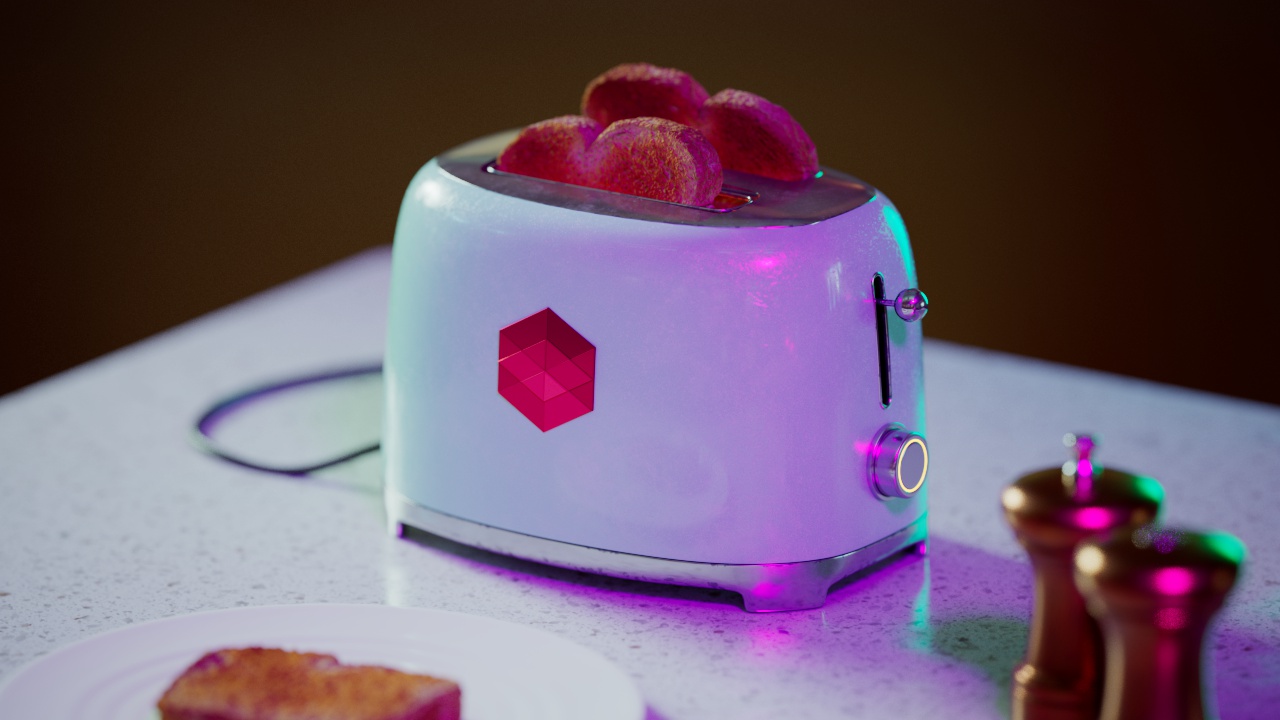
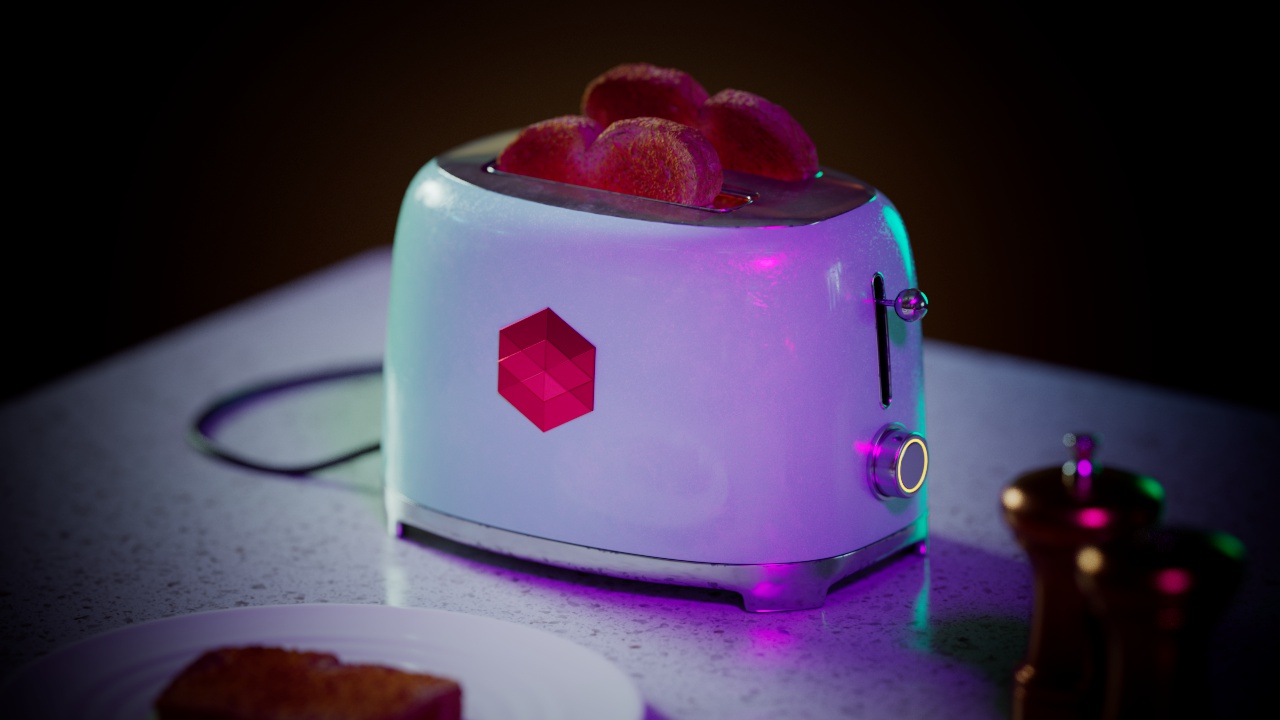
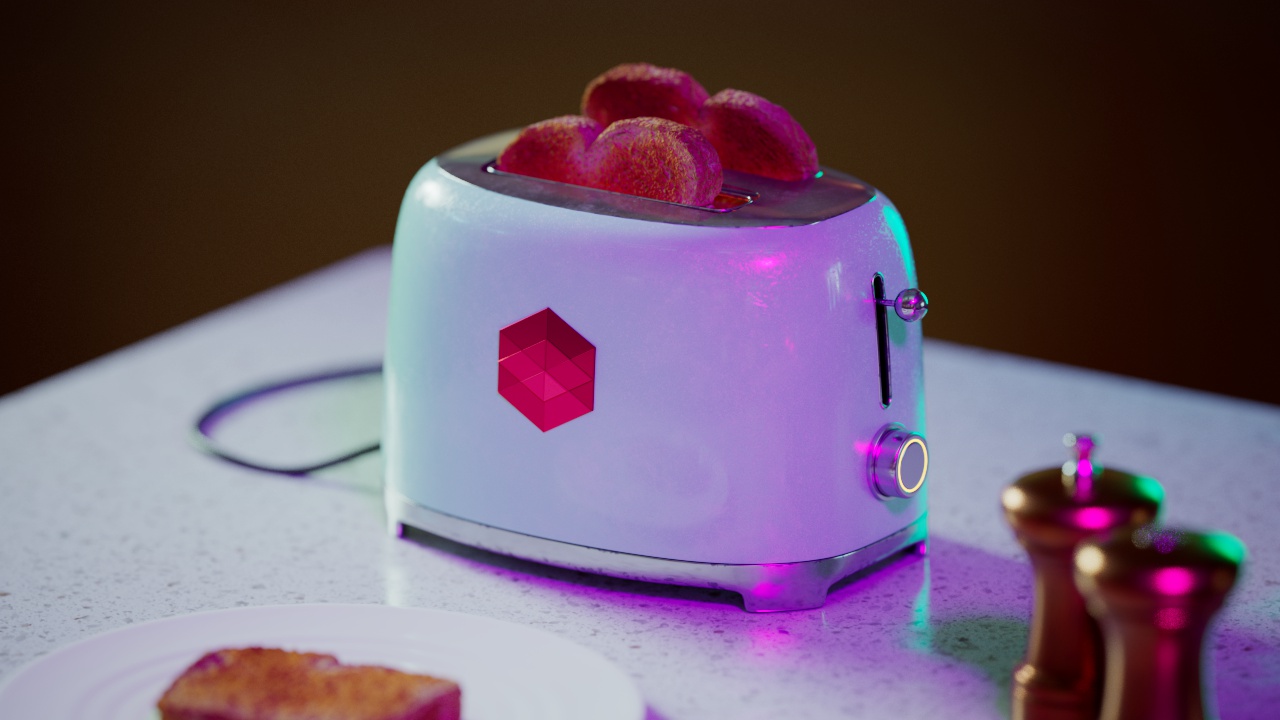
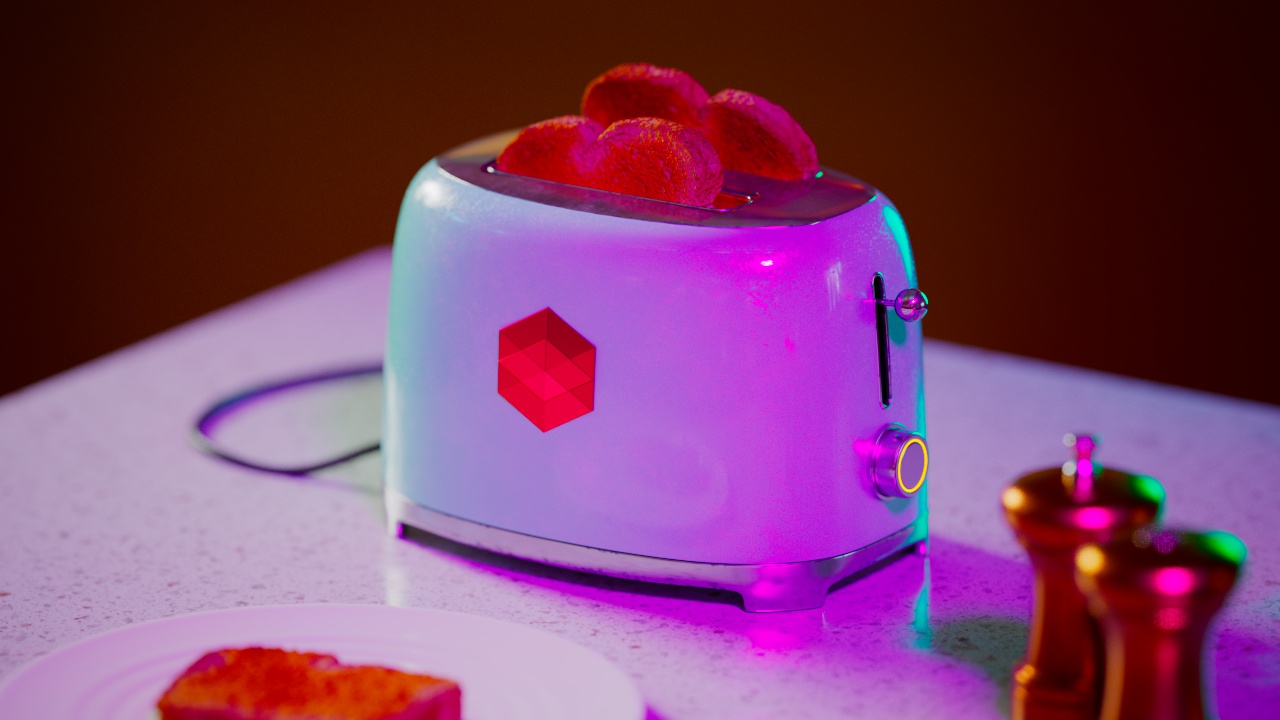
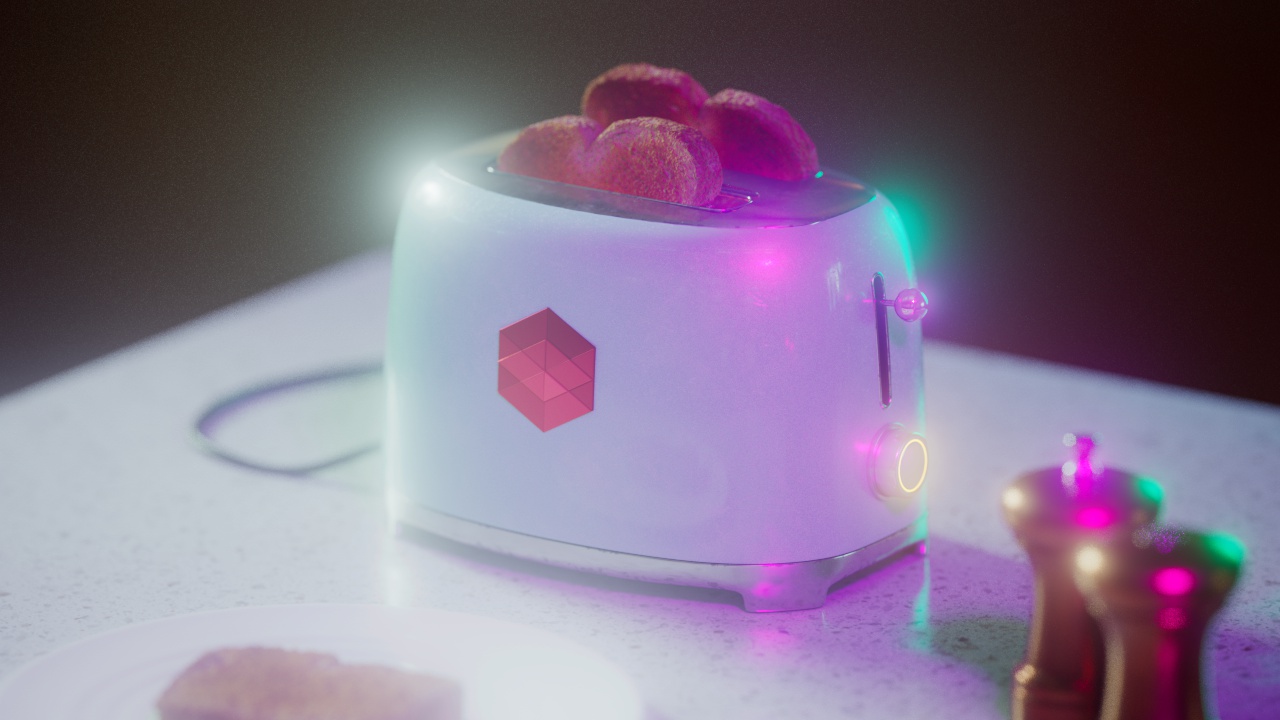
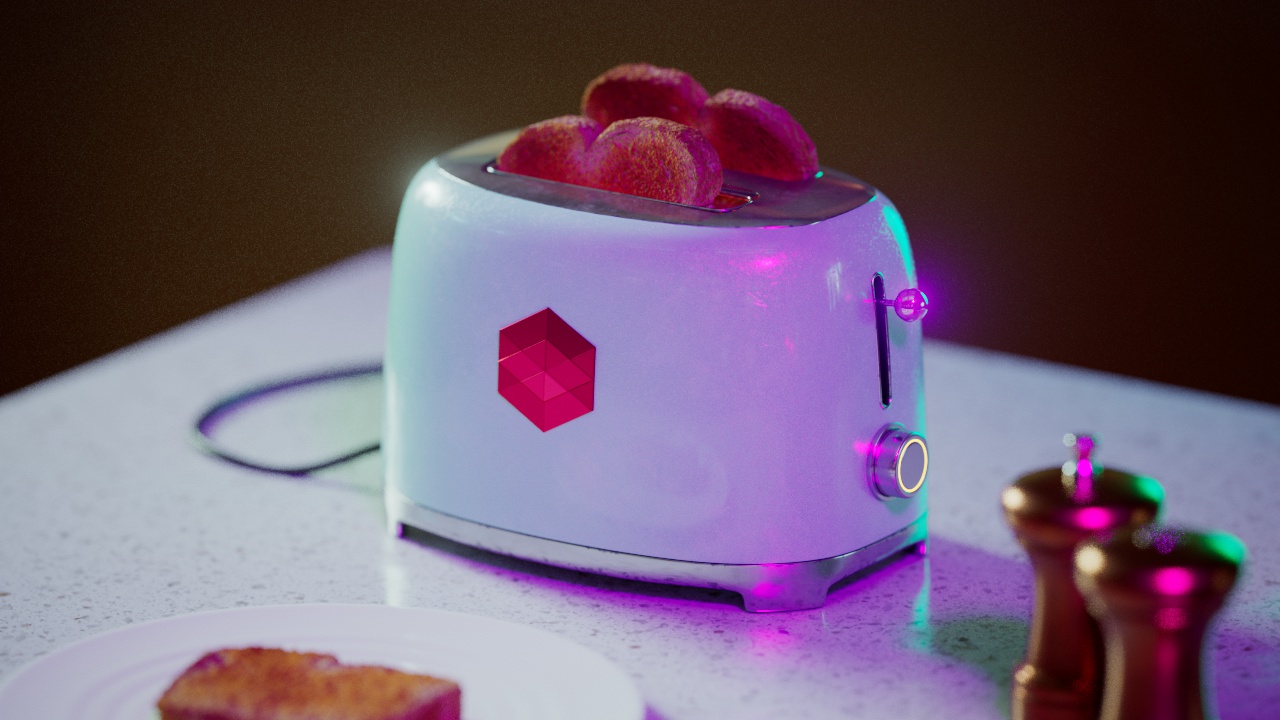
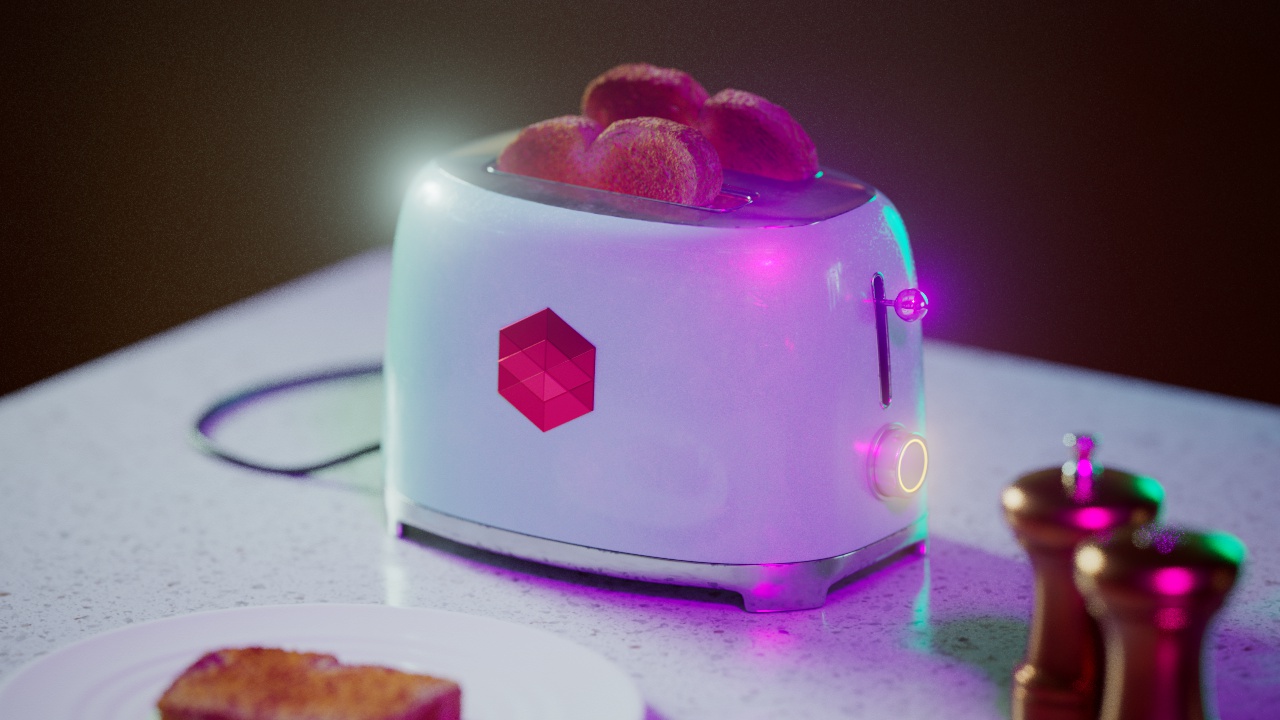
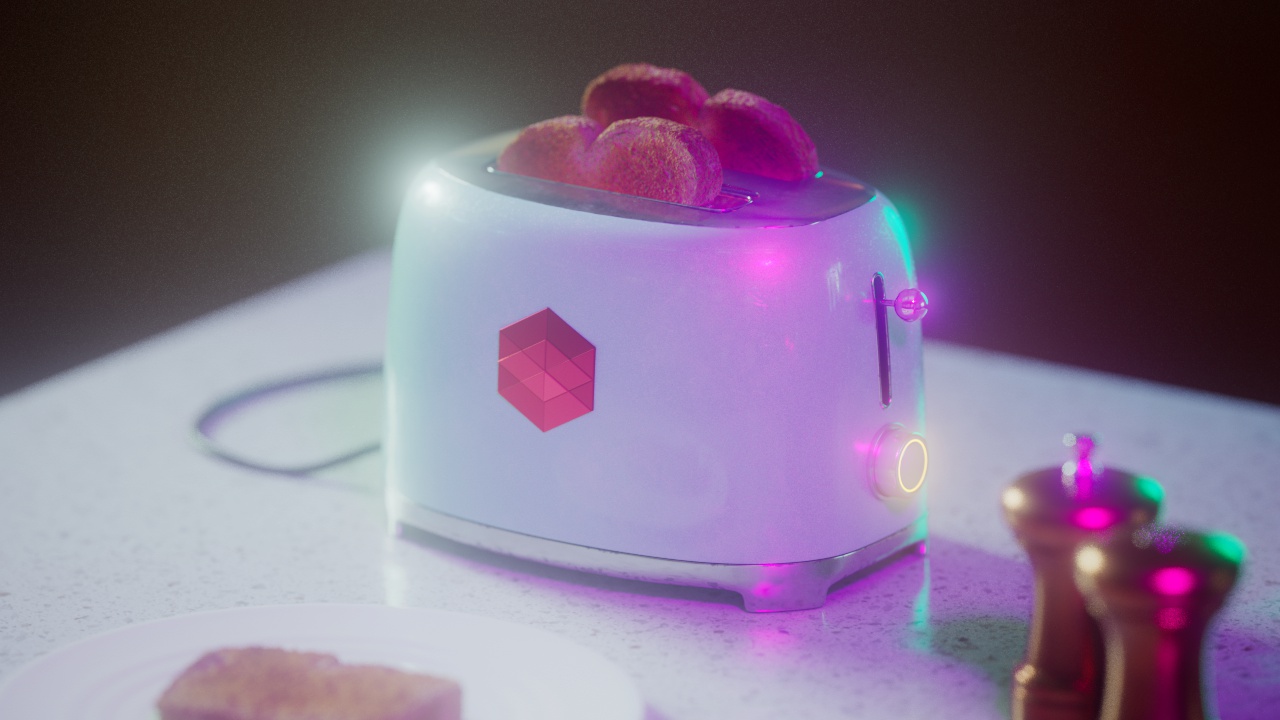
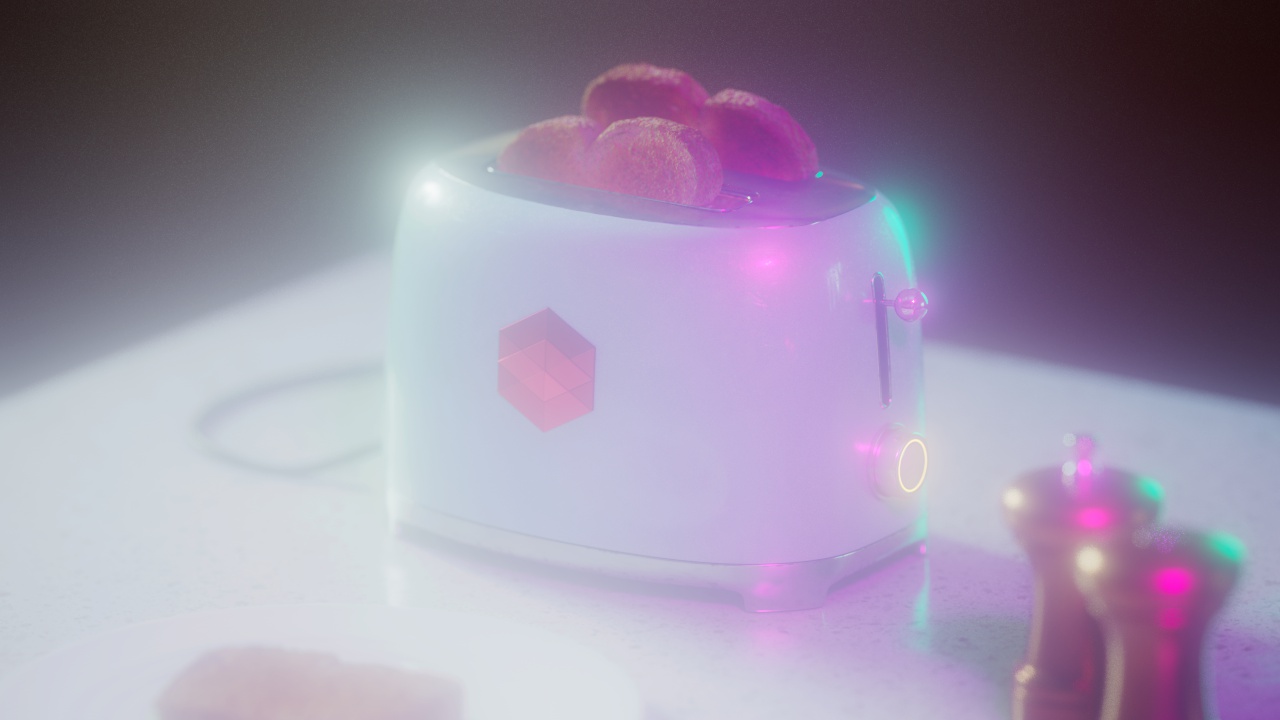
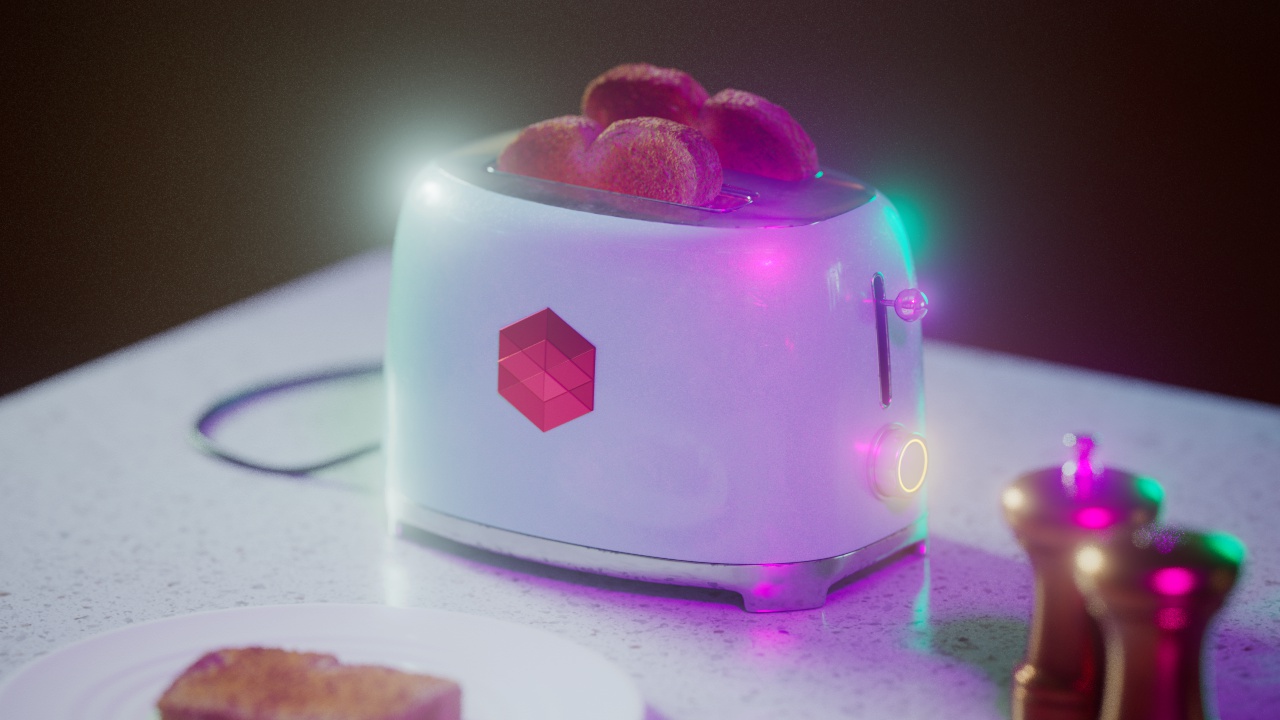
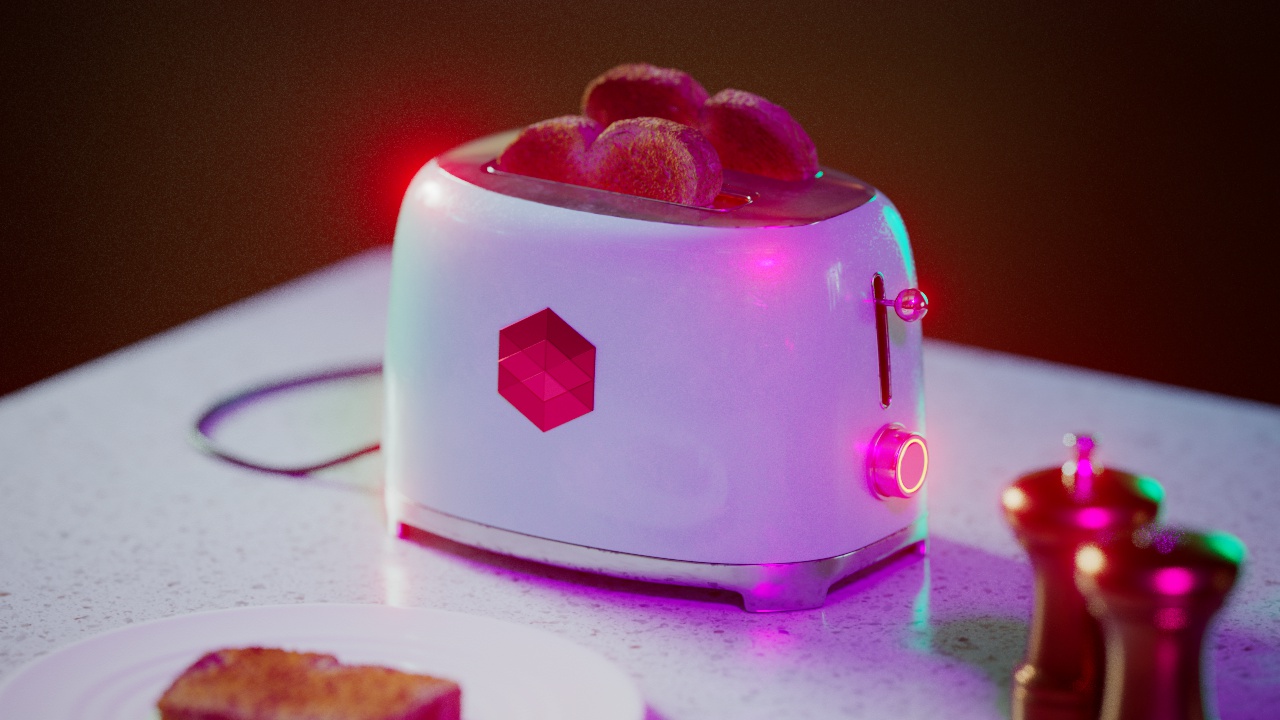
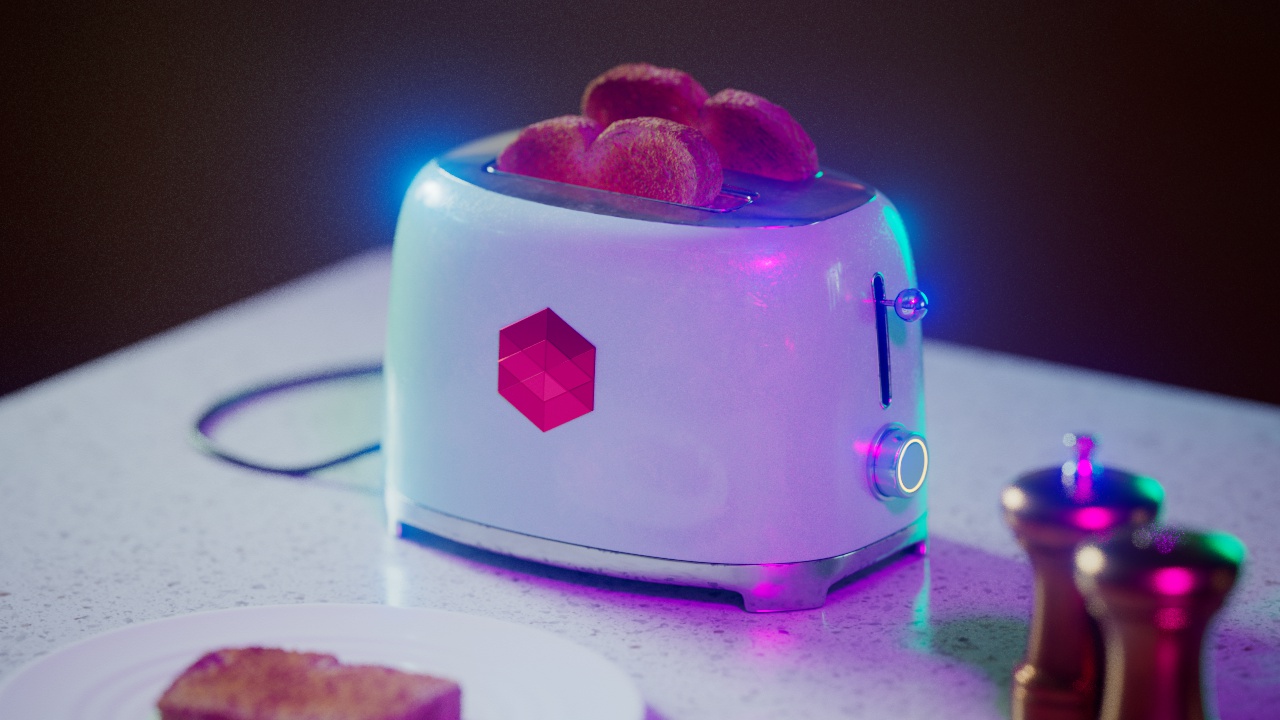
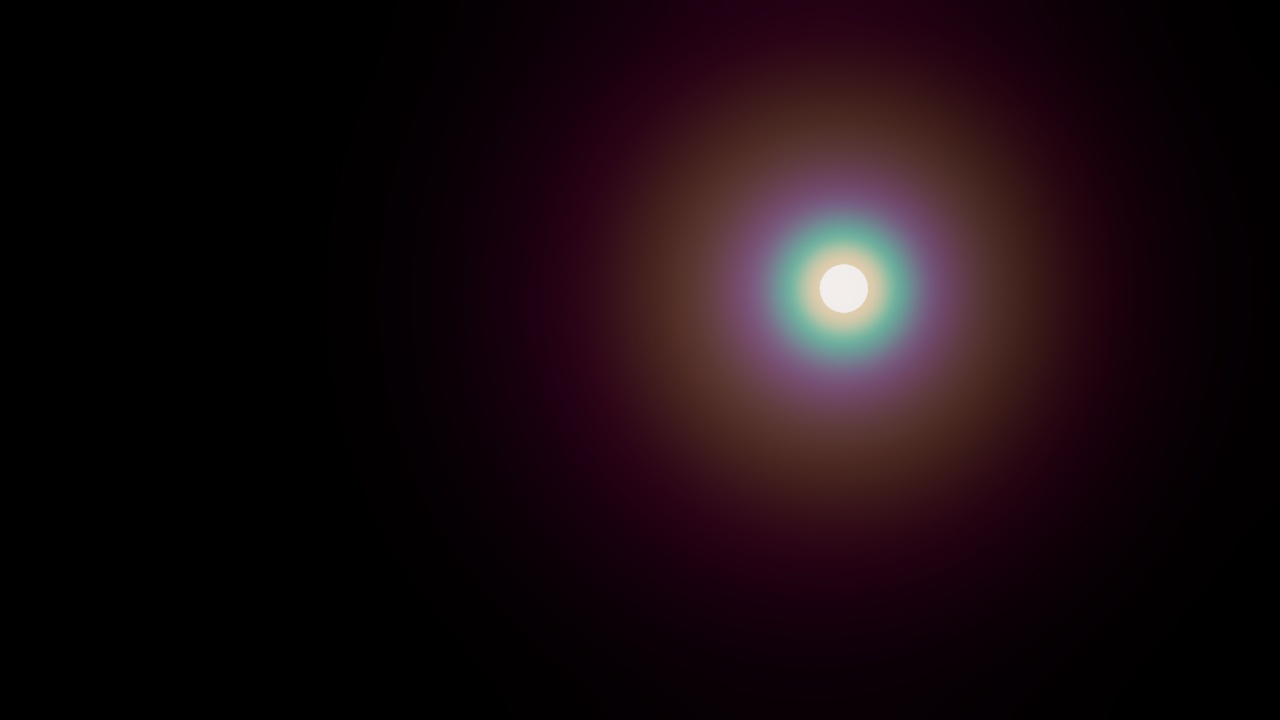
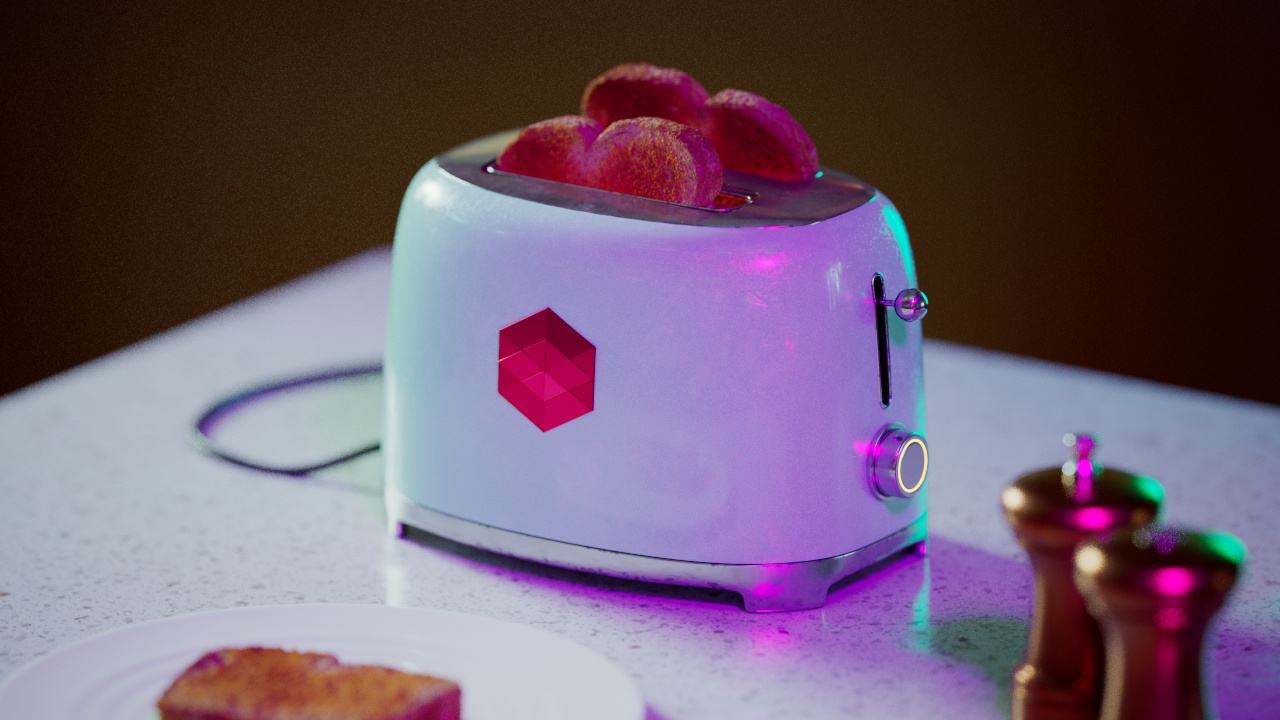
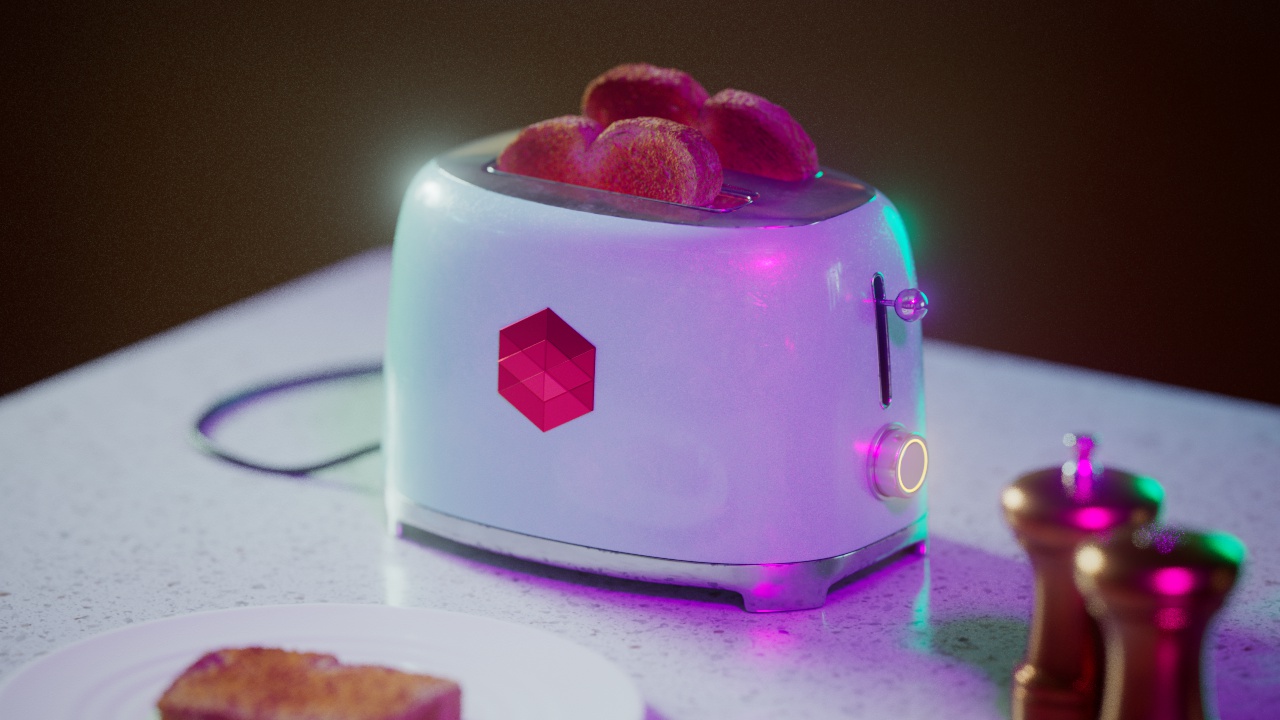
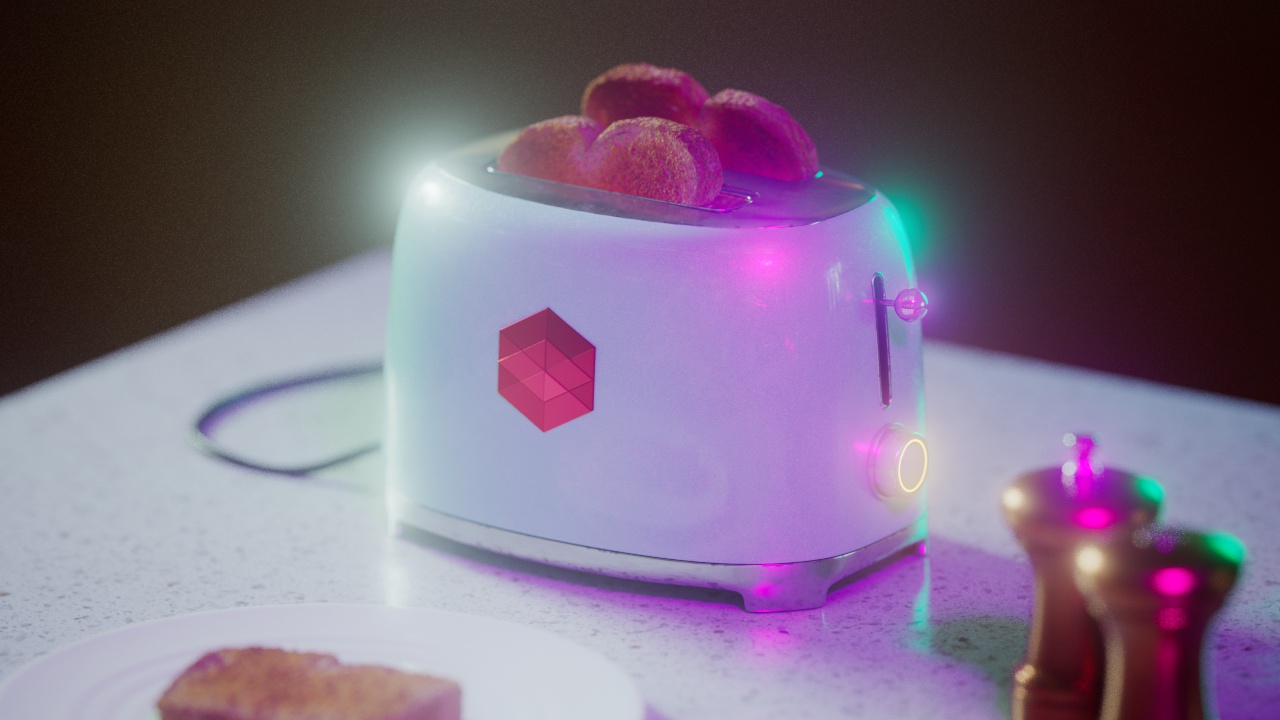
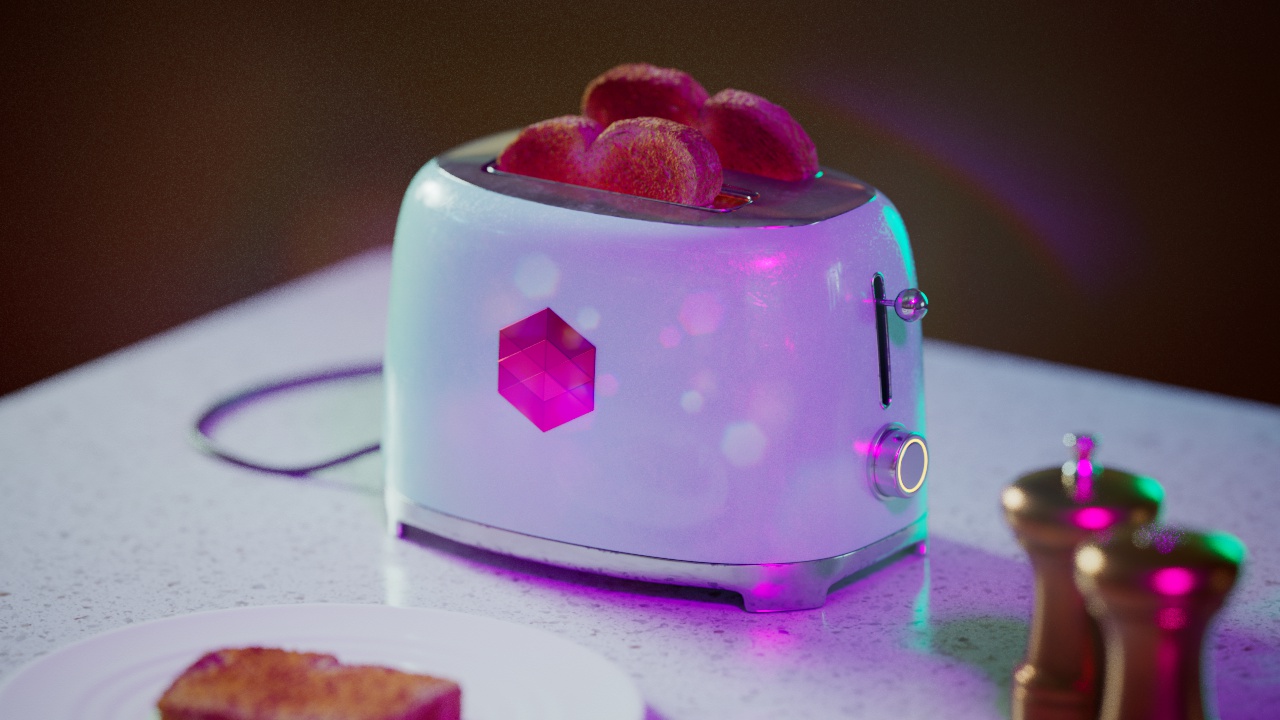
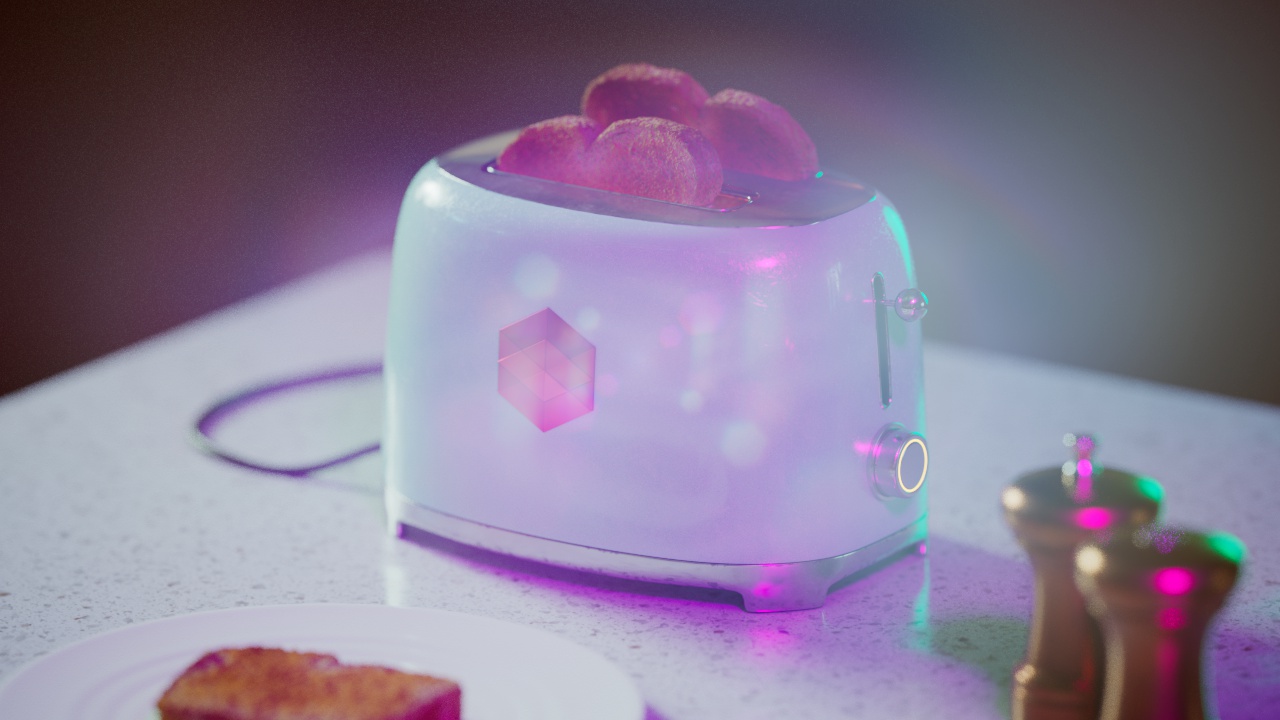
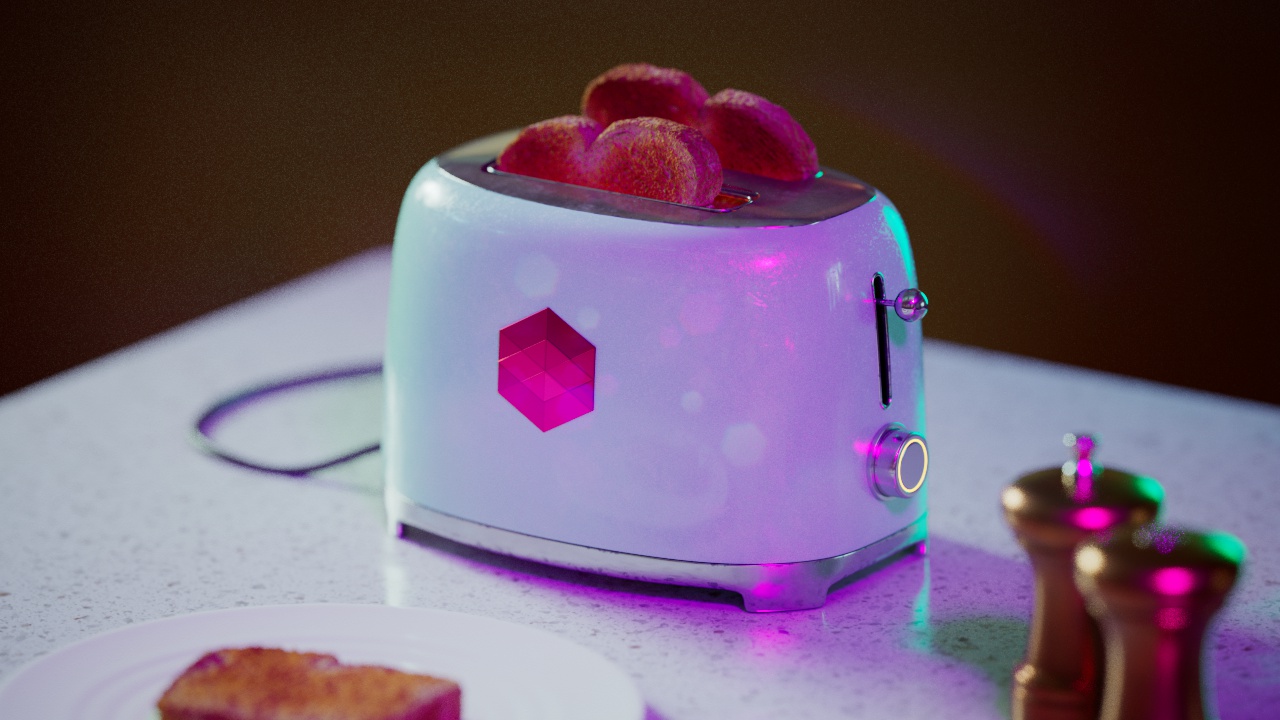
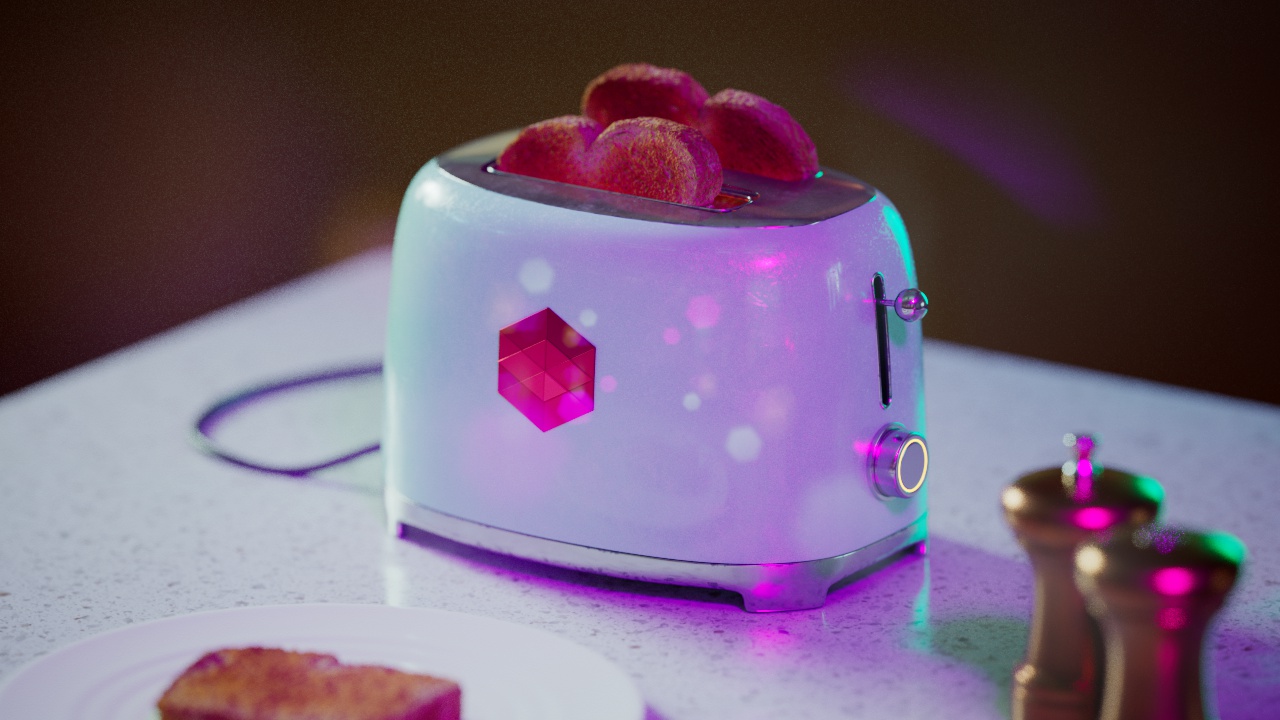
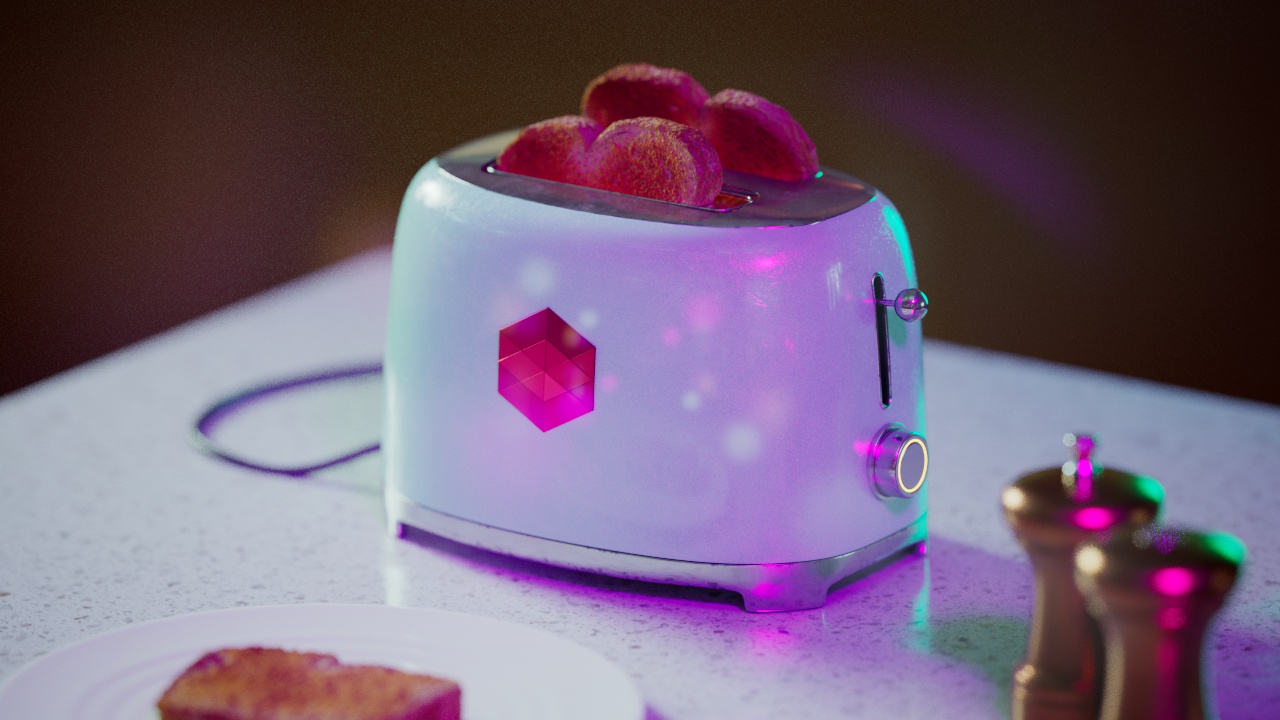
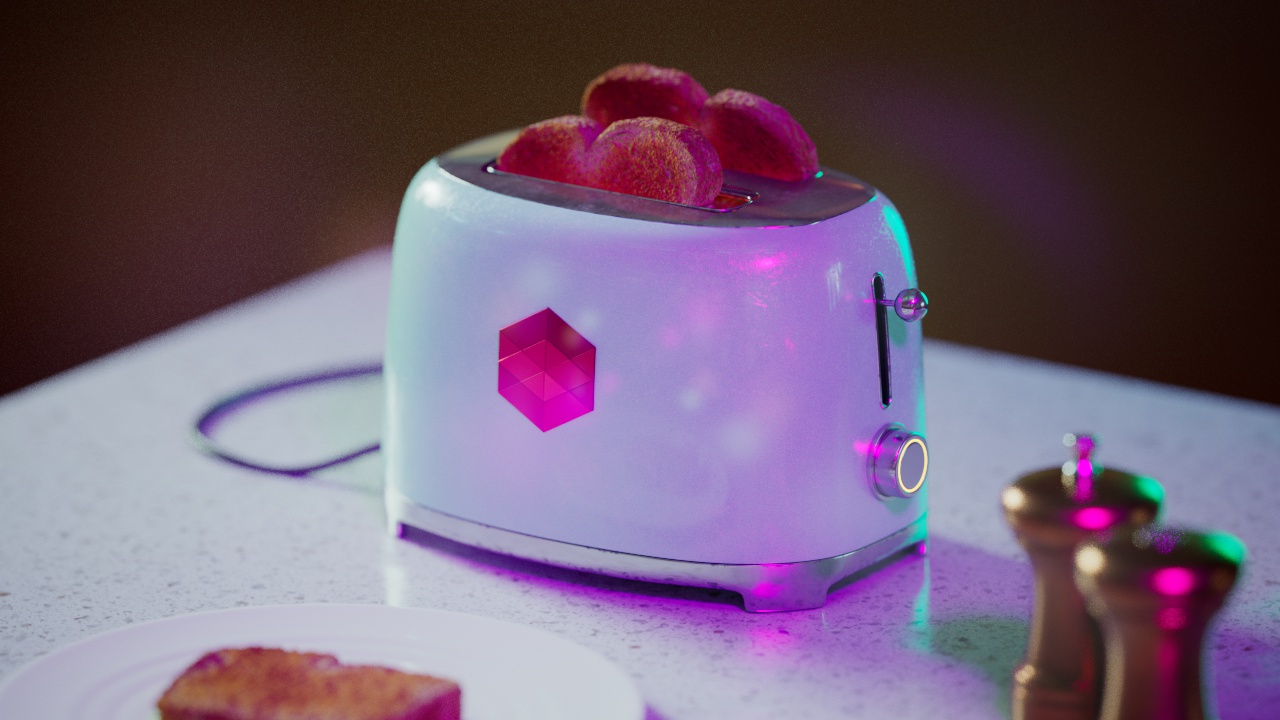
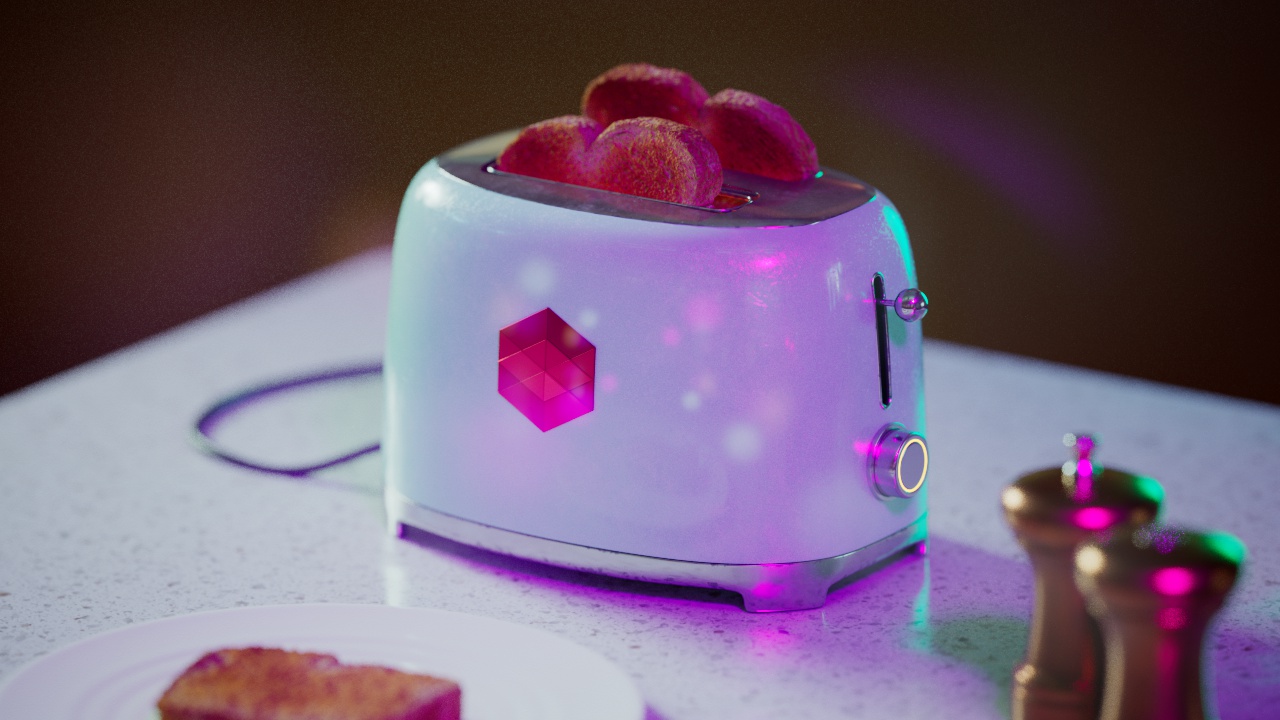
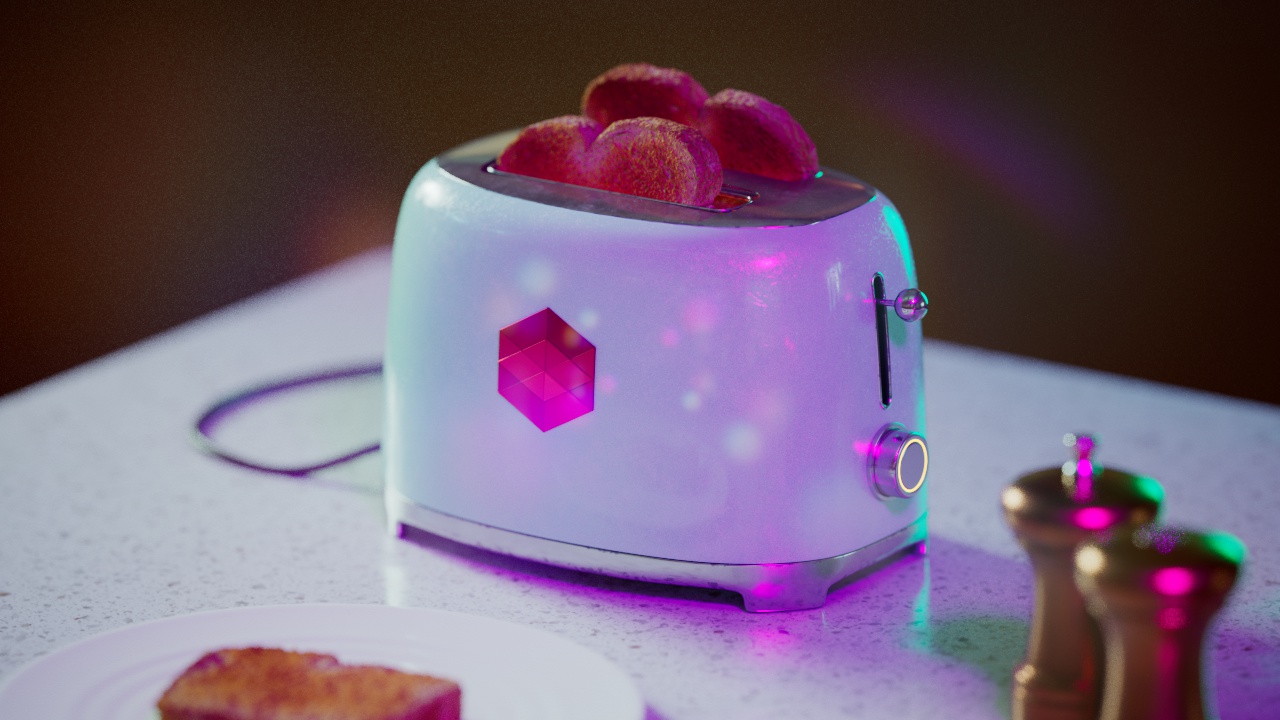
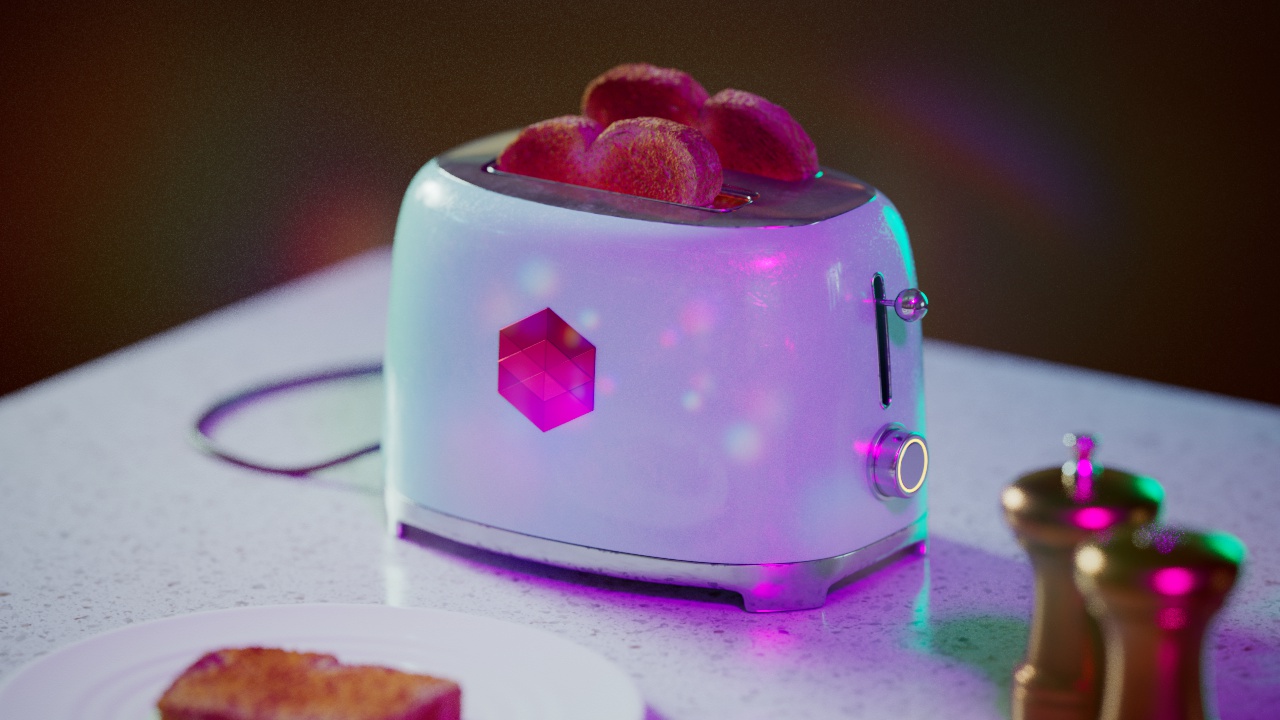
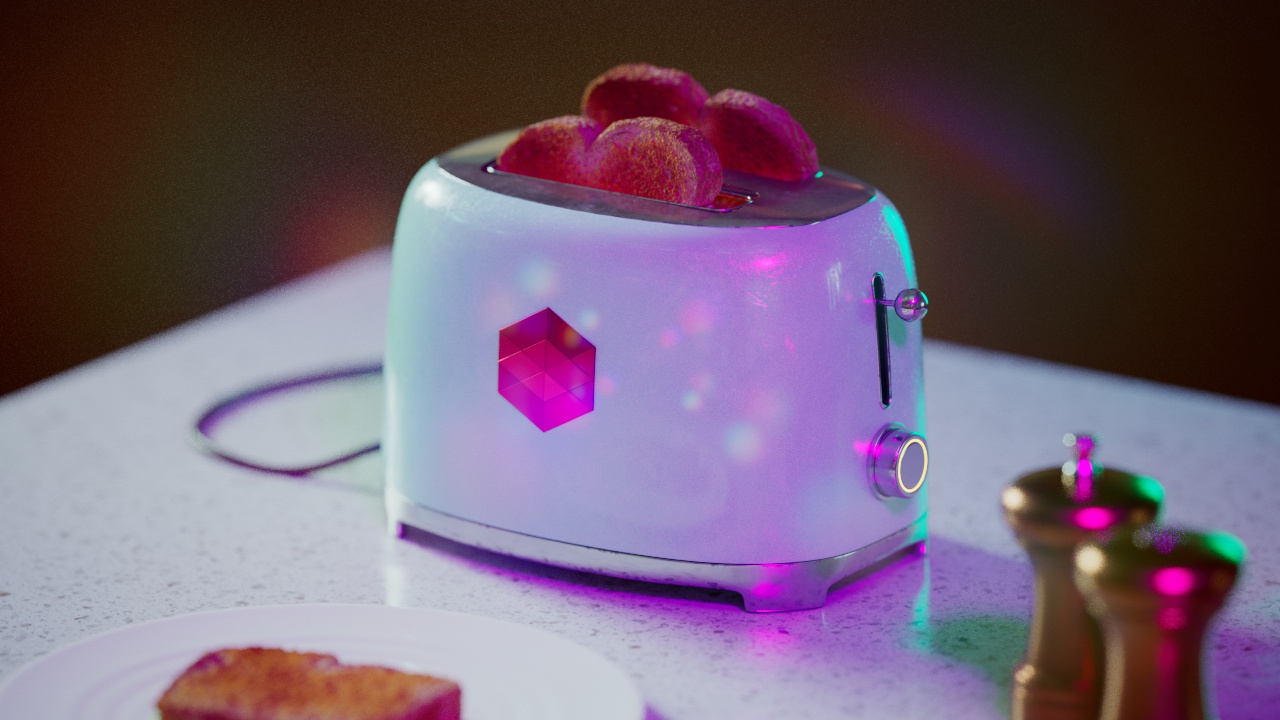
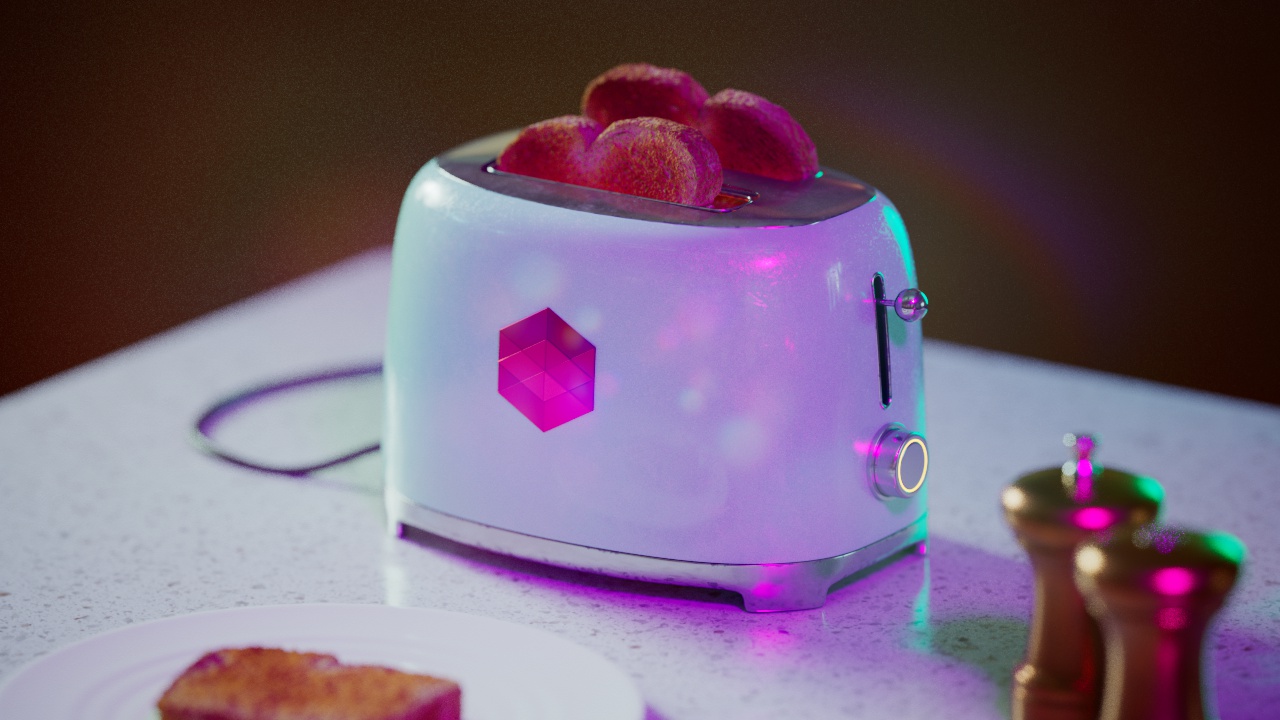
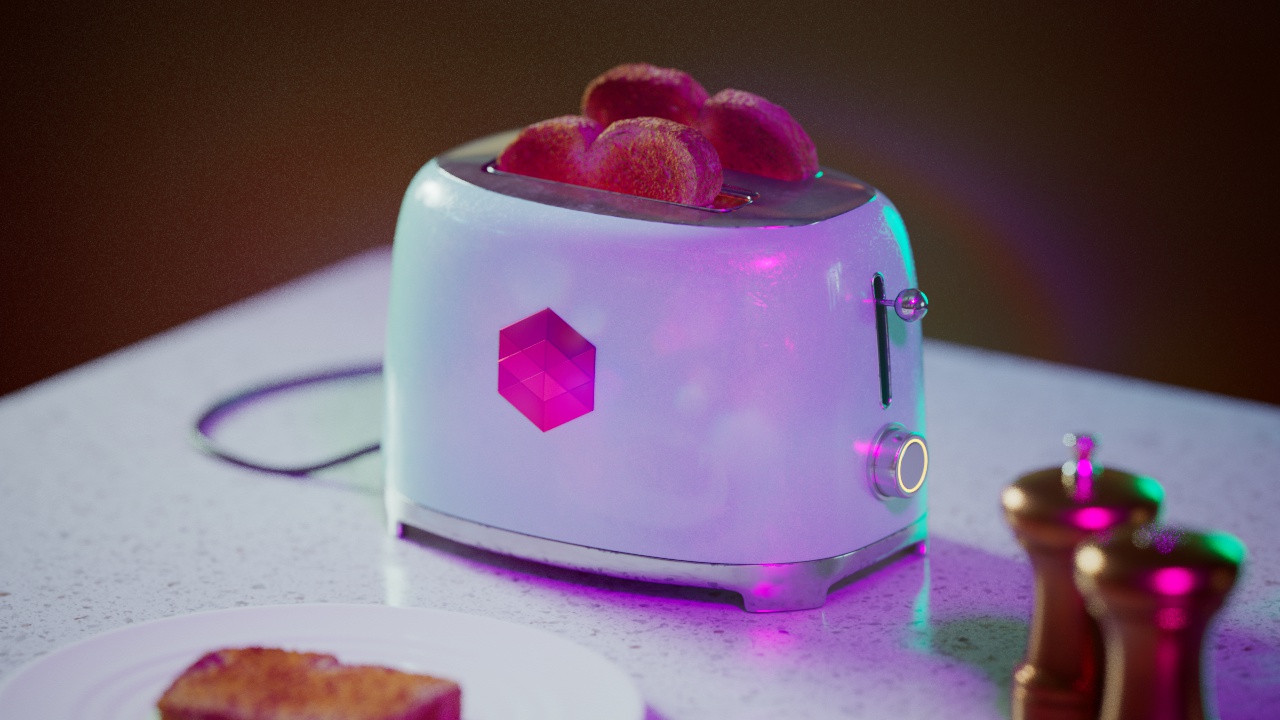
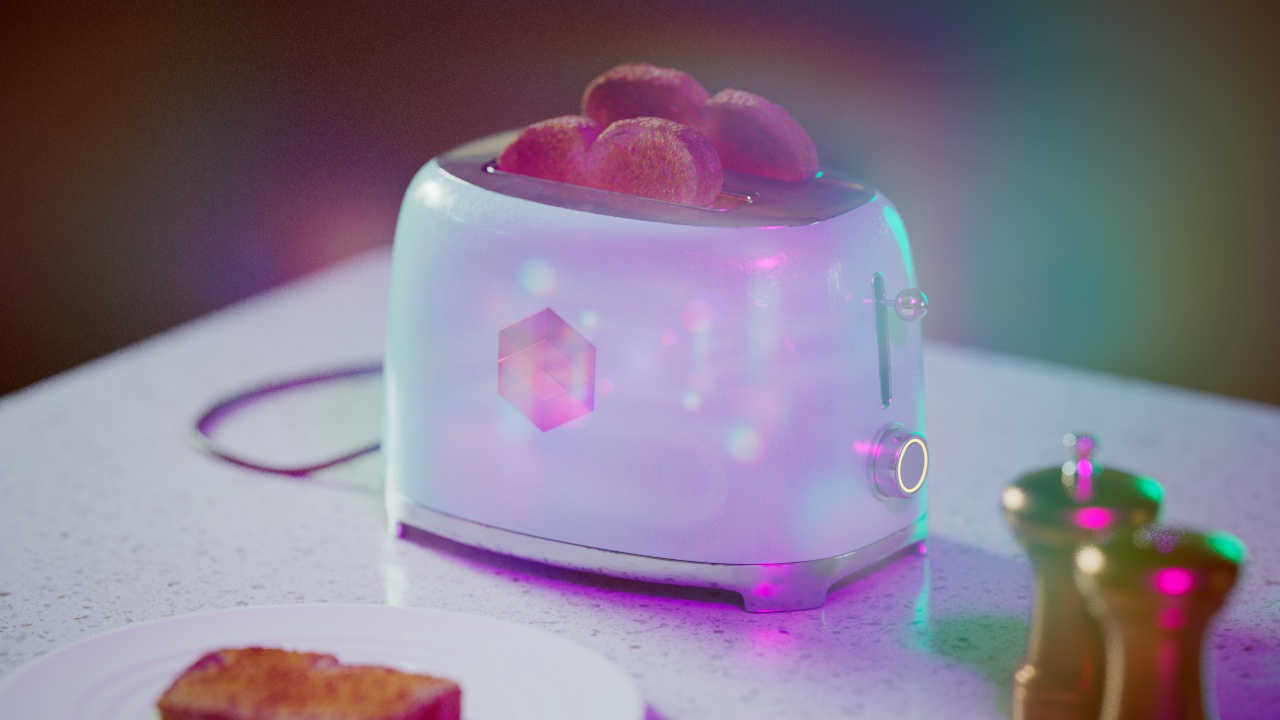
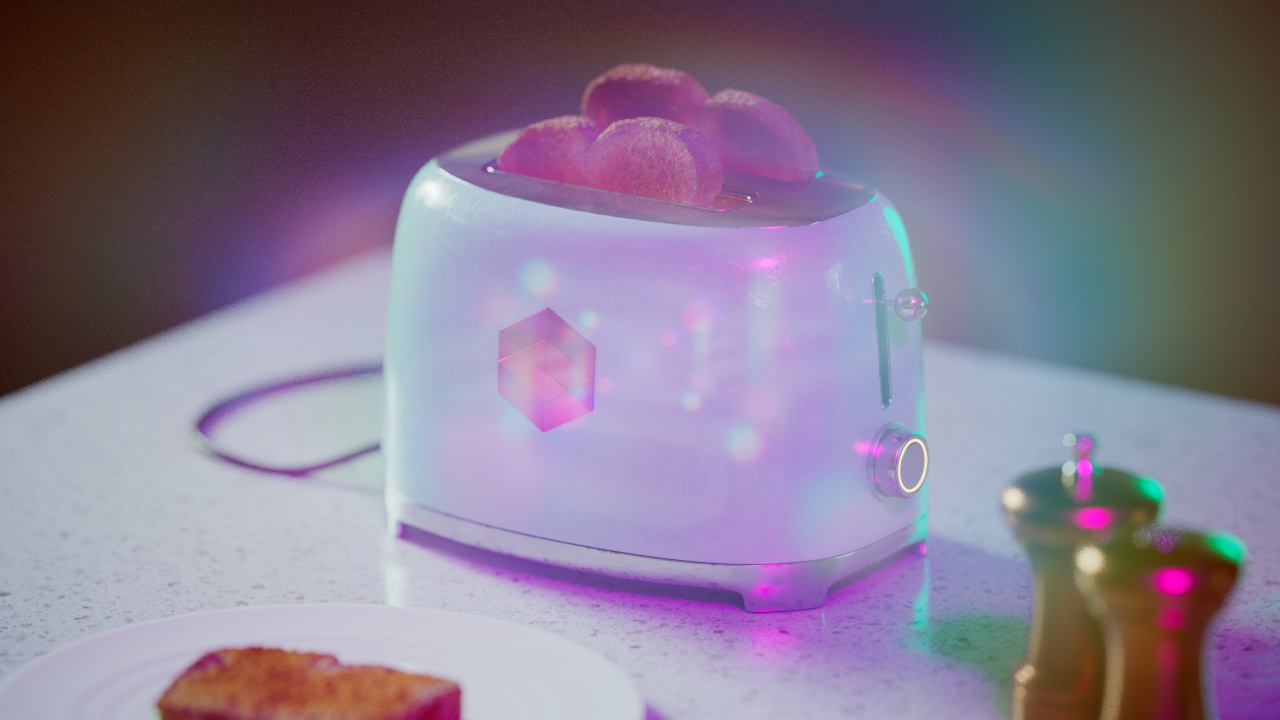
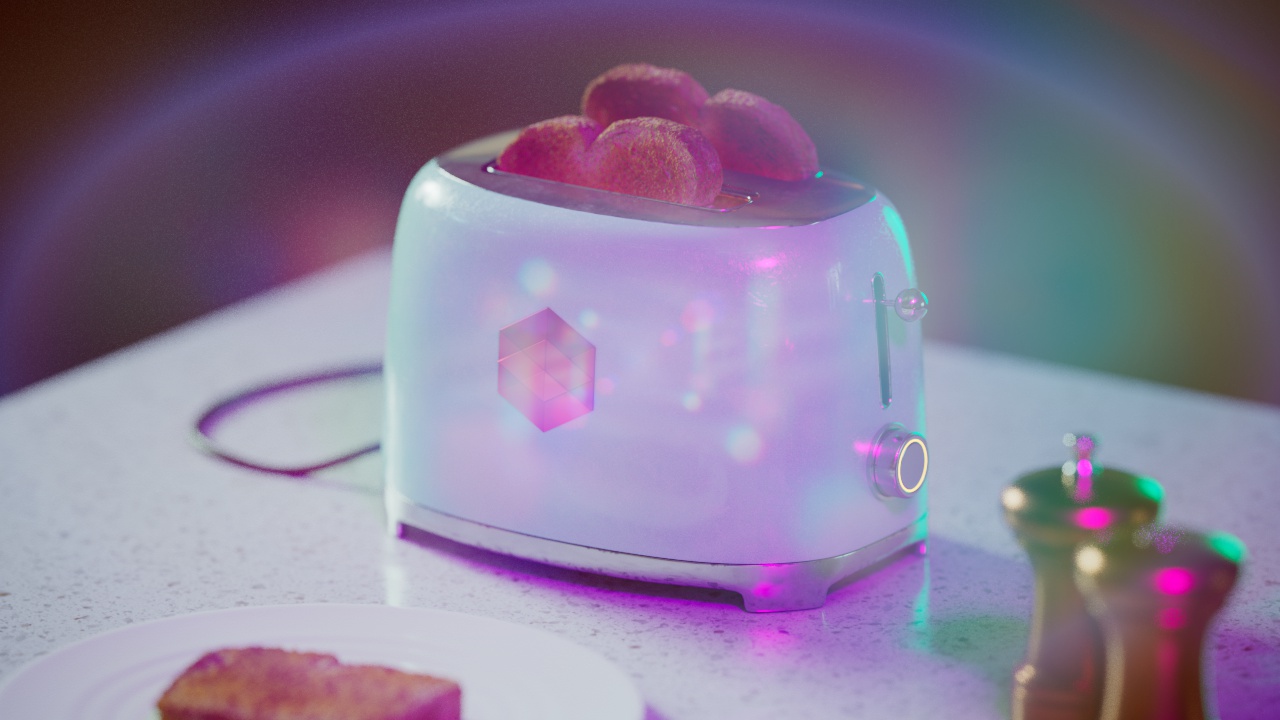
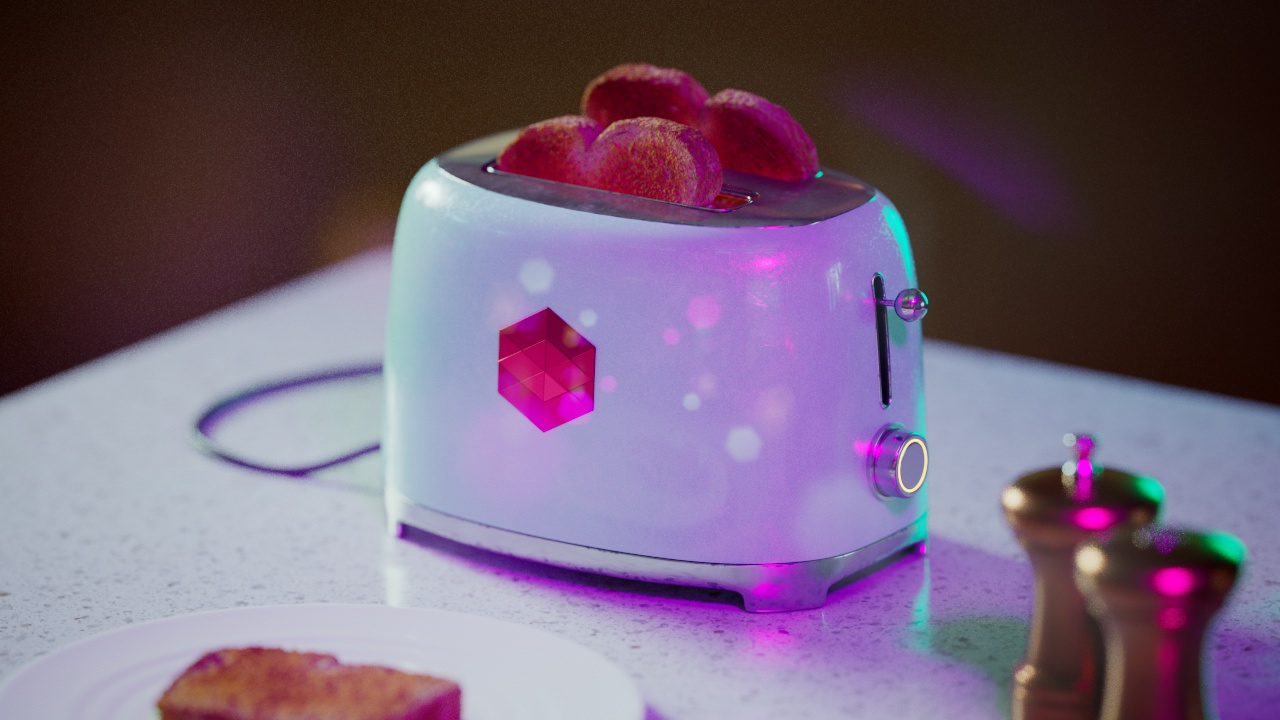
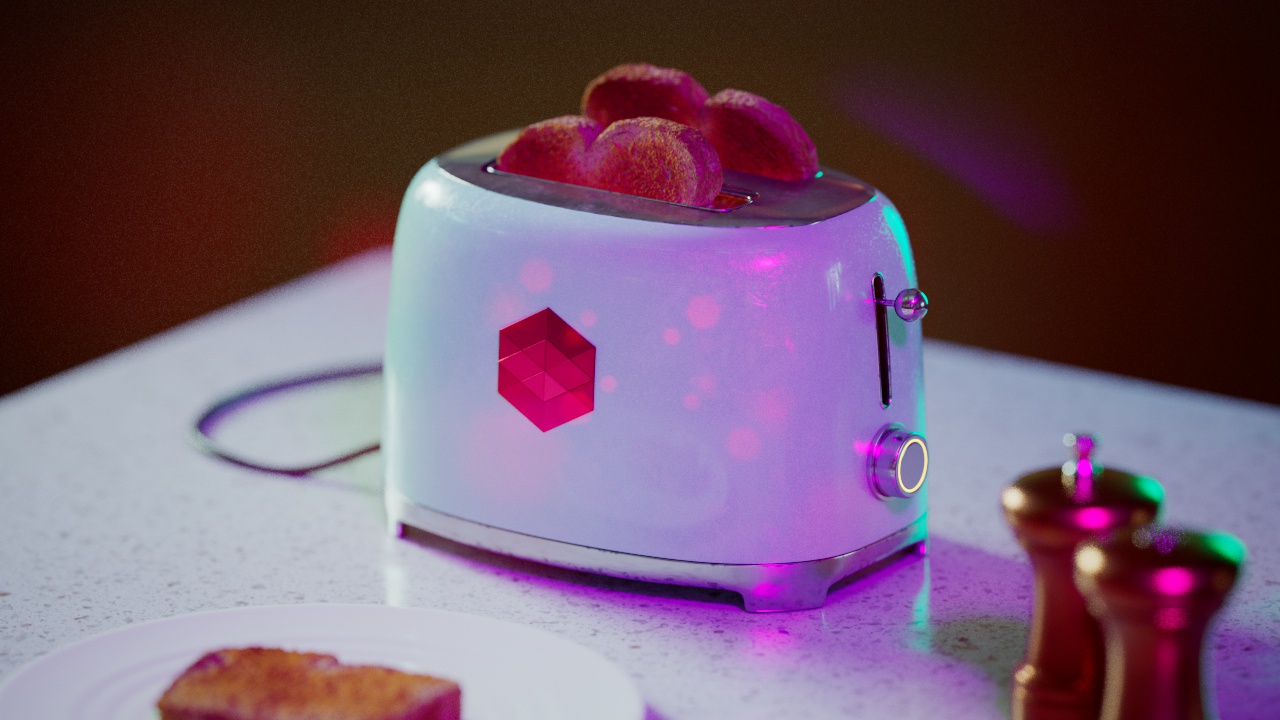
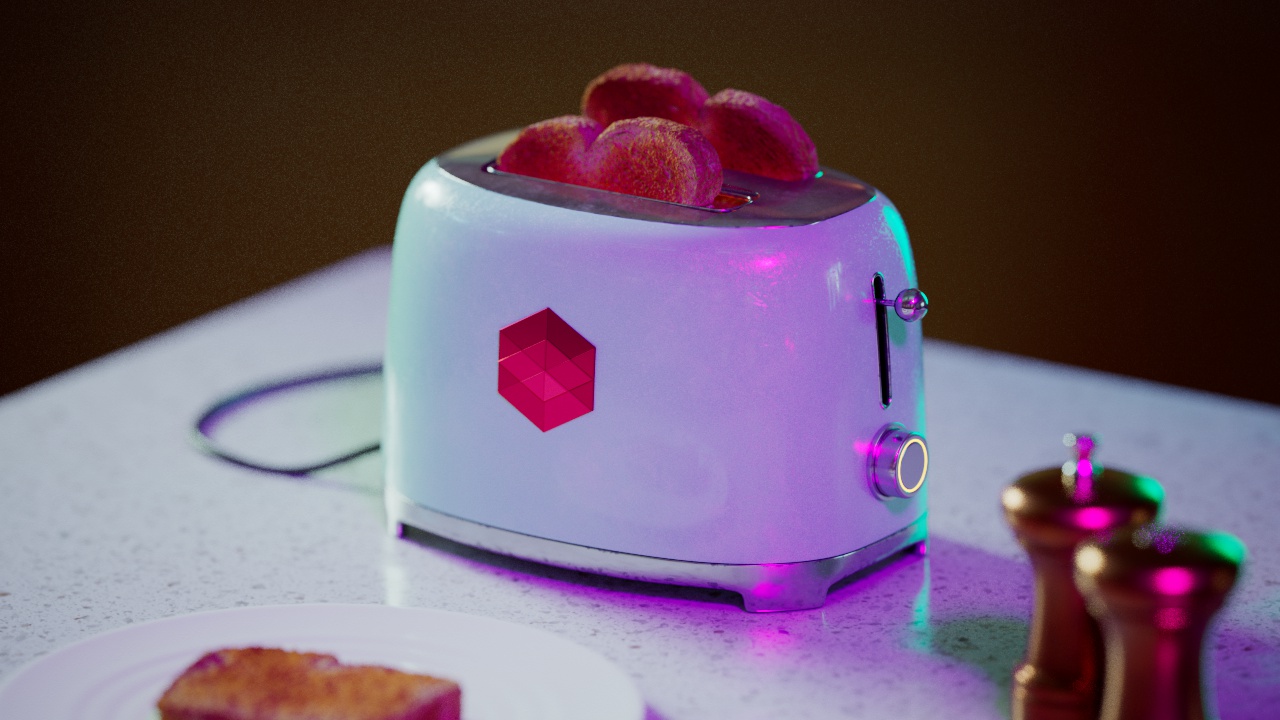
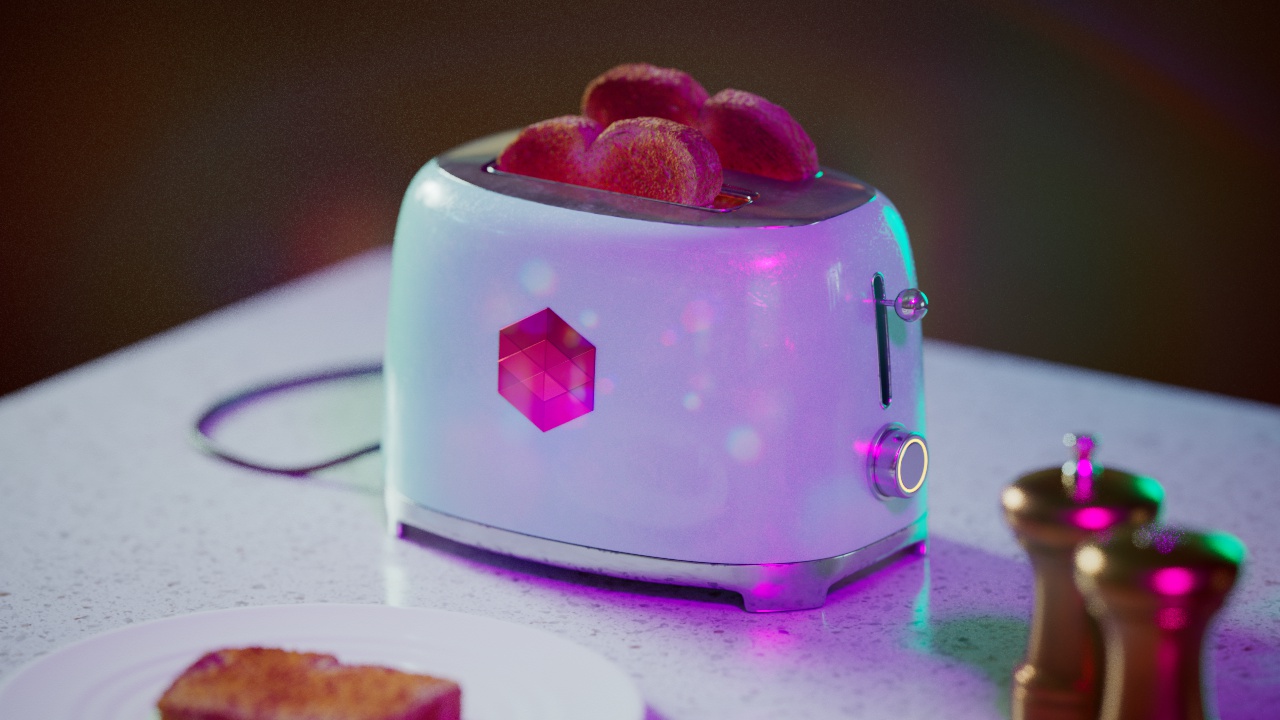
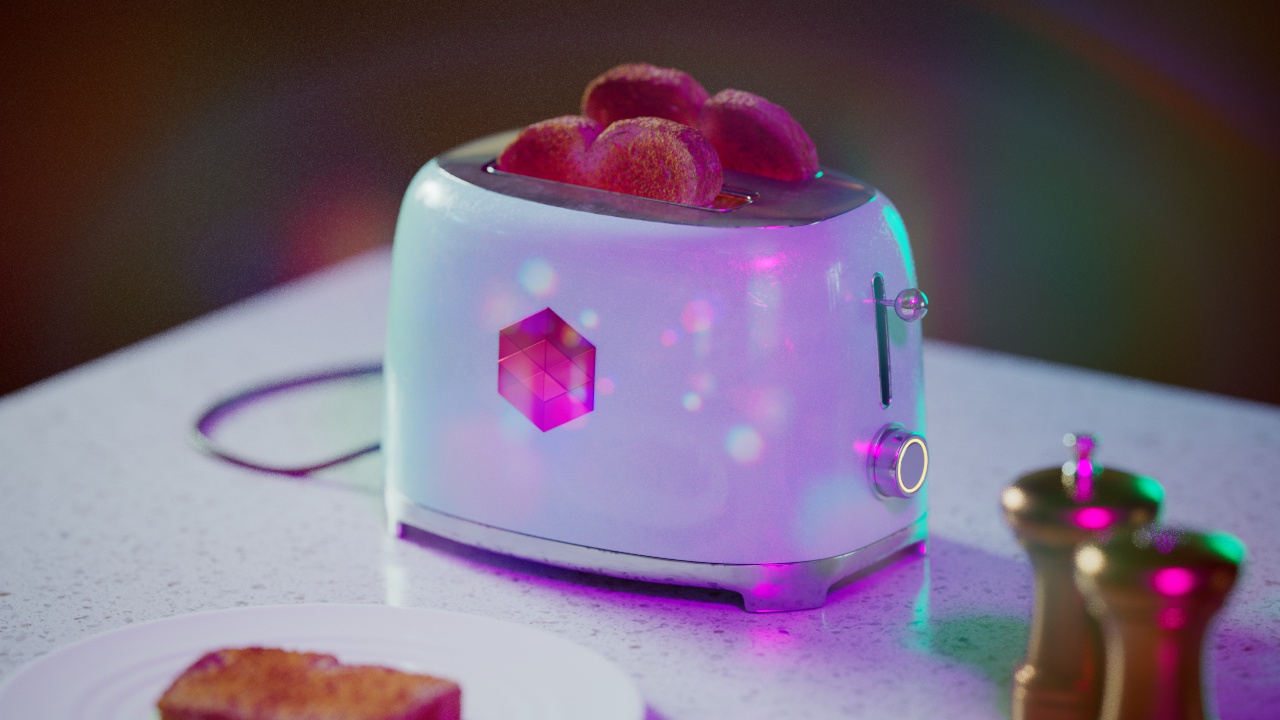
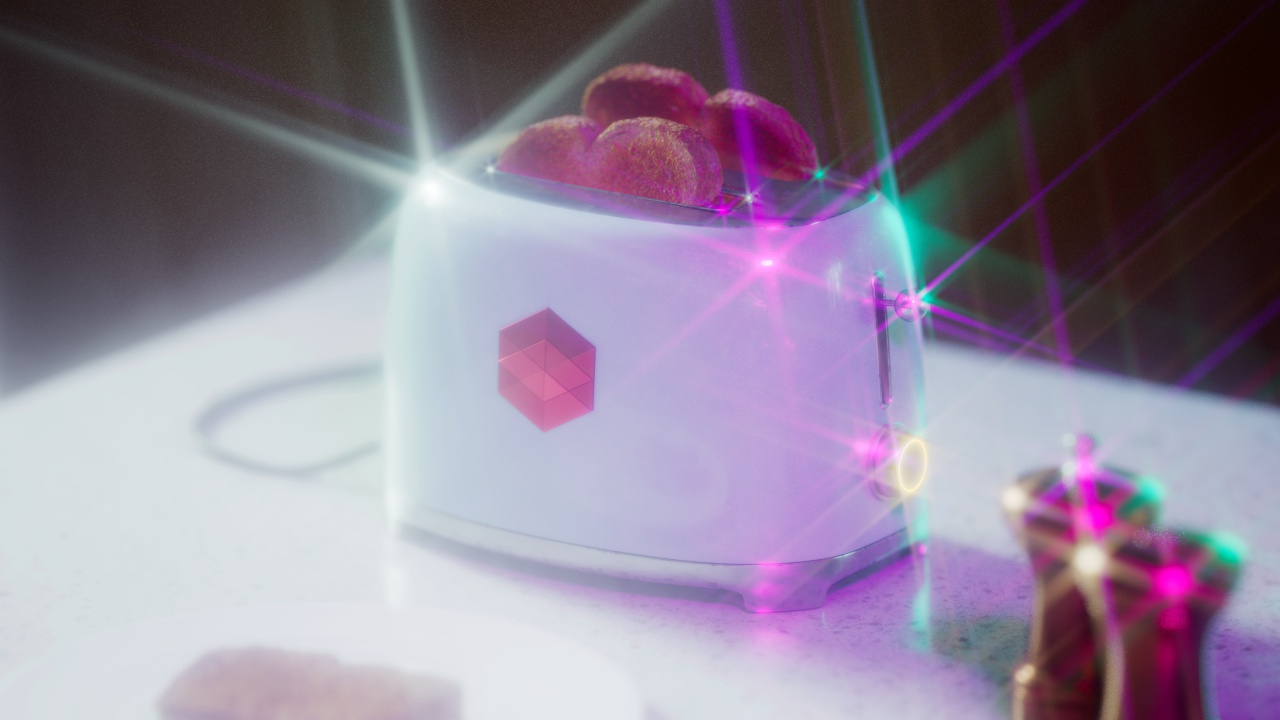
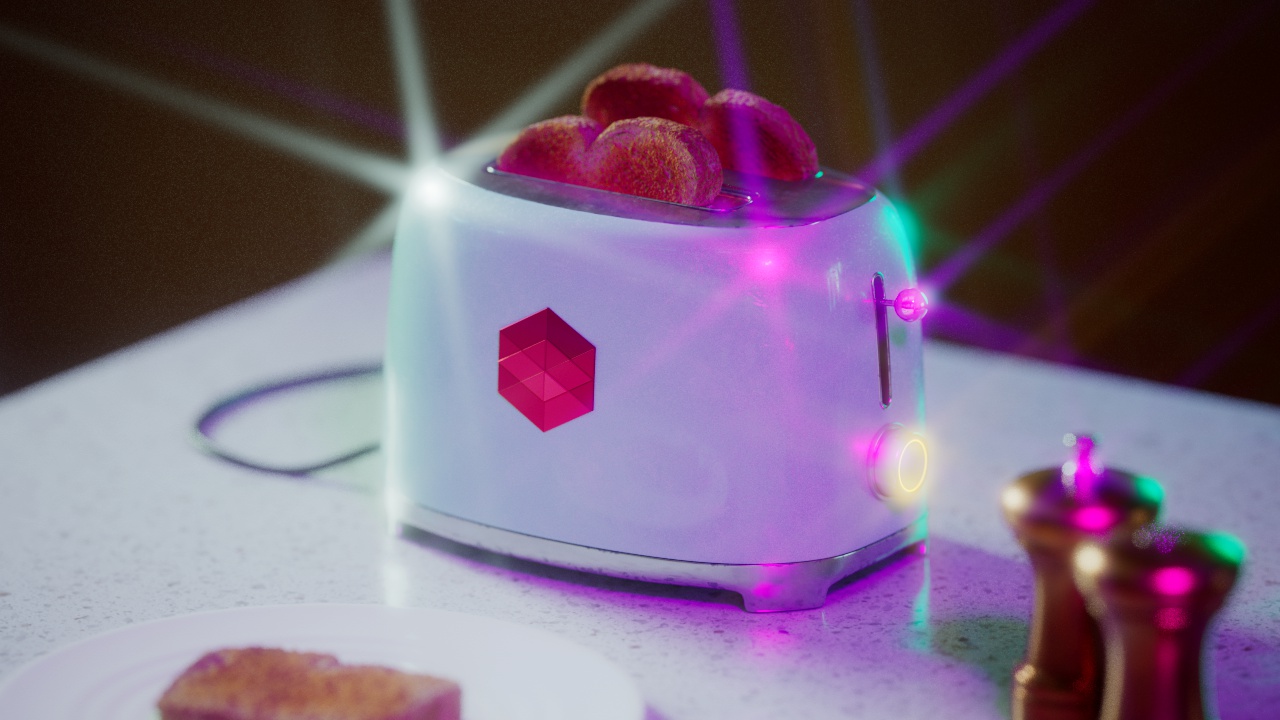
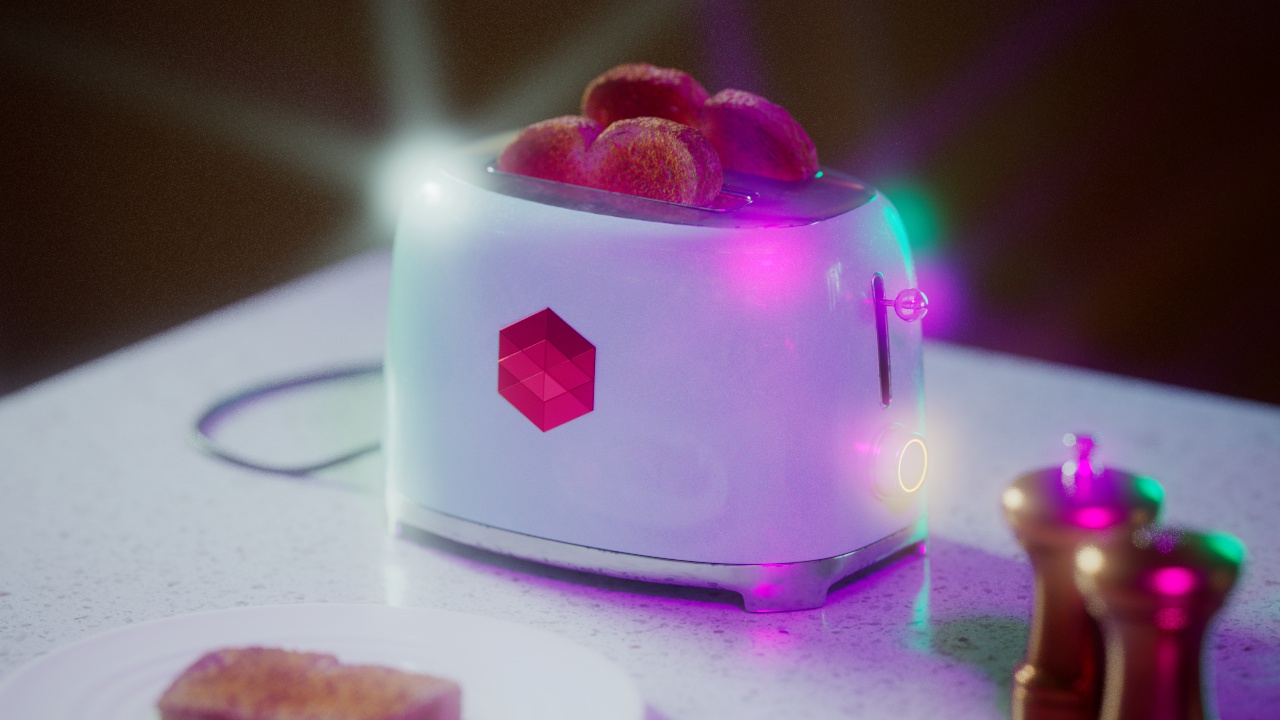
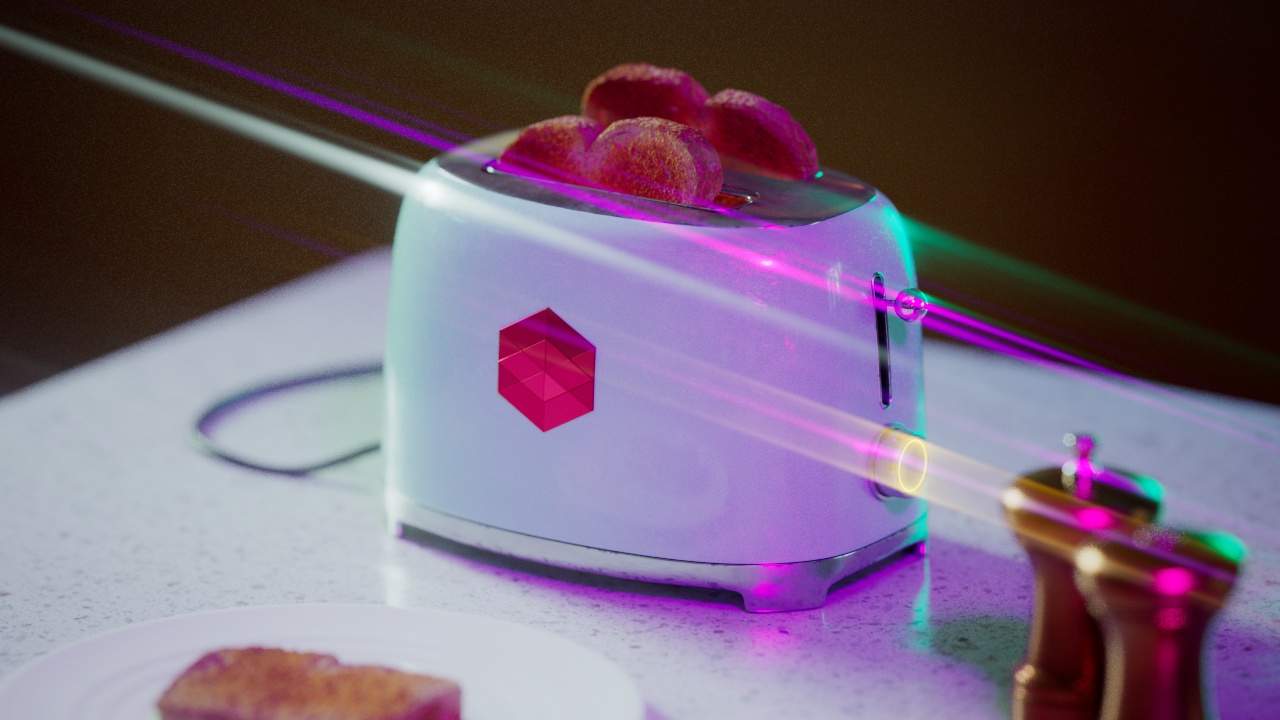
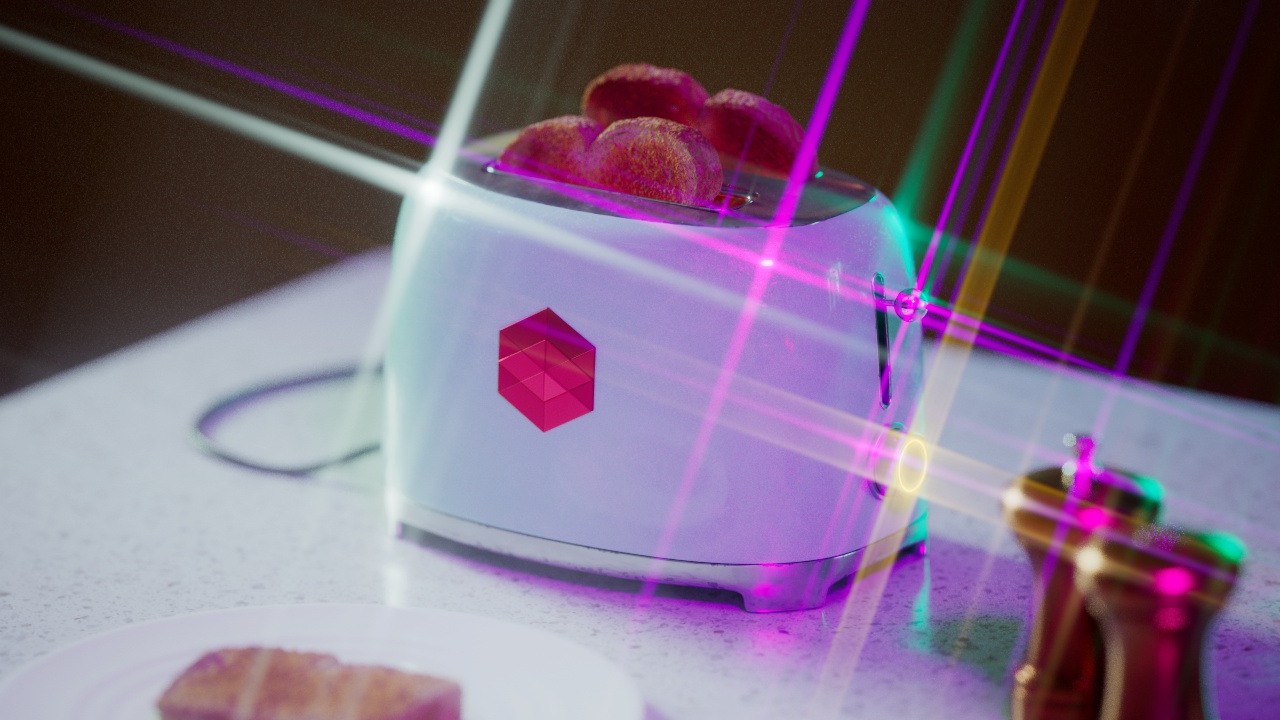
In the image below you can see this effect most notably on the Redshift Logo, bread in the toaster, and the pink highlight on the top front of the toaster.
在下面的图片中,你可以看到这种效果在 Redshift Logo、烤面包机中的面包以及烤面包机顶部的粉色高光部分最为明显。
|
|
|
|
Allow Desaturation: Enabled 允许去饱和: 启用 |
Disabled 残疾人士 |
Allowed Overexposure
允许过度曝光
Allow Overexposure controls what happens to high-intensity pixel values. It works by 'squashing' the high intensities into lower intensities in order to preserve fidelity that would normally be washed out white because of these high intensities. A value of 0.0 means that lights have to be extremely bright in order for the final pixels to approach the pure white (1.0, 1.0, 1.0) display color. Larger 'allowed overexposure' values are less aggressive and leave the original intensities more unaffected.
允许过曝光控制高强度像素值的变化。它通过挤压高强度到低强度的工作,以保持保真度,通常会被洗出白色,因为这些高强度。值为0.0意味着灯光必须非常亮才能使最终像素接近纯白(1.0,1.0,1.0)显示颜色。较大的“允许过度暴露”值是不太积极的,留下原始强度更不受影响。
|
|
|
|
|
Allowed Overexposure: 0.100 允许过曝: 0.100 |
0.0 |
1.0 |
Black Crush
黑色粉碎
Black Crush controls what happens in the dimmer parts of the image. It effectively squashes the darker colors in order to provide more contrast for images that have too much ambient lighting.
黑色粉碎控制图像中较暗部分发生的情况。它有效地压缩了较暗的颜色,以提供更多的对比度的图像,有太多的环境照明。
Black Crush Threshold
黑色粉碎门槛
Black Crush Threshold controls at which parts of the input intensity range the crushing should happen. Low numbers mean 'only crush very dark intensities' while higher values allow more of the input intensity range to be black-crushed.
黑色粉碎阈值控制在哪些部分的输入强度范围内的粉碎应该发生。低数字意味着“只挤压非常暗的强度”,而较高的数值允许更多的输入强度范围被黑色挤压。
|
|
|
|
|
Black Crush Threshold: 0.250 黑色粉碎阈值: 0.250 Black Crush Amount: 0.2 黑色粉碎量: 0.2 |
0.0 |
1.0 |
Black Crush Amount
黑色粉碎量
Black Crush Amount controls how much of the Black Crush effect should be applied. A value of 0.0 means 'no crushing'with a value of 1.0 means 'maximum crushing.'
黑色粉碎量控制多少黑色粉碎效果应用。值为0.0意味着“没有粉碎”,值为1.0意味着“最大粉碎”。'
|
|
|
|
|
Black Crush Amount: 0.0 黑色粉碎量: 0.0 Black Crush Threshold: 0.250 黑色粉碎阈值: 0.250 |
0.1 |
1.0 |
Saturation
饱和度
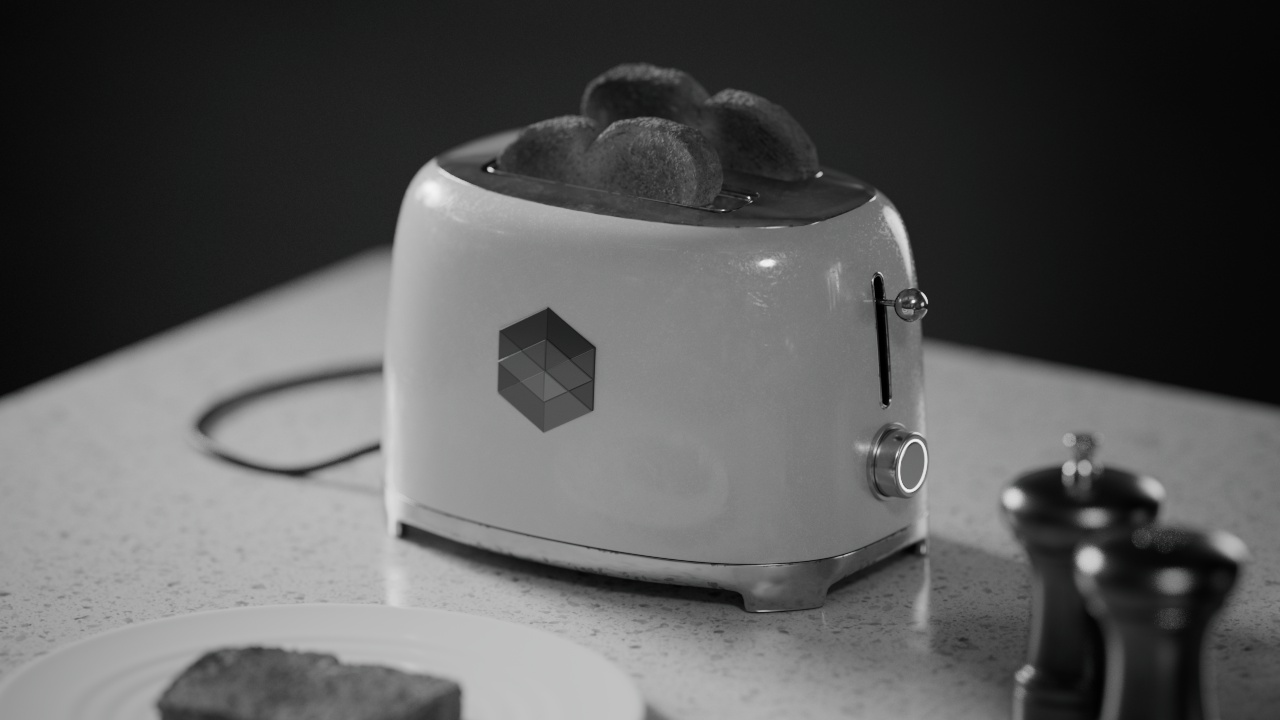
This controls the color saturation. The lower this value, the more grayscale the image. The neutral value is 1.0. If you set it to values higher than 1.0, the colors will appear more saturated.
这控制着色彩的饱和度。这个值越低,图像的灰度值越高。中性值是1.0。如果您将其设置为大于1.0的值,则颜色将显得更加饱和。
|
|
|
|
|
Saturation: 1.0 饱和: 1.0 |
0.0 |
2.0 |
Bloom
布鲁姆
The Bloom post effect creates a light bloom effect from highlights in your image.
布鲁姆后期效果创建一个光线布鲁姆效果从高光在您的形象。

Adjusting Bloom Threshold
调整开花阈值
Bloom Parameters
布鲁姆参数
Bloom Threshold
开花阈值
Bloom Threshold determines the minimum pixel value required for a light bloom to occur from highlights in your rendered image. The lower this value the more light blooms are likely to occur.
Bloom Threshold 确定了从渲染图片的高光部分发生光爆所需的最小像素值。这个数值越低,开花的可能性越小。
|
|
|
|
|
Bloom Threshold: 13 开花阈值: 13 |
3 图3 |
50 |
Bloom Softness
花的柔软
Bloom Softness controls how soft the light blooms appear. Higher values result in larger more soft light blooms while lower values result in smaller / tighter light blooms.
花朵的柔软程度决定了花朵的柔软程度。较高的价值导致更大的柔光花,而较低的价值导致更小/更紧密的光花。
|
|
|
|
|
Bloom Softness: 0 布鲁姆柔软度: 0 |
0.3 |
1 |
Bloom Tint
By default the light bloom color is dependent on the color of the highlight itself but you can customize the bloom color further by tinting it yourself with the Bloom Tint color swatches.
默认情况下,浅色花的颜色取决于高光本身的颜色,但是你可以通过自己用 Bloom Tint 颜色色板进一步自定义深色花的颜色。
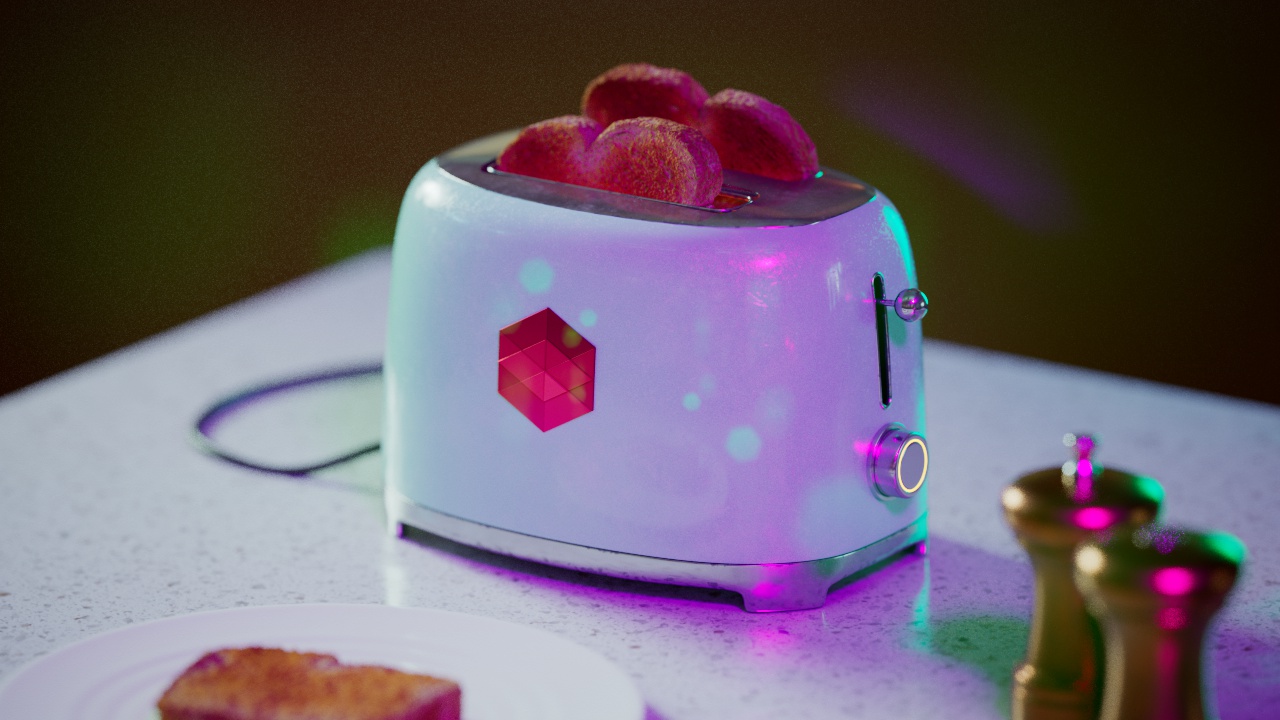
There are 5 color swatches available for bloom tinting with the left most swatch tinting the smallest bloom radius all the way over to the right most swatch tinting the largest bloom radius allowing you to have multi-colored light blooms.
有5个颜色样本可用于开花着色与最左侧最小的开花半径所有的方式到最右侧最色块着色最大的开花半径允许你有多种颜色的开花。
|
|
|
|
|
Bloom Tint: All White 全白色 |
All Red 全红 |
All Blue 全蓝色 |
|
|
|
Bloom Tint element separation & settings 布鲁姆色调的元素分离和设置 |
Bloom Intensity
开花强度
Bloom Intensity controls how strong the light bloom effect is applied.
开花强度控制如何强烈的光开花效果的应用。
|
|
|
|
|
Bloom Intensity: 0.0 鲜花密度: 0.0 |
1 |
4 图4 |
Flare
照明弹
The Flare post effect creates a lens flare effect from the highlights in your image.
耀斑后效果创建一个镜头耀斑效果从高光在您的图像。

Adjusting Flare Size
调整喇叭口大小
Flare Parameters
耀斑参数
Flare Threshold
耀斑阈值
Flare Threshold determines the minimum pixel value required for a lens flare to occur from highlights in your rendered image. The lower this value the more lens flares are likely to occur.
光晕阈值确定镜头光晕从渲染图像的高光部分出现所需的最小像素值。该值越低,可能发生的镜头耀斑越多。
|
|
|
|
|
Flare Threshold: 13 耀斑阈值: 13 |
2 图2 |
40 |
Flare Softness
柔软的光晕
Flare Softness controls how soft the lens flares appear. Higher values result in more blurry lens flares while lower values result in sharper lens flares.
光晕柔软度控制镜头光晕的柔软程度。较高的值导致更模糊的镜头光晕,而较低的值导致更清晰的镜头光晕。
|
|
|
|
|
Flare Softness: 0 柔软度: 0 |
0.5 |
1 |
Flare Chromatic
闪光彩色
Flare Chromatic adds a chromatic aberration effect to the lens flares. Higher values result in more chromatic aberration while lower values result in little to no chromatic aberration.
耀斑彩色增加了色差效果的镜头耀斑。较高的数值导致更多的色差,而较低的数值导致很少甚至没有色差。
|
|
|
|
|
Flare Chromatic: 0 耀斑色: 0 |
5 |
10 图10 |
Flare Size
喇叭口大小
Flare Size controls how large the flares appear. Higher values result in larger flares while lower values result in smaller flares.
耀斑大小控制耀斑的显示大小。较高的值导致较大的耀斑,而较低的值导致较小的耀斑。
|
|
|
|
|
Flare Size: 0 耀斑大小: 0 |
0.5 |
1 |
Flare Halo
闪光晕
Flare Halo controls if strong enough highlights create a lens flare halo type effect. Higher values create larger halo sizes.
耀斑光晕控制如果足够强烈的高光创建镜头耀斑光晕类型的效果。更高的数值创建更大的光晕尺寸。
Keep in mind that the flare's halo color is dependent on the color of the highlight creating the flare.
请记住,耀斑的光晕颜色取决于创建耀斑的高光的颜色。
|
|
|
|
|
Flare Halo: 0 耀斑晕: 0 |
0.3 |
0.5 |
Flare Tint
火炬色
By default the lens flare color is dependent on the color of the highlight itself but you can customize the flare color further by tinting it yourself with the Flare Tint color swatches. Flare tint does not affect the color of the Flare Halo.
默认情况下,镜头光晕的颜色取决于高光本身的颜色,但是你可以通过自己用光晕色调进一步自定义光晕颜色。耀斑色不影响耀斑光晕的颜色。
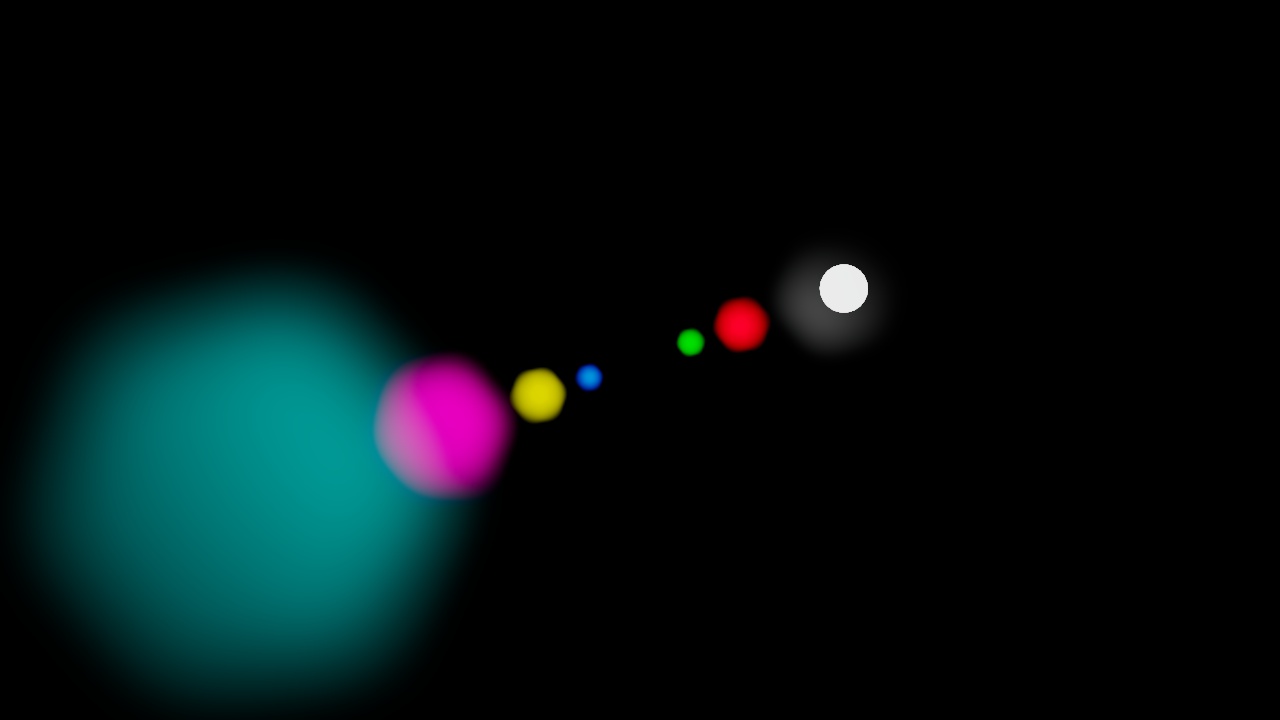
Flare Tint doesn't have to be used to change the color of the lens flare, it can also be used to control the intensity of each flare element by controlling their value with each color swatch.
光晕色调不一定要用来改变镜头光晕的颜色,它也可以用来控制每个光晕元素的强度,通过控制每个颜色样本的值。
|
|
|
|
|
Flare Tint: All White 全白色 |
All Red 全红 |
All 所有Green 绿色 |
|
|
|
Flare Tint element separation & settings 淡色元素分离和设置 (The white flare is the flare halo) (白色耀斑是耀斑晕) |
Flare Intensity
耀斑强度
Flare Intensity controls how strong the lens flare effect is applied.
光晕强度控制镜头光晕效果应用的强度。
|
|
|
|
|
Flare Intensity: 0 耀斑强度: 0 |
0.5 |
1 |
Streak
条纹
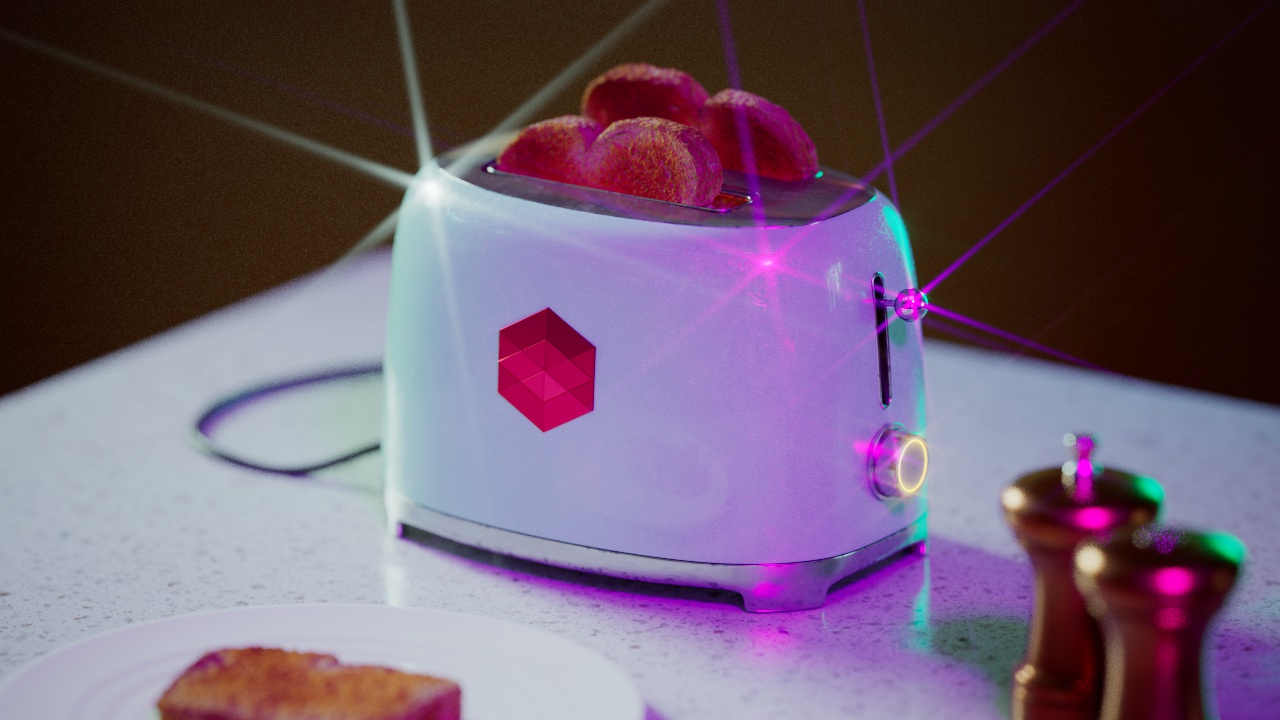
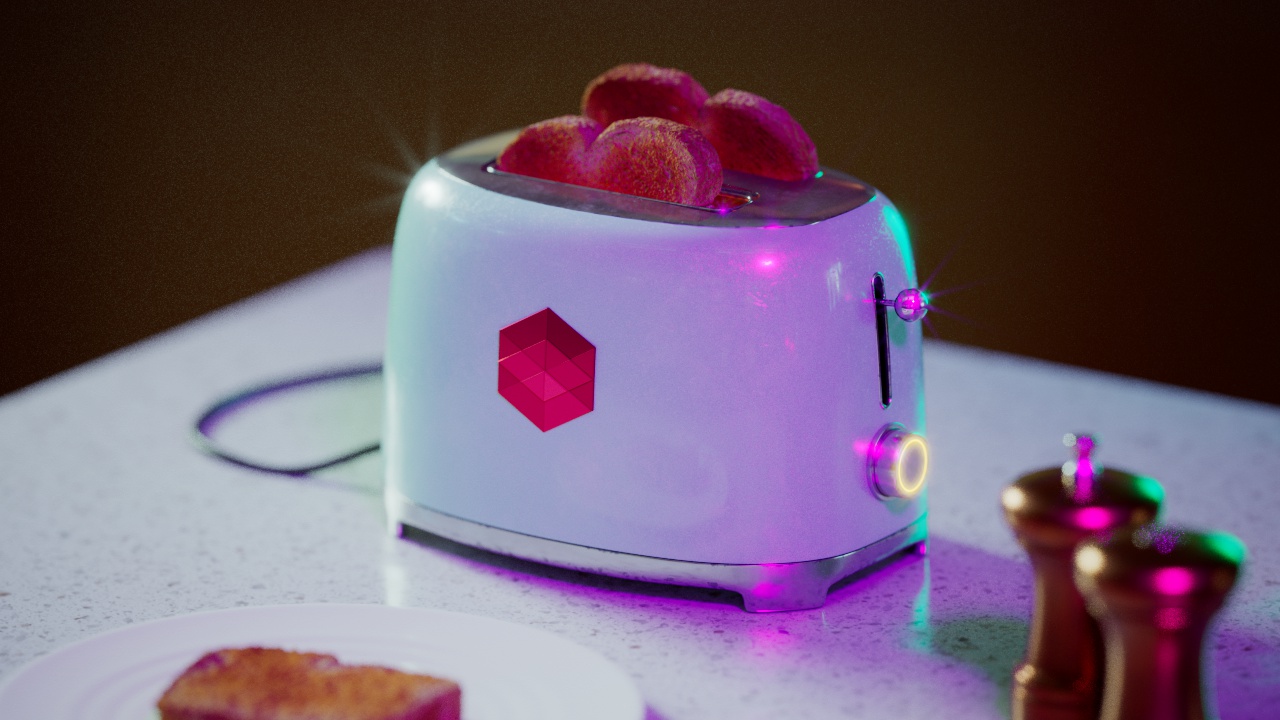
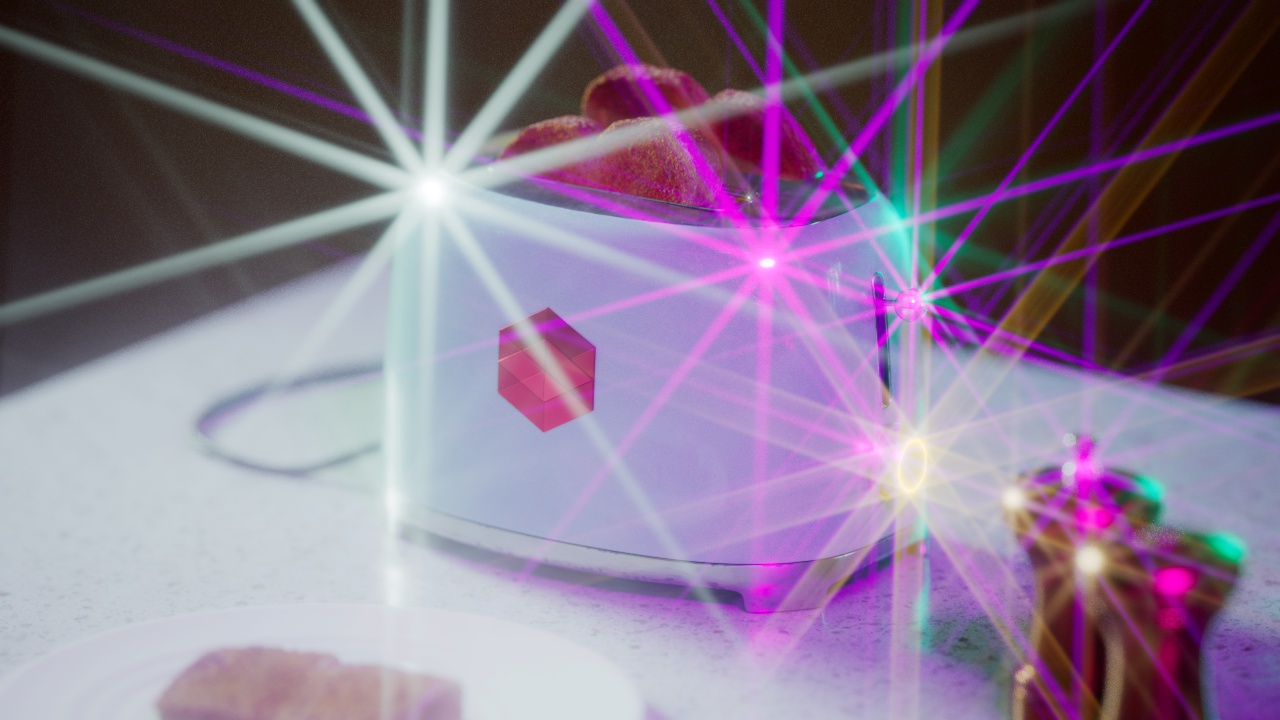
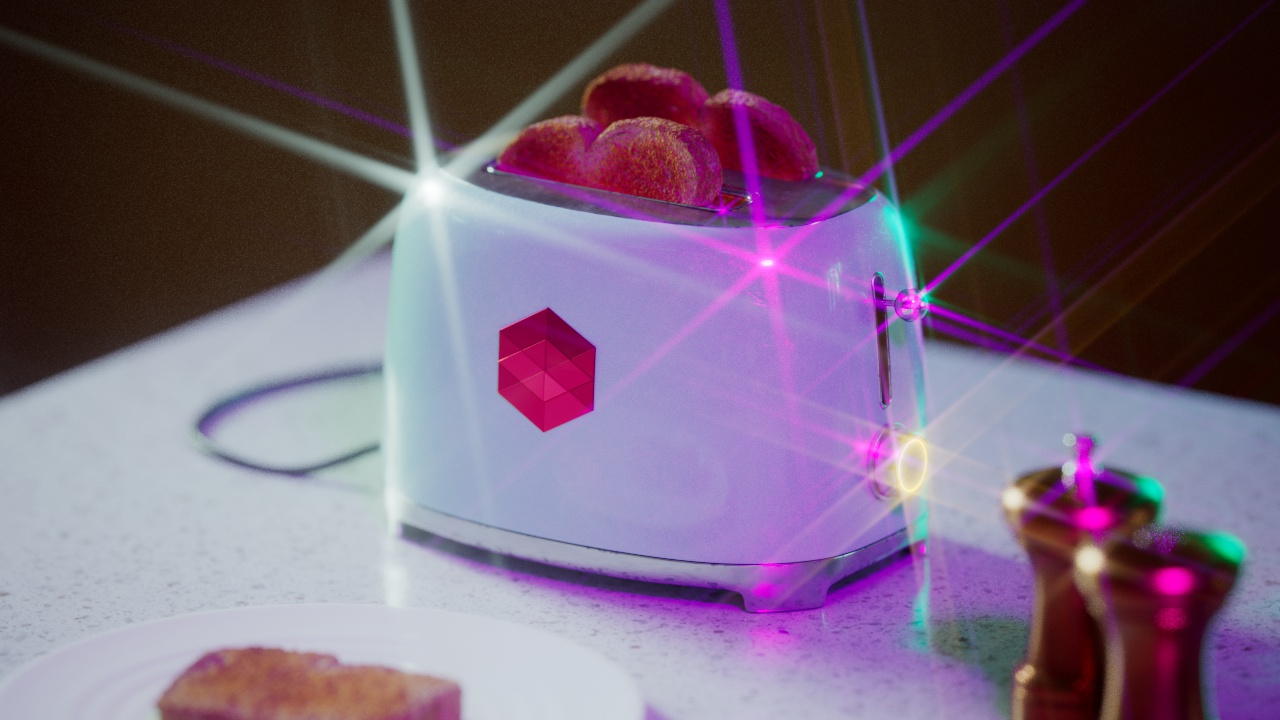
The Streak post effect creates light streaks from highlights in your image.
条纹后效果创建光条纹从高光在您的形象。

Adjusting Streak Angle
调整条纹角度
Streak Parameters
条纹参数
Streak Threshold
条纹阈值
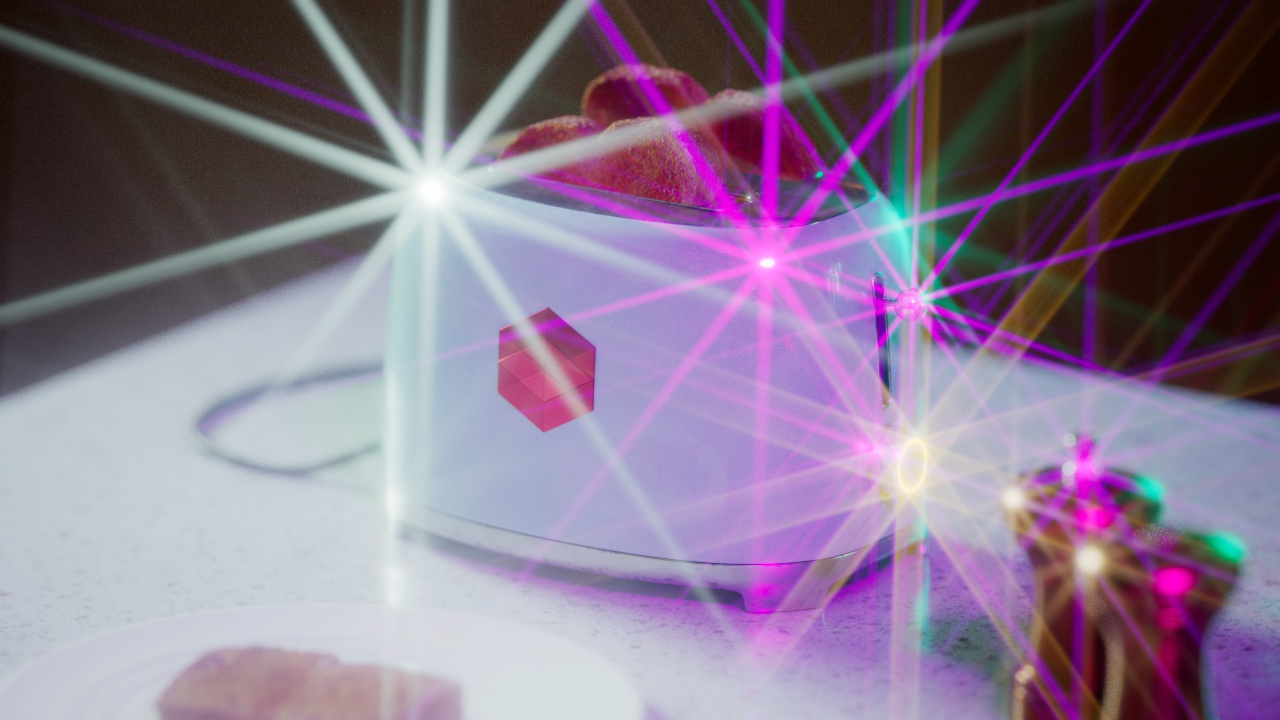
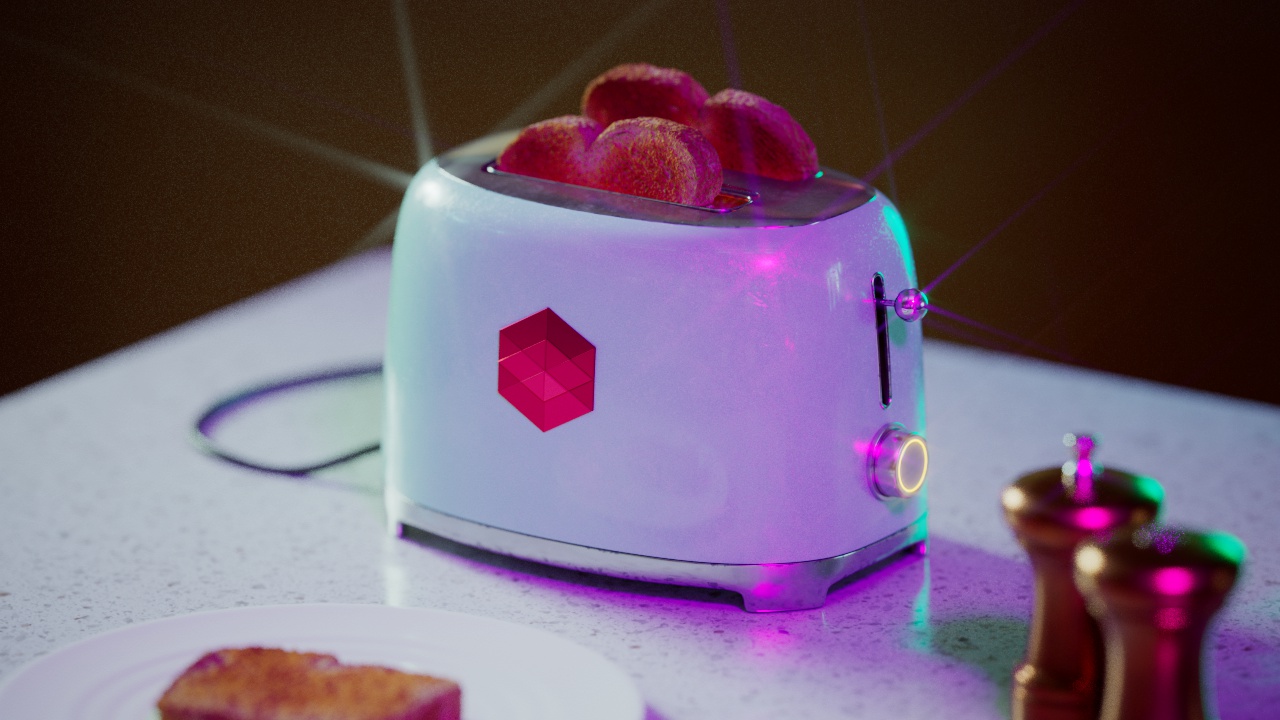
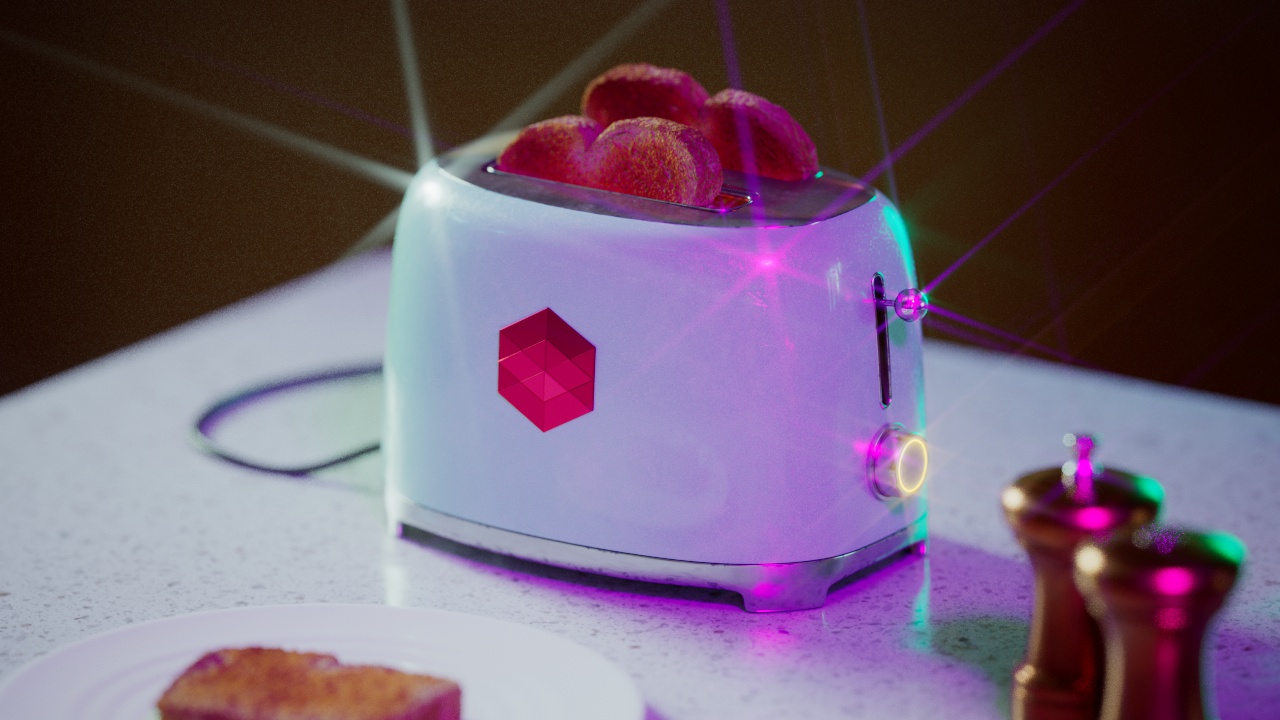
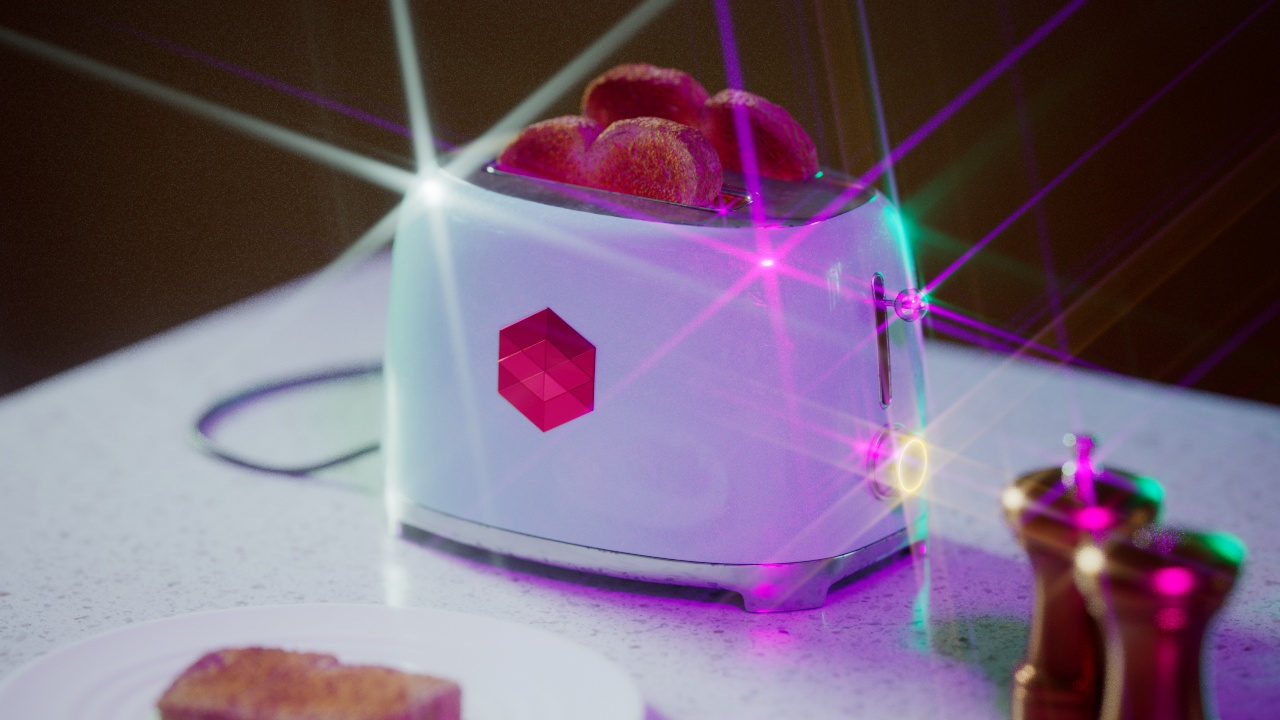
Streak Threshold determines the minimum pixel value required for a streak to occur from highlights in your rendered image. The lower this value the more streaks are likely to occur.
条纹阈值确定条纹所需的最小像素值从高光在您的渲染图像。该值越低,可能发生的连续性变化就越多。
When the Streak effect is used with a low threshold it can create an effect very similar to the Bloom post effect with barely distinguishable streaks on low value highlights. This can be seen in the example image below when set to 5.
当条纹效果与低阈值使用它可以创建一个效果非常类似的布鲁姆后效果与几乎不分辨的条纹在低值高光。当设置为5时,可以在下面的示例图像中看到这一点。
|
|
|
|
|
Streak Threshold: 13 连胜门槛: 13 |
2 图2 |
50 |
Streak Tail
条纹尾巴
Streak Tail controls how long the streaks are. Higher values result in longer streaks while lower values result in shorter streaks. Brighter highlights will have longer streaks than darker highlights.
条纹尾巴控制条纹的长度。较高的值导致较长的条纹,而较低的值导致较短的条纹。明亮的高光会有比暗的高光更长的条纹。
|
|
|
|
|
Streak Tail: 0.25 尾部条纹: 0.25 |
0.5 |
1 |
Streak Softness
柔软条纹
Streak Softness controls how soft the streaks appear. Higher values result in more blurry streaks while lower values result in very sharp streaks.
条纹柔软度决定条纹的柔软程度。较高的数值导致更多的模糊条纹,而较低的数值导致非常尖锐的条纹。
|
|
|
|
|
Streak Softness: 0 柔软度: 0 |
0.3 |
0.8 |
Streak Number
条纹号
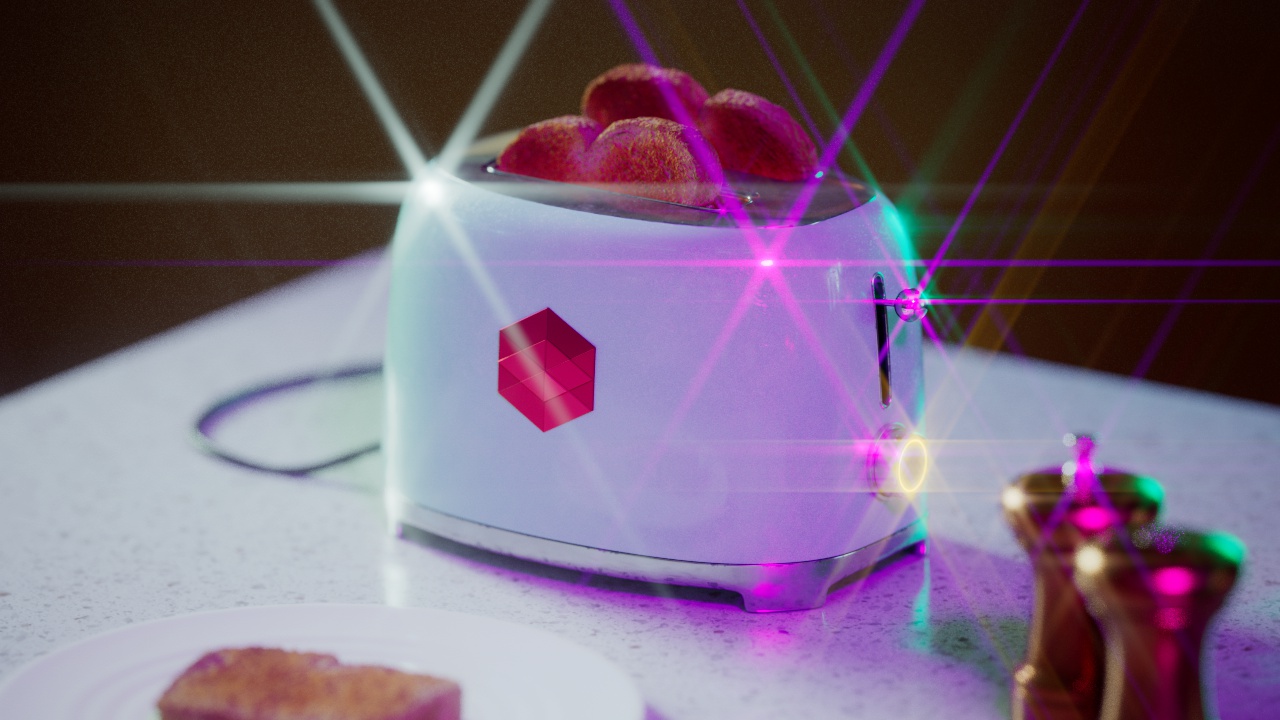
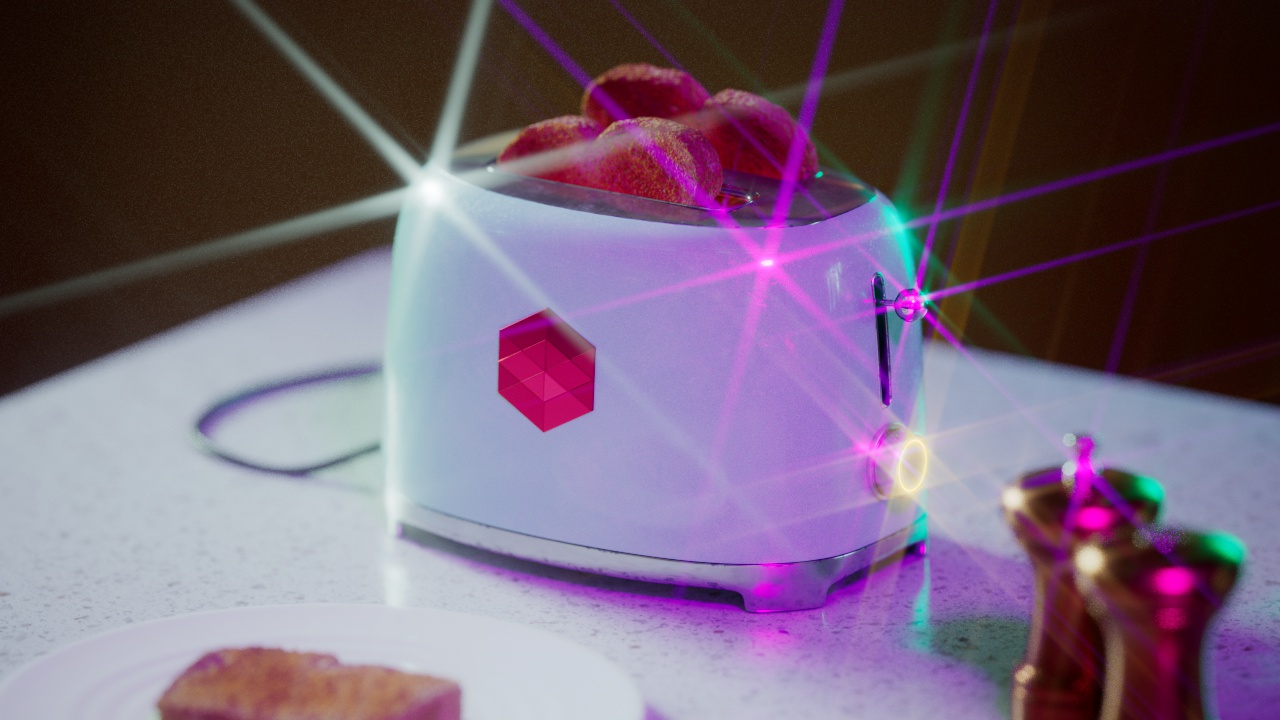
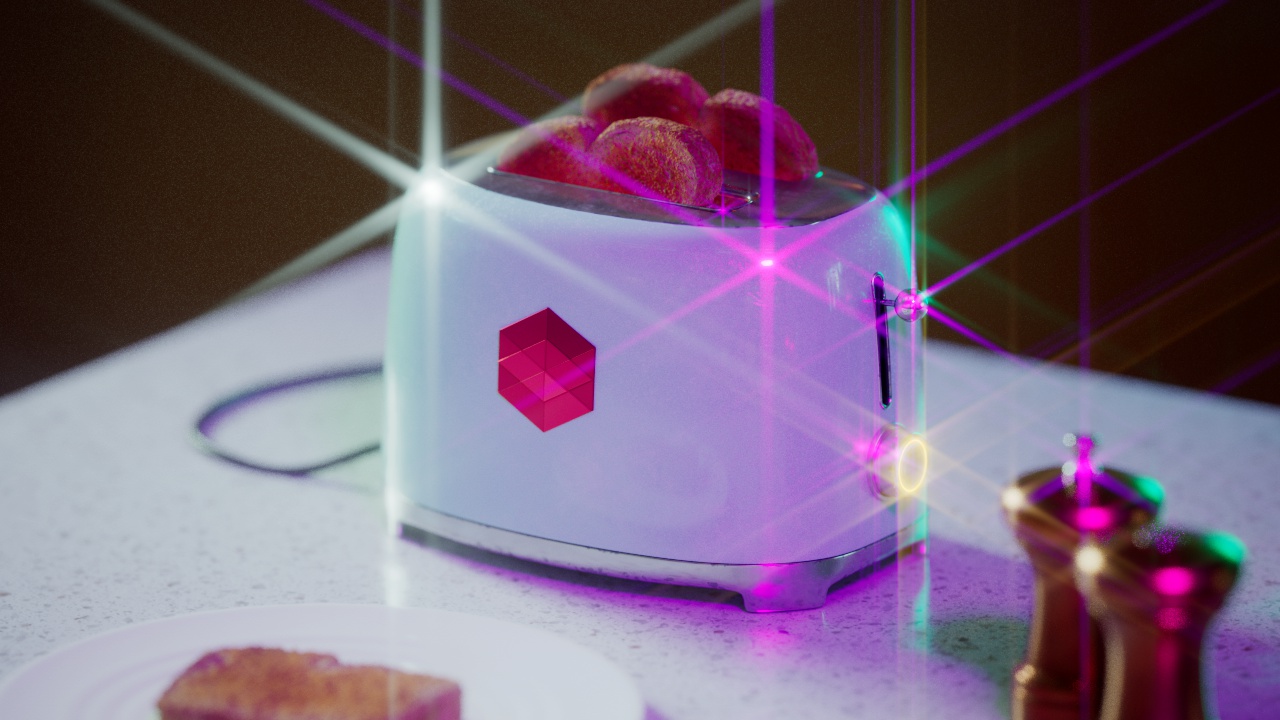
Streak Number controls how many streaks are created from each highlight.
连胜号控制每个高光创建多少条纹。
|
|
|
|
|
Streak Number: 1 连胜数字: 1 |
2 图2 |
5 |
Streak Angle
条纹角
Streak Angle controls how the streaks are angled.
条纹角度控制条纹的角度。
|
|
|
|
|
Streak Angle: 0 条纹角度: 0 |
45 |
90 |
Streak Intensity
条纹强度
Streak Intensity controls how strong the streak effect is applied.
条纹强度控制条纹效应的强度。
|
|
|
|
|
Streak Intensity: 0.4 条纹强度: 0.4 |
1 |
4 图4 |





赶快留个言打破零评论!~