Bokeh
Introduction 引言
Attaching the RedshiftBokeh lens shader to a camera provides Depth-Of-Field controls. This allows the camera to 'focus' on individual objects and blur the rest of the image.
将 RedshiftBokeh 镜头着色器附加到相机上提供景深控制。这使得相机可以对单个物体进行“聚焦”,模糊图像的其余部分。
The focusing happens at a specific distance from the camera.
聚焦发生在距离相机特定的距离上。
How To Use
如何使用
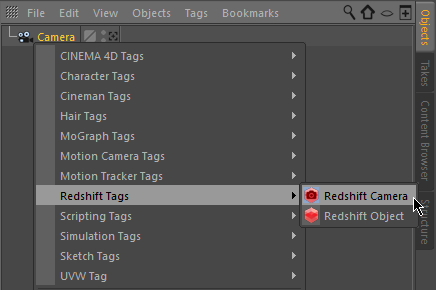
You can enable bokeh via the "Redshift Bokeh" lens shader as shown below.
你可以通过如下所示的“红移散景”镜头着色器启用散景。
To Bokeh effect is available via the Redshift Camera tag. If the camera doesn't have one already, one can be created by right-clicking on the camera object and selecting the Redshift Camera tag from the Redshift Tags sub-menu.
可以通过红移相机标签获得散景效果。如果相机还没有红移标签,你可以通过右键点击相机对象并从红移标签子菜单中选择红移相机标签来创建。
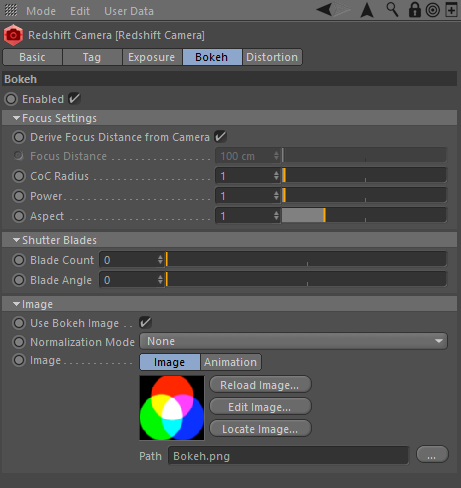
The settings for this effect are under the Bokeh tab of the Redshift Camera tag
这个效果的设置在红移相机标签的 Bokeh 标签下
Focus Settings
焦点设置
Derive Focus Distance From Camera
推导相机对焦距离
Cameras in 3D modeling packages often have specific controls for their "interest", i.e. the 3D position that the camera is focusing on. If you enable this option, the camera interest will be used by Redshift to determine the focus distance.
在3D 建模软件包中的相机通常有专门的控制它们的“兴趣”,即相机正在聚焦的3D 位置。如果启用此选项,红移将使用相机兴趣来确定对焦距离。
Focus Distance
对焦距离
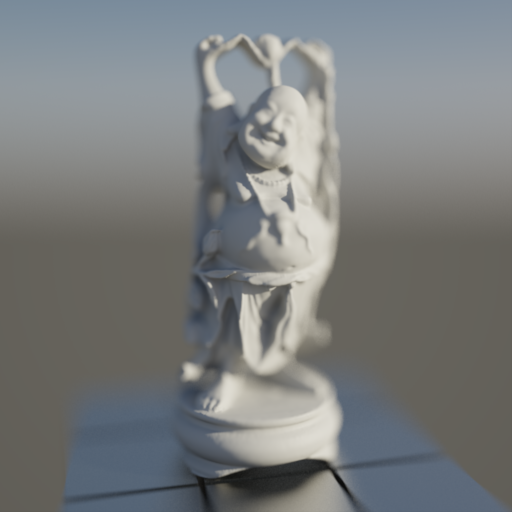
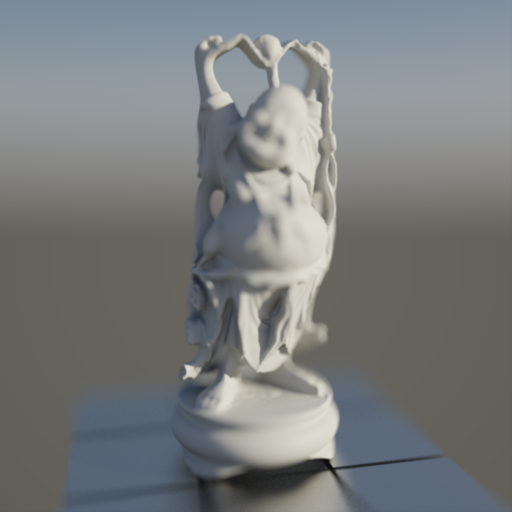
If "Derive Focus Distance From Camera" is disabled, you can type in a specific value for the focus distance. This can be useful if the camera is already tracking a specific object but you actually want to focus on a different distance.
如果“从相机获取对焦距离”被禁用,您可以键入对焦距离的特定值。如果相机已经在跟踪一个特定的物体,但是你实际上想要聚焦在一个不同的距离上,这是非常有用的。
|
|
|
|
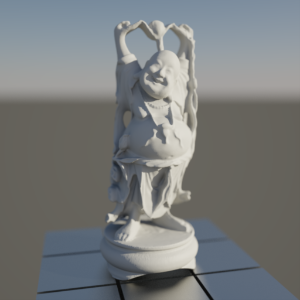
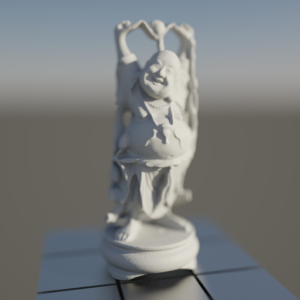
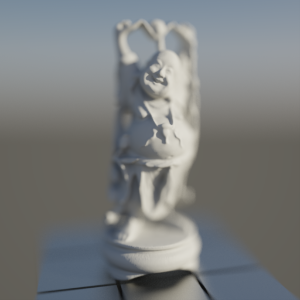
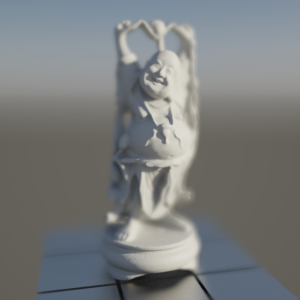
Adjusting "Focus Distance" to focus on the face. 调整“聚焦距离”来聚焦脸部。 |
Adjusting "Focus Distance" to focus on the hand. 调整“聚焦距离”来聚焦手部。 |
CoC Radius
CoC 半径
"CoC" stands for "circle of confusion". This parameter controls how strong the Depth-Of-Field effect will be. Smaller values keep a larger range around "Focus Distance" in focus, i.e. more of the image is in focus. Larger values make the effect stronger – only parts of the image exactly at a "Focus Distance" will be sharp, everything else will be blurry.
“ CoC”代表“模煳圈”。这个参数控制景深效果的强度。较小的值保持较大的范围围围绕“焦点距离”的重点,也就是说,更多的图像是在焦点。更大的数值使效果更强-只有部分的图像恰好在“焦距”将是锐利的,其他一切将模糊。
The circle of confusion works in conjunction with the F-stop of your camera using the formula below.
使用下面的公式,模煳圈可以和你的 f 档相机一起工作。
dofRadius = focalLength / fStop / 2 / (mm in scene units)
|
|
|
|
|
CoC Radius 2.0 CoC 半径2.0 |
CoC Radius 5.0 CoC 半径5.0 |
CoC Radius 10.0 CoC 半径10.0 |
Power
力量
You can think of out-of-focus pixels as blurry disks. The blurrier a pixel is, the larger the disk. The "Power" parameter controls how these disks appear.
你可以把失焦的像素想象成模糊的磁盘。像素越模糊,磁盘越大。“ Power”参数控制这些磁盘的显示方式。
The default 1.0 value makes the disk intensity even. Values lower than 1.0 make the center of the disks more important than the outer parts. Values greater than 1.0 have the opposite effect: they make the outer parts of the disk more important. This is better explained with the images below:
默认的1.0值使磁盘强度均匀。小于1.0的值使得磁盘的中心比外部部分更加重要。大于1.0的值具有相反的效果: 它们使磁盘的外部部分更加重要。下面的图片可以更好地解释这一点:
|
|
|
|
|
Power 1.0. This is the default value. 权力1.0。这是默认值。 |
Power 0.5. The Depth-Of-Field becomes tighter. 功率0.5。景深变得更加紧凑。 |
Power 10.0. A "double vision" effect. 功率10.0。一个“复视”效果。 |
Aspect
方面
The aspect parameter can squash the depth-of-field effect and simulate the effect observed on anamorphic lenses. The default 1.0 value produces a perfectly circular disc while values less than 1.0 or greater than 1.0 will respectively squash the shape vertically and horizontally.
纵向参数可以压缩景深效应,模拟观察到的变形透镜效应。默认的1.0值会生成一个完美的圆盘,而小于1.0或大于1.0的值会分别在垂直和水平方向上压扁该形状。
On the following scene we lit our model using a few spherical lights. Looking at the following examples, please observe that 0.8 = 1.0 / 1.25.
In other words, if you want to maintain the same amount of aspect, but want it on the opposite axis, you'll need to use the reciprocal of your value.
在下面的场景中,我们使用几个球形灯点亮了模型。看下面的例子,请注意0.8 = 1.0/1.25。换句话说,如果你想保持相同数量的方面,但是想要它在相反的轴上,你需要使用你的价值的倒数。
|
|
|
|
|
Aspect 1.0. This is the default value. 切面1.0. 这是默认值。 |
Aspect 0.8. The Depth-Of-Field shape becomes longer on the Y axis. 方面0.8. 景深的形状在 y 轴上变得更长。 |
Aspect 1.25. The Depth-Of-Field effect becomes longer on the X axis. 方面1.25. 在 x 轴上景深效果变得更长。 |
Shutter Blades
快门叶片
Blade Count / Angle
刀片数量/角度
This parameter has no effect when you use a bokeh image
当您使用散景图像时,此参数没有影响
Like mentioned above, you can think of each out-of-focus pixel as a disk. The shutter of real-life cameras, though, does not look like a perfect disk but is opening and closing using a number of blades. This means that it looks more like an N-gon than a disk.
如上所述,您可以将每个失焦像素看作一个磁盘。现实生活中的相机的快门,虽然看起来不像一个完美的圆盘,但是是开启和关闭使用一些叶片。这意味着它看起来更像一个 N-gon 而不是一个圆盘。
The "Blade Count" parameter allows you to simulate that shape. The larger the blade count, the more the Depth-Of-Field shape will look like a disk. Lower values will make the Depth-Of-Field shape more angular, as shown below. If you set this to 0.0 (which is the default value), a disk will be used instead.
“ Blade Count”参数允许您模拟该形状。叶片数量越大,Depth-Of-Field 形状就越像一个圆盘。较低的数值将使 Depth-Of-Field 形状更有棱角,如下图所示。如果将其设置为0.0(默认值) ,则将使用磁盘。
The "Angle" parameter controls the angle of the effect. If the shape is a disk, this has no effect.
“角度”参数控制效果的角度。如果形状是一个磁盘,这没有效果。
|
|
|
|
|
Blade Count 0.0 (disk) 刀片数0.0(圆盘) |
Blade Count 3 (triangle). Angle 0.2 刀片数3(三角形)。角度0.2 |
Blade Count 3 (triangle). Angle 0.7 刀片数3(三角形)。角度0.7 |
Bokeh
Use Bokeh Image / Image Normalization
使用 Bokeh 图像/图像归一化
Apart from the vignetting effect, real-life camera lenses sometimes also exhibit an artifact called "chromatic aberration". Chromatic aberration means that, depending on the angle of the light reaching the lens, certain light wavelengths (colors) are reflected away and never reach the camera. This creates a rainbow effect which is stronger in parts of the image that are out-of-focus. Just like vignetting, even though this is an artifact sometimes it is desired for artistic reasons.
除了虚光效果,现实生活中的相机镜头有时也会展示一种被称为“色差”的工艺品。色差是指某些波长(颜色)的光线会被反射到相机而不能到达相机,这取决于光线到达镜头的角度。这样就产生了一种彩虹效果,这种效果在图像中失焦的部分更为明显。就像虚光,即使这是一个人工制品,有时出于艺术原因它是需要的。
Redshift allows you to use an image for Depth-Of-Field which can help simulate the chromatic aberration effect. Such an image is shown below.
红移允许你为 Depth-Of-Field 使用一个图像,这可以帮助模拟色差效果。如下图所示。
To get a neutral result in the focused pixels one would have to draw this picture perfectly. I.e. there should be exactly the same number of red pixels to blue to green. Not doing so would mean that the image would either be too red or too green or too blue and also too dim.
为了在聚焦像素中得到一个中性的结果,我们必须完美地画出这张图片。也就是说,红色像素的数量应该与蓝色到绿色像素的数量完全相同。如果不这样做,就意味着图像要么太红,要么太绿,要么太蓝,而且太暗。
But drawing such an image is almost impossible to do! So, for that reason, Redshift allows you to select an image normalization mode. This means that we adjust the texture automatically so that it balances out. Sometimes you might want to ensure that the colors you use all add up to white. In that case, use "White Color Sum". In other cases you might actually want the overall tint to not be white but you still want the final image to not be any darker than it would normally be. In those cases, please select "Unit Intensity".
但是画这样一幅画几乎是不可能的!因此,由于这个原因,Redshift 允许您选择一个图像标准化模式。这意味着我们可以自动调整纹理,使其平衡。有时你可能想确保你使用的所有颜色加起来都是白色。在这种情况下,使用“白色和”。在其他情况下,你可能实际上希望整体色调不是白色的,但是你仍然希望最终的图像不要比通常的颜色更深。在这些情况下,请选择“单位强度”。
The bokeh image shown above actually suffers from both issues. It contains black, so it means that it doesn't sum to one. Also the red/green/blue circles are not perfect: the red circle has its top chopped off. But using the normalization modes, this image can still be used without issues!
上面显示的散景图实际上同时存在这两个问题。它包含黑色,所以它意味着它的和不等于一。红色/绿色/蓝色的圆圈也不完美: 红色的圆圈顶部被砍掉了。但是使用标准化模式,这个图像仍然可以使用没有问题!
The examples below show the different normalization modes in action:
下面的例子展示了不同的正常化模式:
|
|
|
|
|
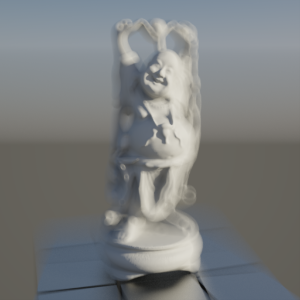
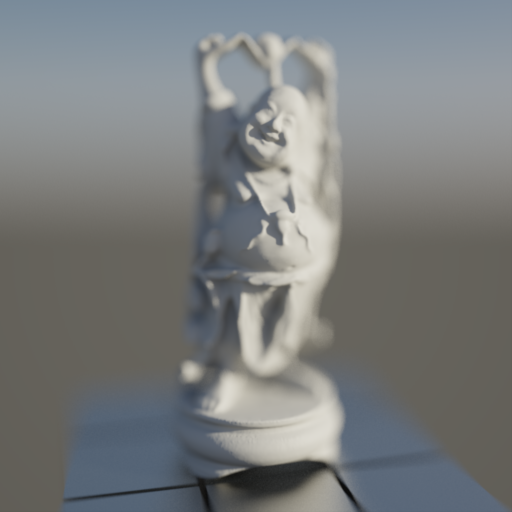
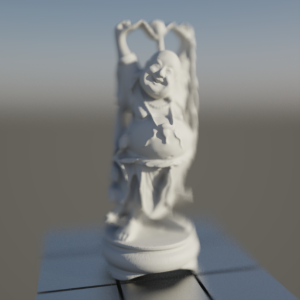
Normalization set to "None". The in-focus pixels are tinted and look darker 标准化设置为“无”。焦点内的像素是有色的并且看起来更暗 |
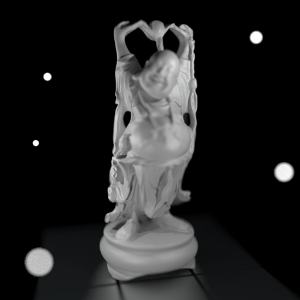
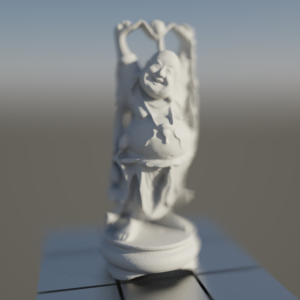
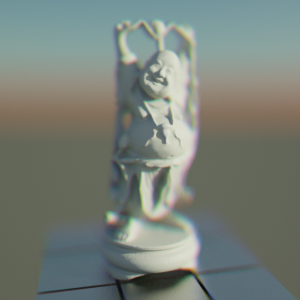
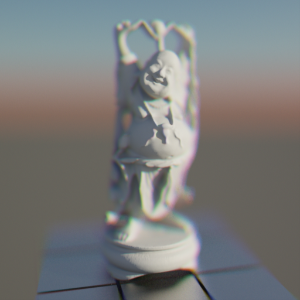
Normalization set to "Unit Intensity". The image is brighter (like the original), but there is still tint because of the red circle being chopped off (so green and blue 'win'). Sometimes following the color balance of the bokeh image is desirable. 归一化设置为“单位强度”。图像更明亮(像原来一样) ,但仍然有色调,因为红色圆圈被切断(所以绿色和蓝色’赢’)。有时遵循散景图像的色彩平衡是可取的。 |
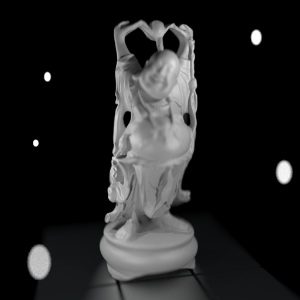
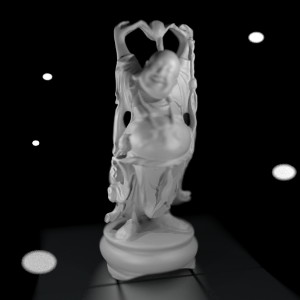
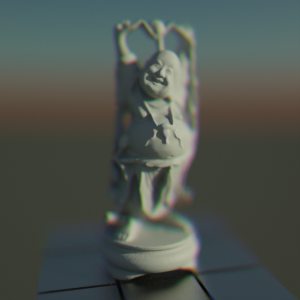
Normalization set to "White Color Sum". The image is now normalized so that all its pixels add up to white. This removes any unwanted tinting in the in-focus pixels 标准化设置为“白色和”。图像现在被标准化,所以它的所有像素加起来是白色的。这可以删除焦点内像素中任何不需要的着色 |


赶快留个言打破零评论!~