Cinema 4D Curves & Splines
RS渲染C4D的曲面和样条
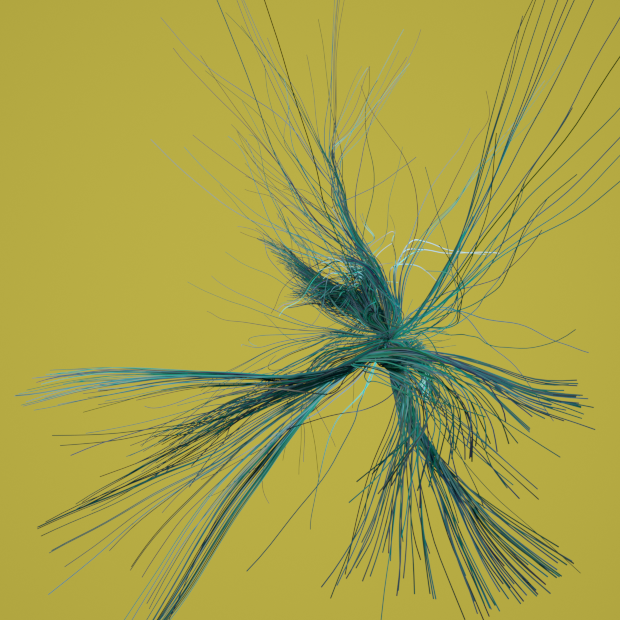
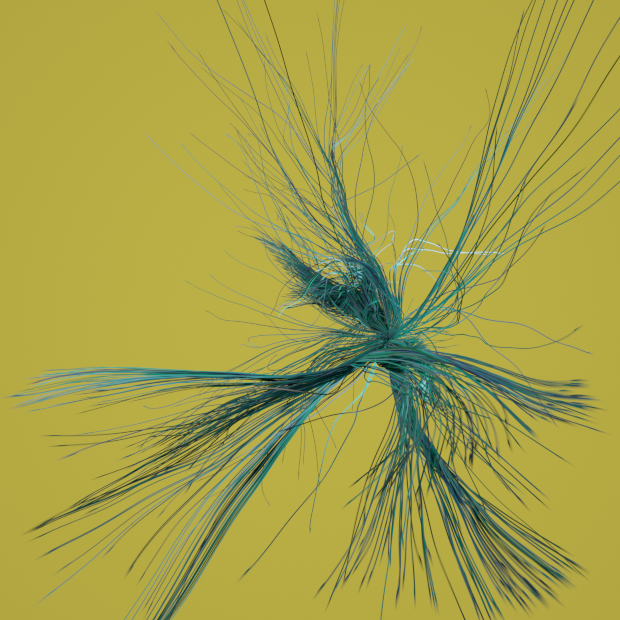
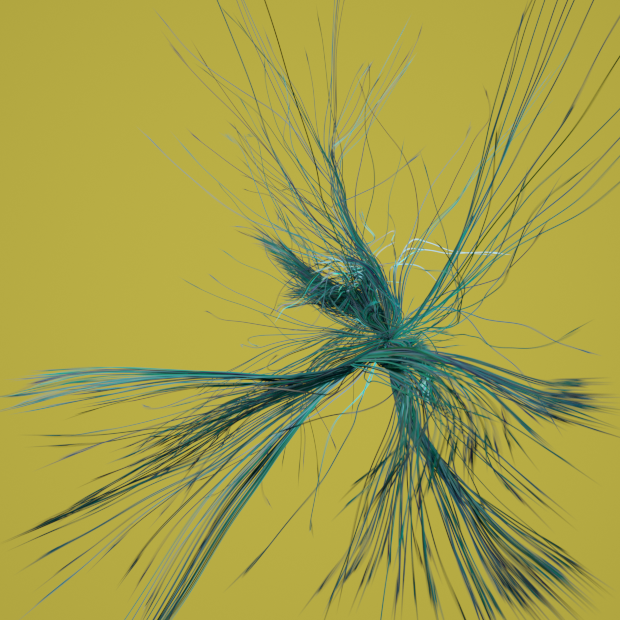
Redshift supports the rendering of Cinema 4D Splines and Curves with a number of different parameters for shape and size. These setups can be rendered as Hair Strands or Polygon based curves at render time. There are a number of different ways to shade these setups using an RS Material, which can also be combined with different attributes used to drive its parameters. You can render out different setups that generate these Curves including; regular spline objects, MoSpline, xpTrails and Tracers.
红移支持渲染的影院4D 样条和曲线与一些不同的参数的形状和大小。这些设置在渲染时可以渲染成发丝或基于多边形的曲线。有许多不同的方法使用 RS 材质来遮蔽这些设置,这些材质也可以与不同的属性结合起来驱动它的参数。您可以渲染出生成这些曲线的不同设置,包括: 规则样条对象、 MoSpline、 xpTrails 和 Tracers。
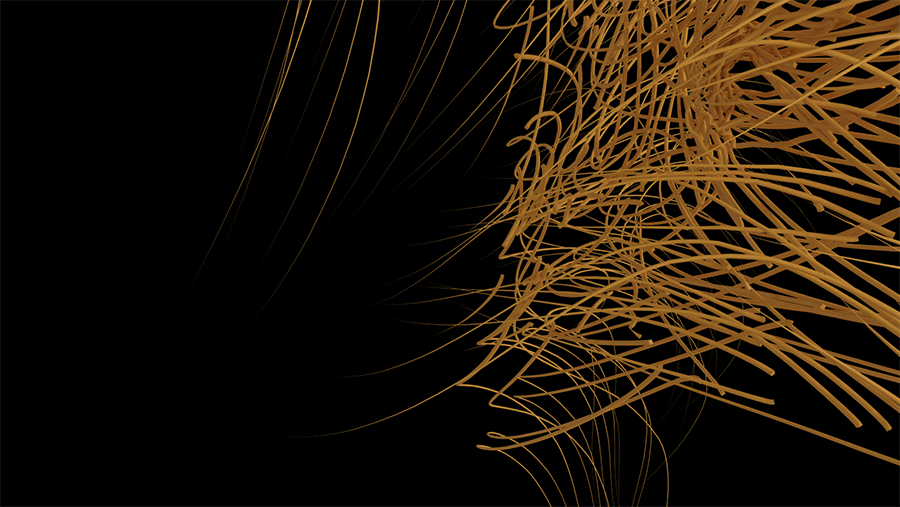
Tracer Object, Rendered with the Curve: Cylinders
跟踪器对象,用曲线渲染: 柱面
Basic workflow
基本工作流程
To render our Curves or Splines in Redshift we add a Redshift Object Tag to the object that is generating these (for example Spline object, MoSpline,Tracer etc.). Redshift will detect our curves and display the Curve tab for adjusting the different parameters. These are described below:
为了在 Redshift 渲染我们的曲线或样条,我们在产生这些的对象上添加一个红移对象标签(例如样条对象,MoSpline,Tracer 等)。红移将检测我们的曲线,并显示曲线标签调整不同的参数。这些情况说明如下:
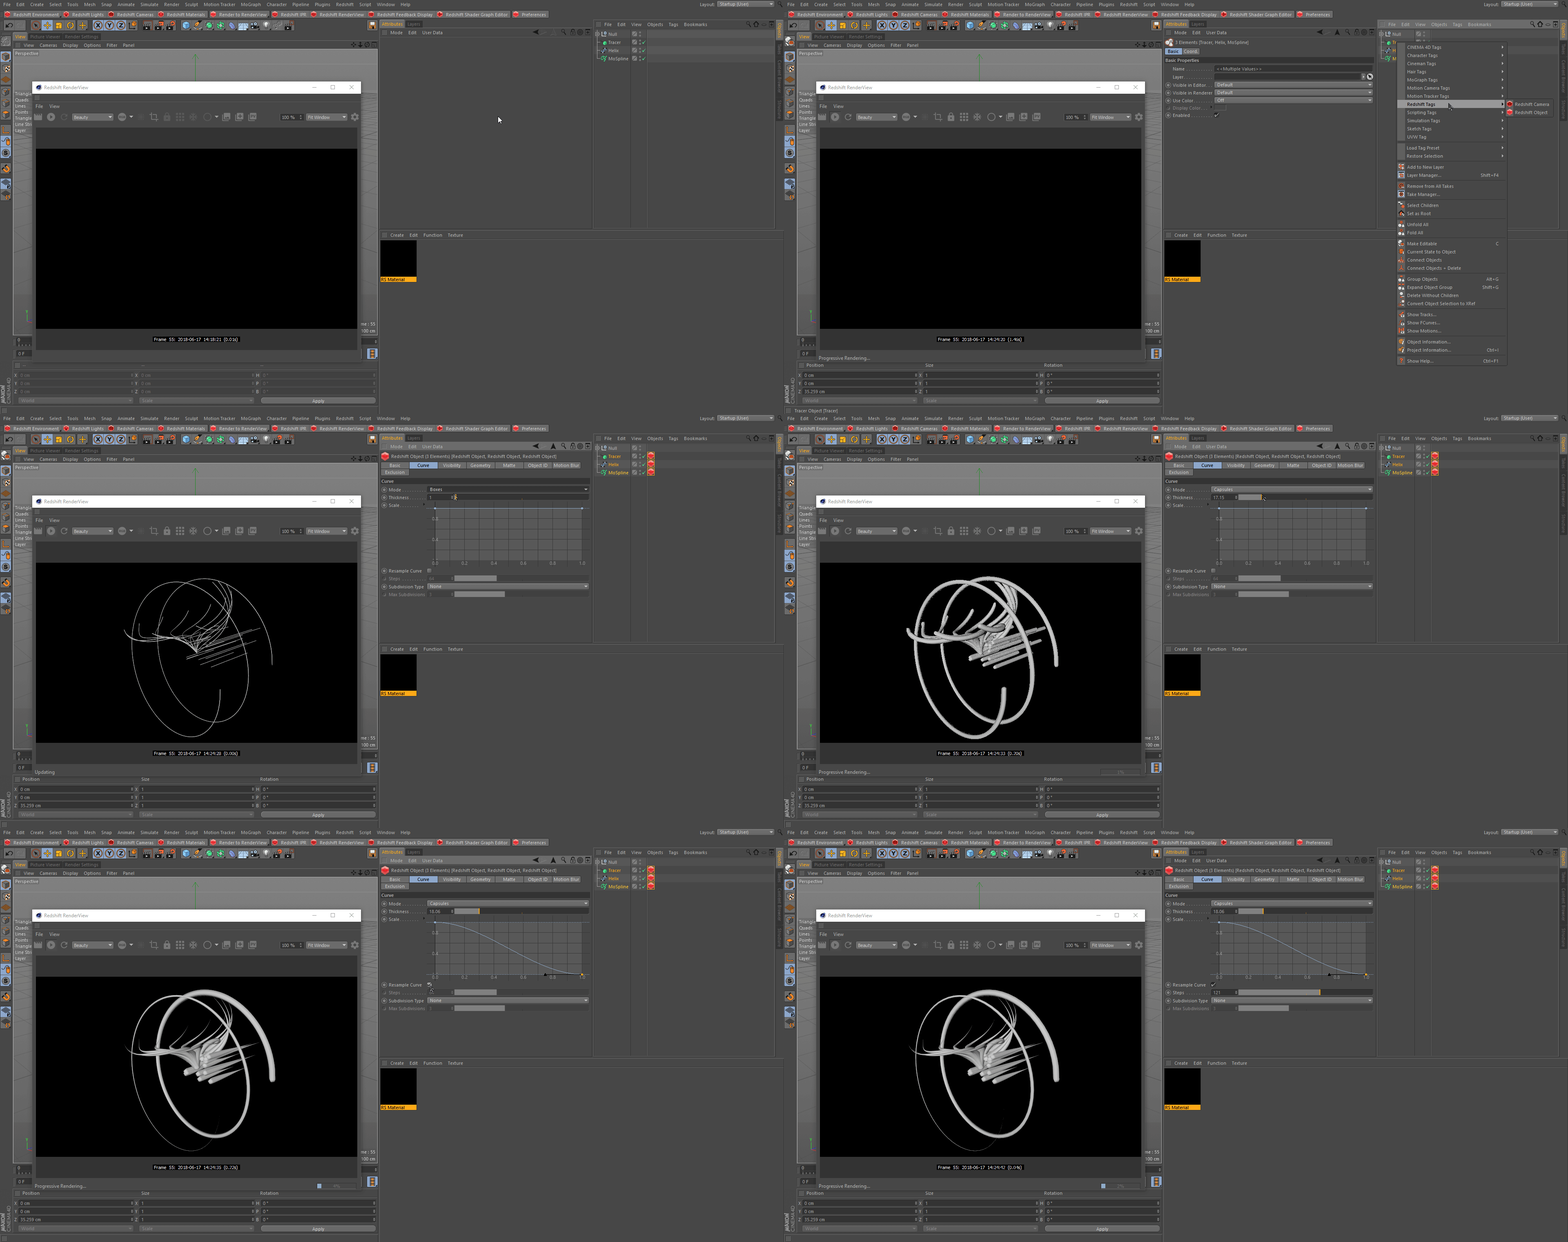
RedShift Object Tag
红移对象标记
Redshift Object Tag parameters
红移对象标记参数
Mode
模式
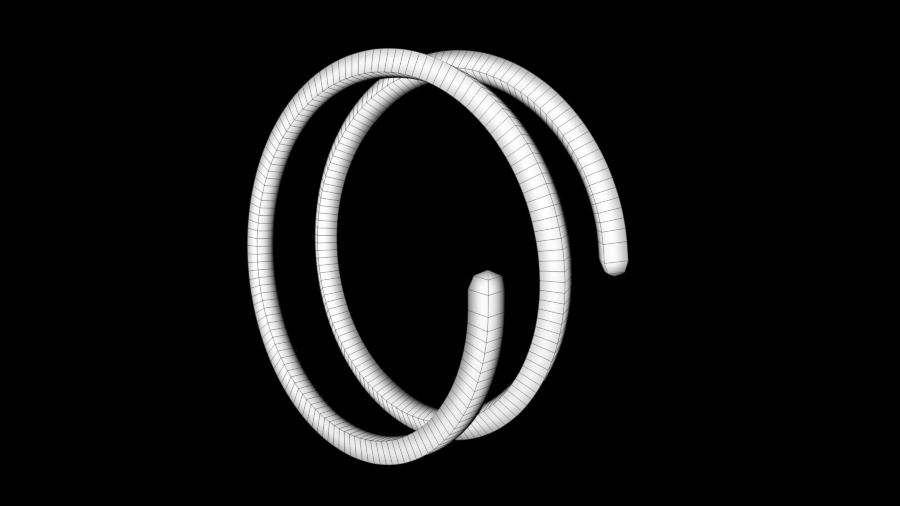
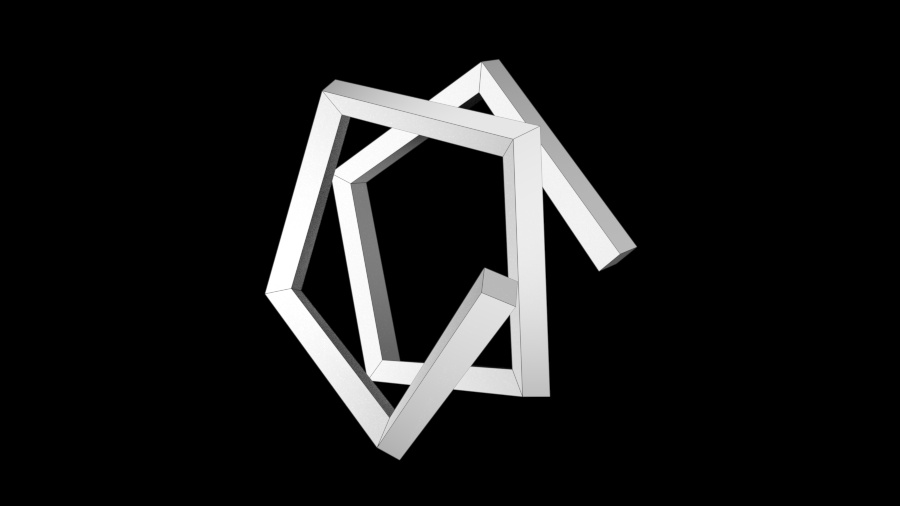
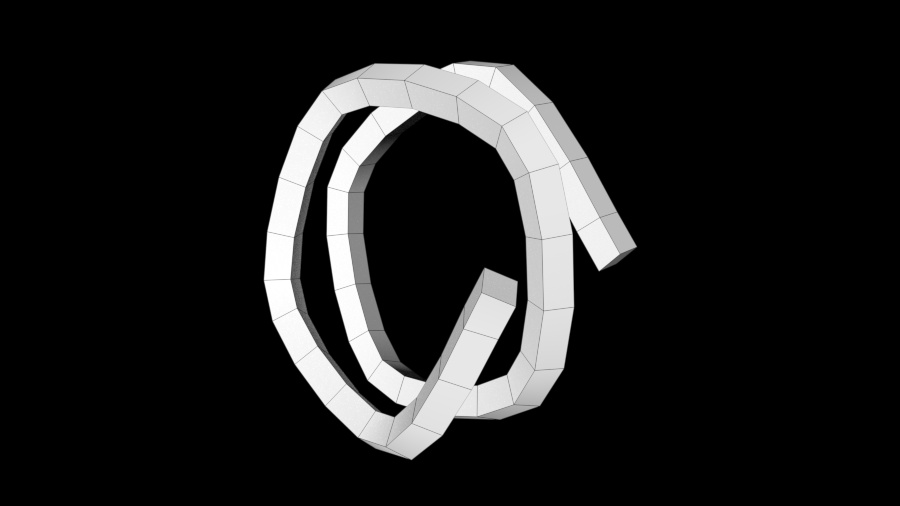
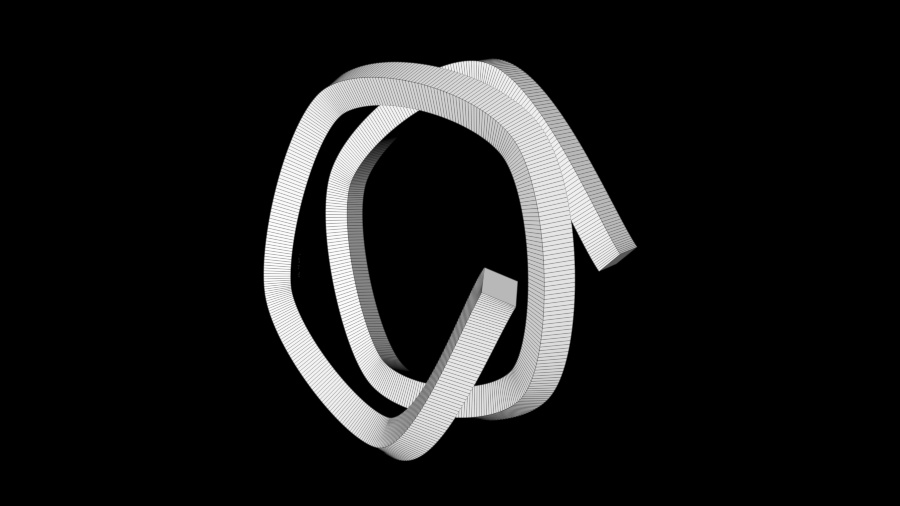
There are 6 different curve mode options shown below.
有6个不同的曲线模式选项如下所示。
|
|
|
|
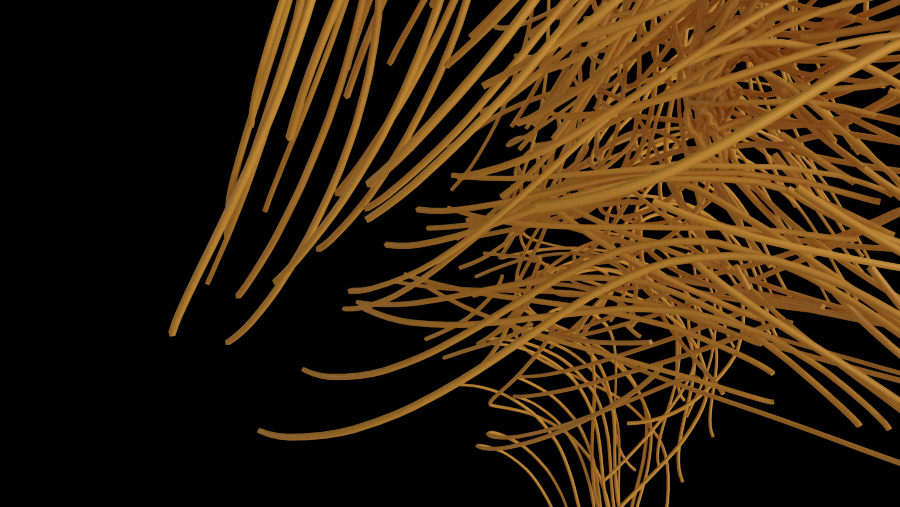
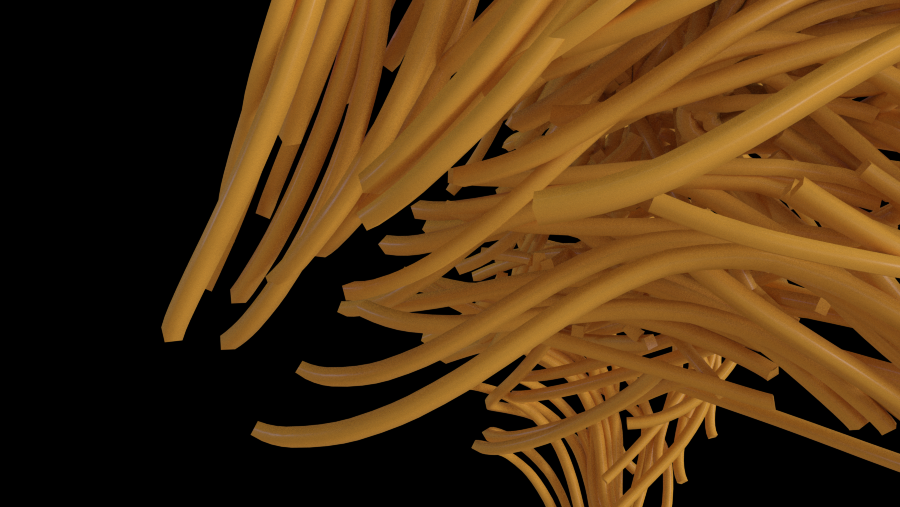
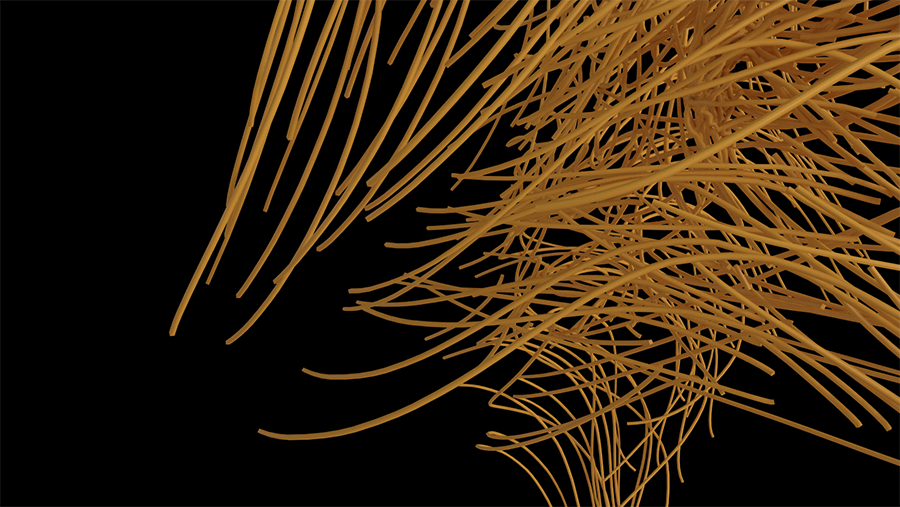
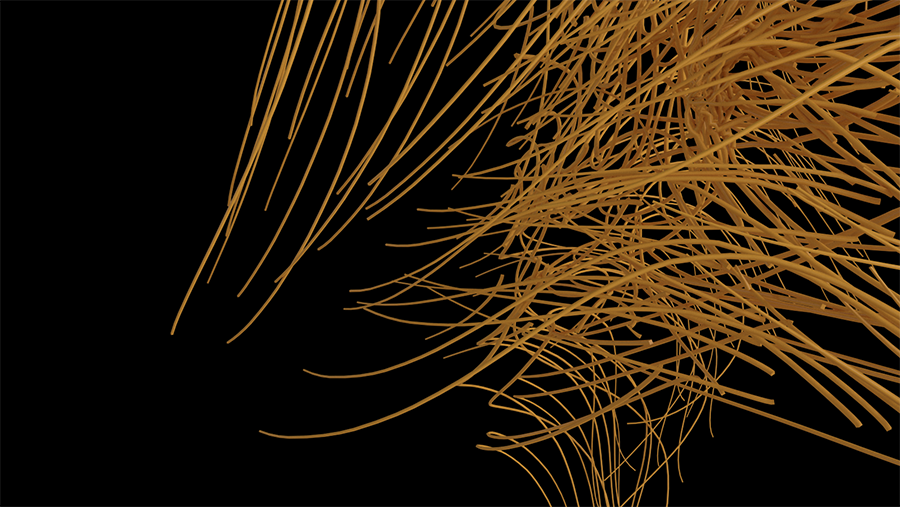
| Hair Strands 头发 | Boxes 箱子 | Cylinders 气缸 |
|
|
|
|
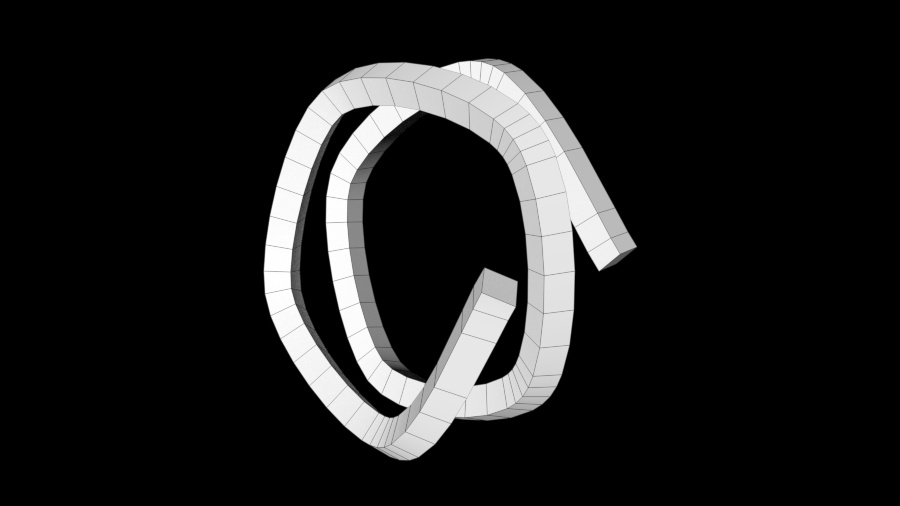
| Capsules 胶囊 | Cones 圆锥体 | Stripes 条纹 |
Click on the individual boxes for a close look!
点击单独的框仔细看!
Strand VS Polygon based curves
基于线与多边形的曲线
With Boxes, Cylinders, Capsules, Cones, and Stripes Redshift is generating procedural meshes at scene conversion as Polygon-based Curves. Hair Stands are curves rendered using a special ribbon-like core primitive, optimized for a high volume of thin strands. These are ideally suited for hair-like objects. Strands are more memory efficient, and best used for far away shots, or when using high counts of individual splines and curves, such as hair, cloth fibers, and any type of fine detail. While Polygon-based Curves get the benefits of mesh based geometry but avoid a lot of the processing overhead that ordinary meshes would create.
与盒子,圆柱体,胶囊,锥体和条纹红移生成程序网格在场景转换为多边形为基础的曲线。头发立场是曲线渲染使用一个特殊的带状核心原始,优化了大量的细股。这些都是非常适合头发一样的物体。股是更有效的内存,最好用于远距离拍摄,或当使用高计数的个人曲线和曲线,如头发,布纤维,和任何类型的细节。而基于多边形的曲线得到了基于网格的几何的好处,但避免了许多处理开销,一般的网格会创建。
Thickness
厚度
The thickness parameter is the overall width of each Curve.
厚度参数是每条曲线的总宽度。
|
|
|
|
| Thickness .5 厚度。5 | Thickness 1 厚度1 | Thickness 3 厚度3 |
Scale
比例
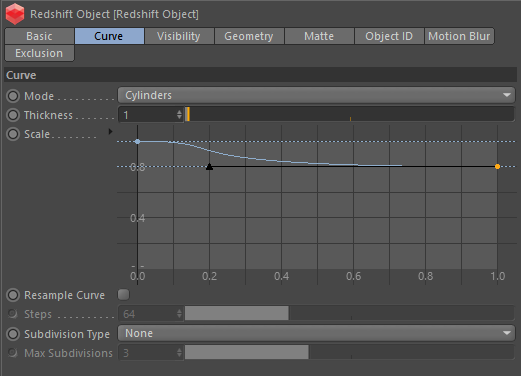
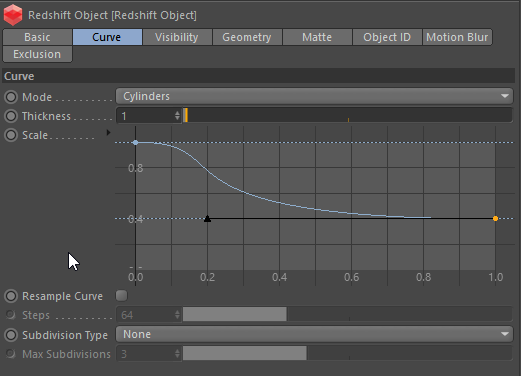
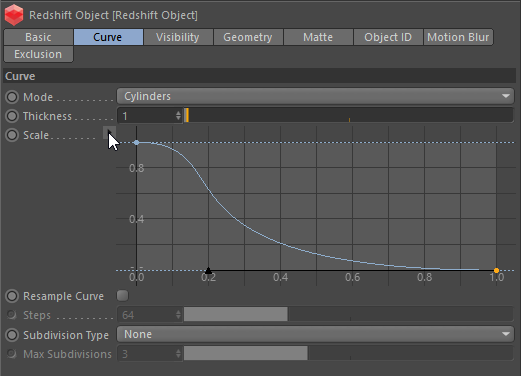
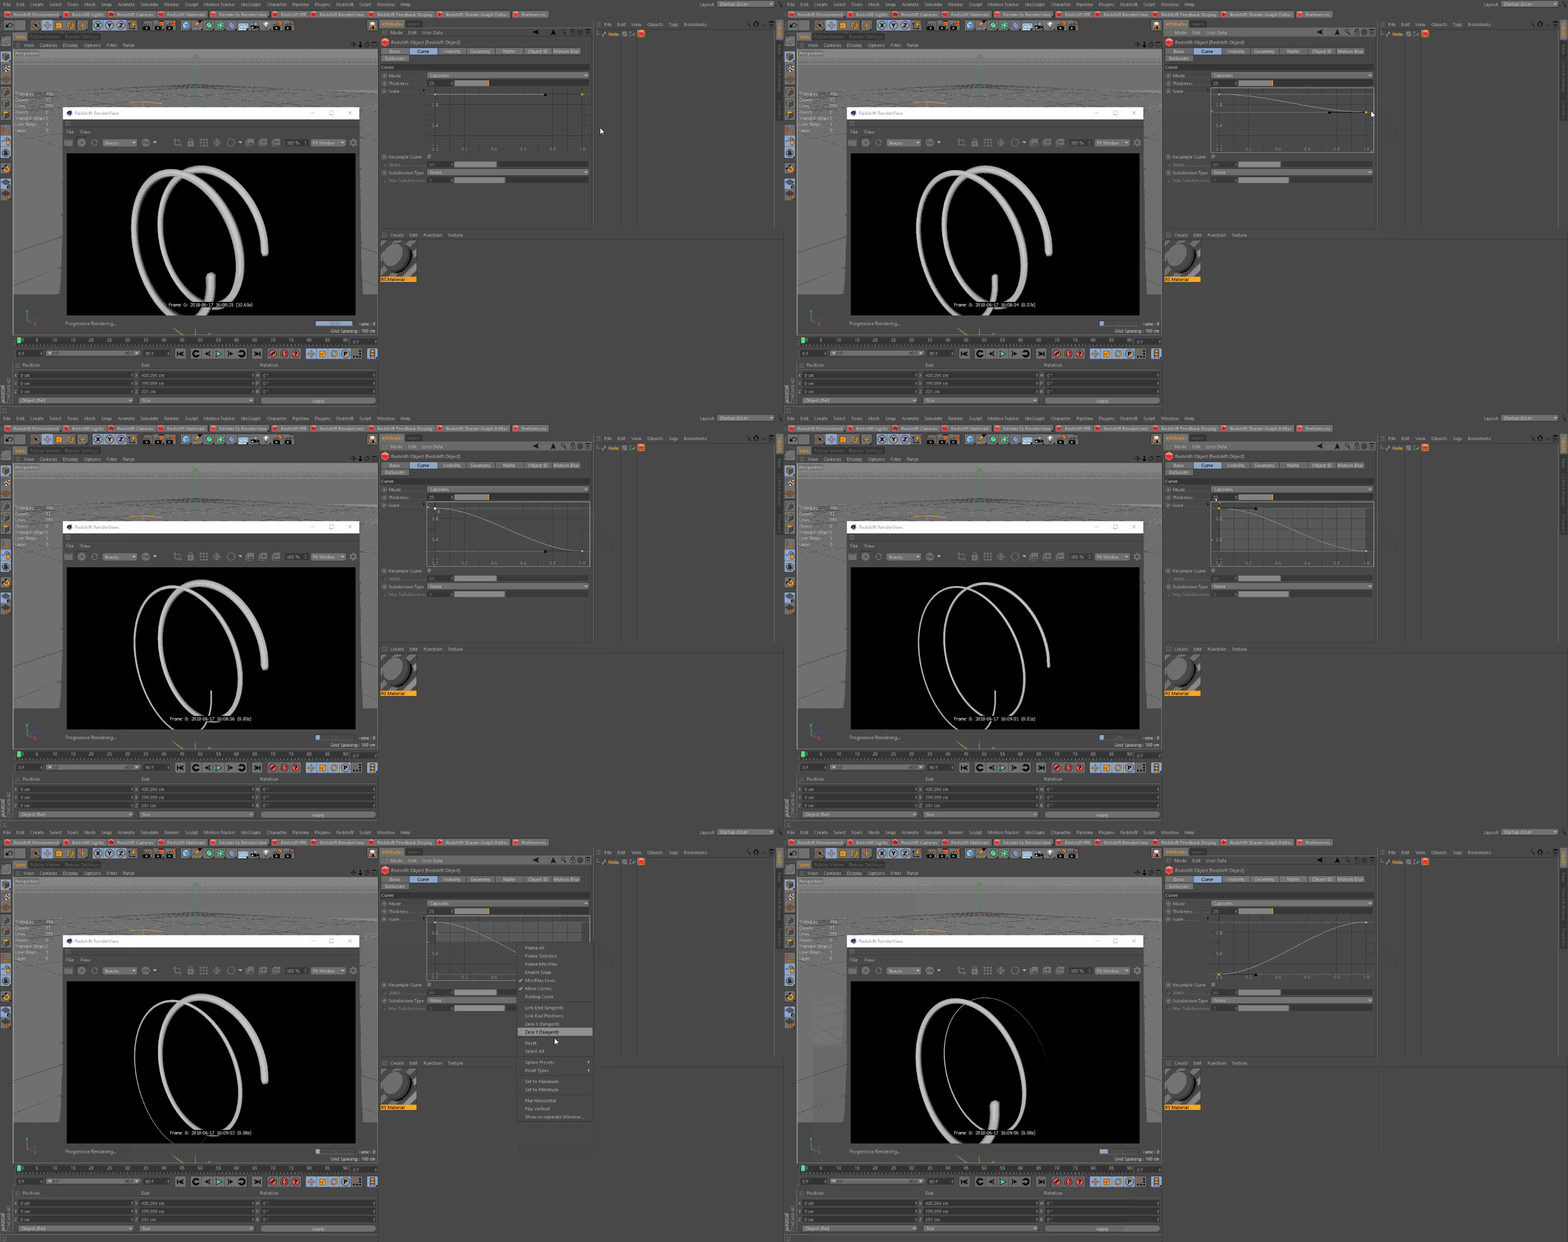
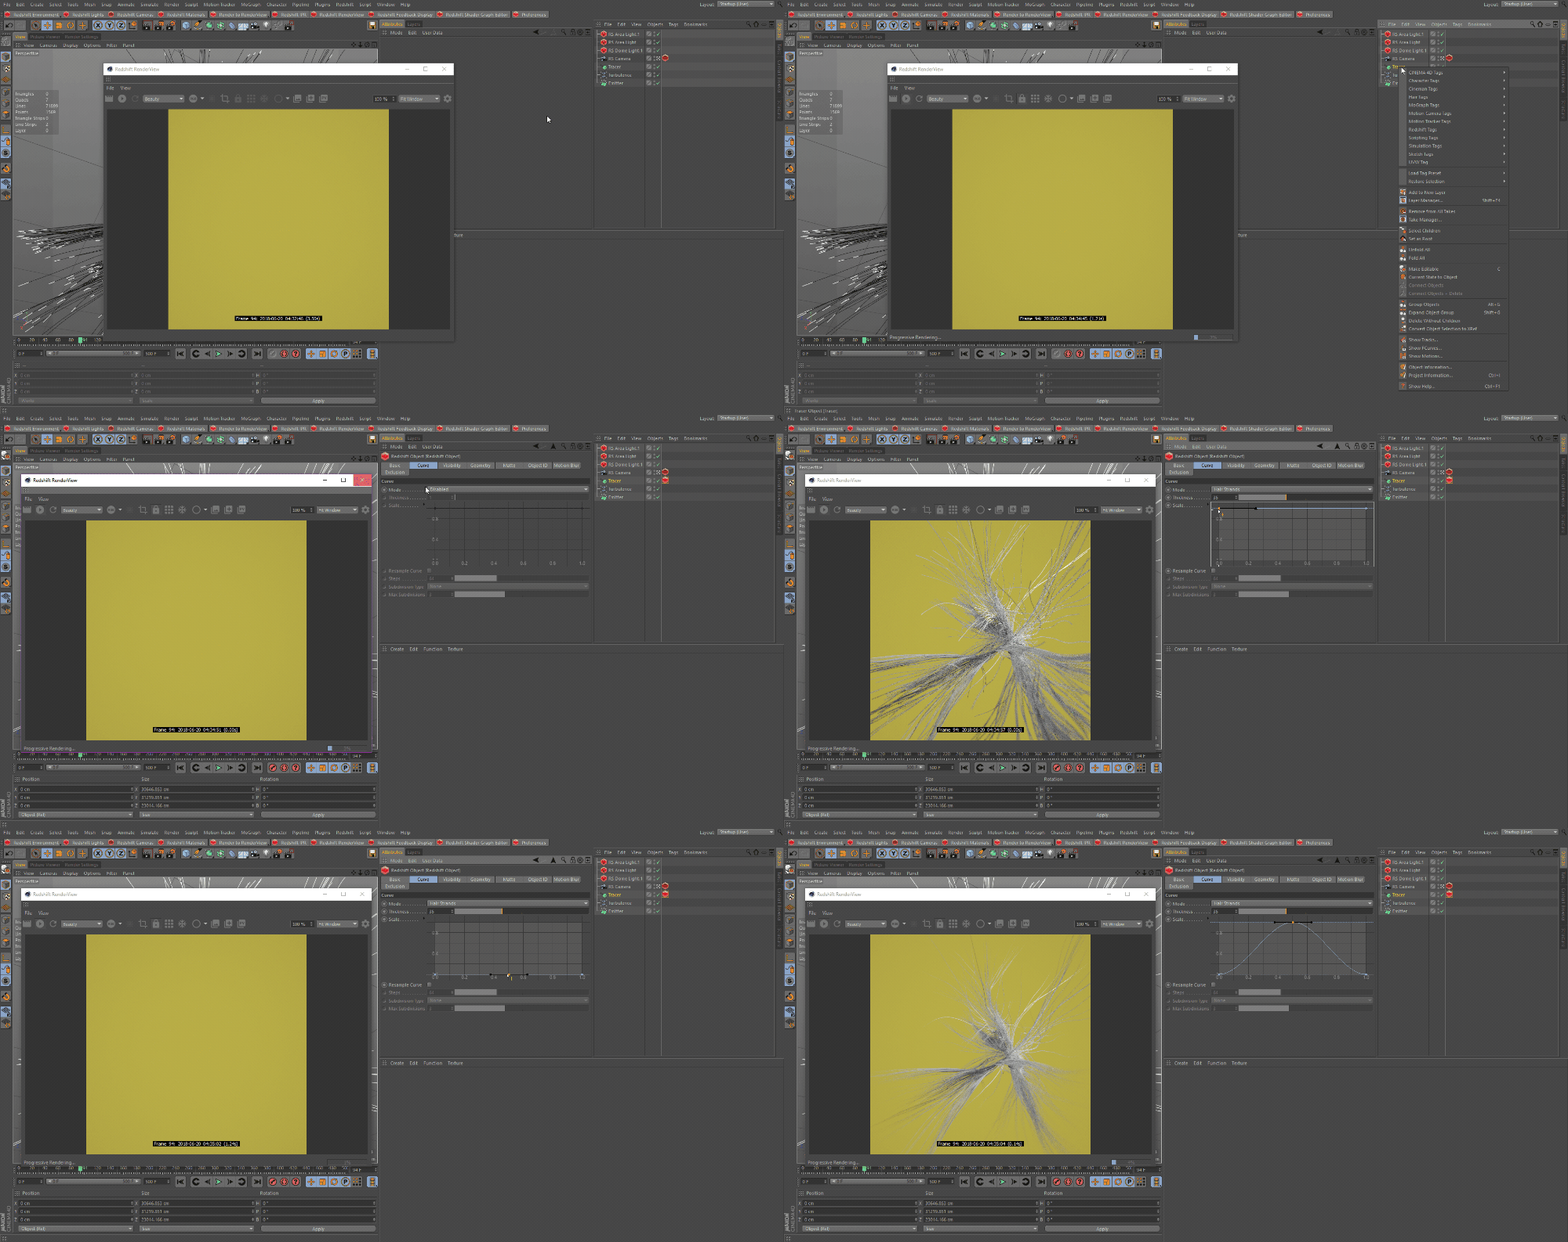
The Scale parameter allows you to vary the width of your curves with a custom spline graph. From 0 - 1 (Left to Right; X-Axis) will control the Start to End of your curve. From 0 - 1 (Bottom to Top;Y Axis) will control the width of your curve, with 1 being equalt to your Thickness parameter value, down to a value of 0 thickness. This is very useful for tapering ends of curves and controlling the width throughout your curve.
Scale 参数允许您使用自定义样条曲线图改变曲线的宽度。从0-1(从左到右; x 轴)将控制您的曲线的开始到结束。从0-1(底部到顶部; y 轴)将控制您的曲线宽度,1等于您的厚度参数值,下降到0厚度的值。这是非常有用的圆锥两端的曲线和控制宽度整个曲线。
|
|
|
|
|
|
|
|
Demonstrasting Scale Graph
显示尺度图
Resample
重采样
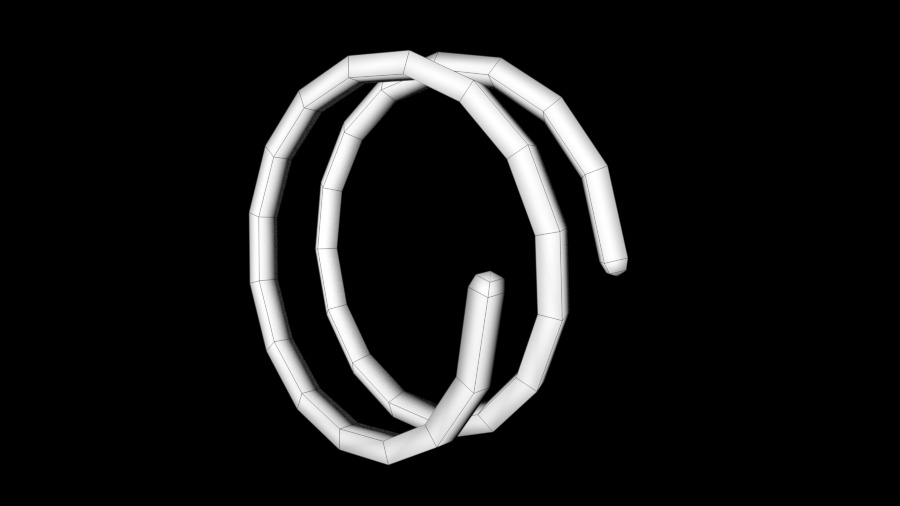
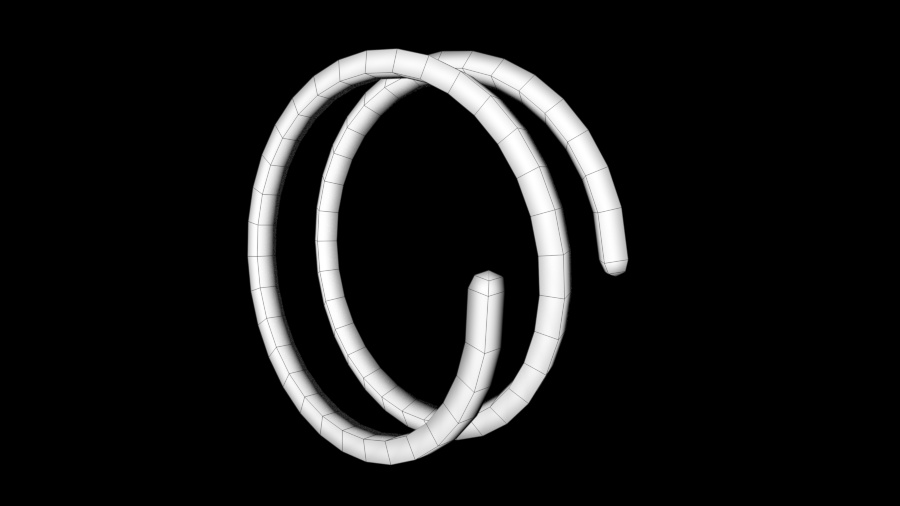
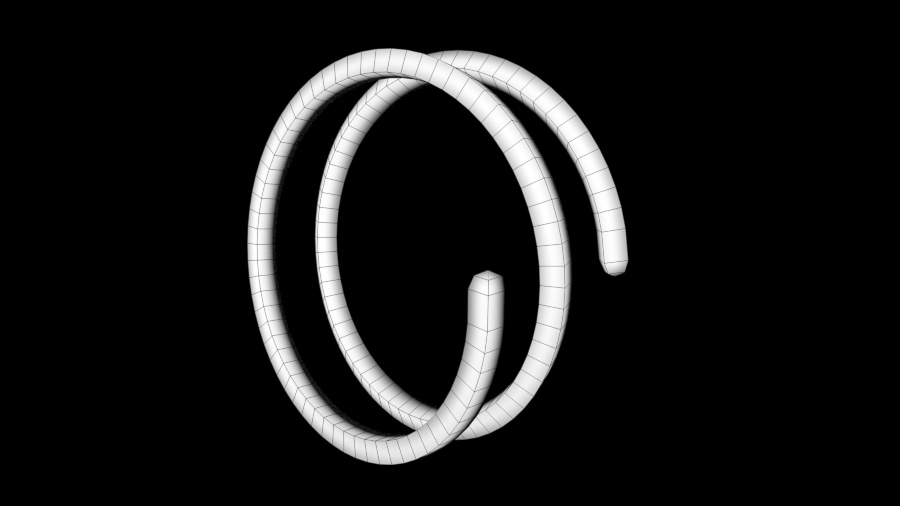
When the Resample Curve option is checked we can adjust the resampling steps for the curve. Higher step counts can be better for up close shots, while for long distance shots a lower sample rate can help imporove render times. This Resample Curve option can also be extremely useful in some scenarios where deformation blur cannot be generated reliably when certain types of curve animation is used.
当重采样曲线选项被检查,我们可以调整重采样的步骤为曲线。近距离拍摄时,步数越高效果越好,而远距离拍摄时,采样率越低,渲染时间就越短。这种重采样曲线选项也可以非常有用的一些情况下,变形模糊不能可靠地生成时,某些类型的曲线动画使用。
|
|
|
| Resample 32 重采样32 | Resample 64 重采样64 |
|
|
|
| Resample 128 重采样128 | Resample 256 重采样256 |
Subdivision Type
细分类型
Subdivision Type allows us to subdivide our trails if needed, there is a Fixed & Adaptive mode. Examples of each are shown down below.
细分类型允许我们细分我们的道路,如果需要,有一个固定和自适应模式。下面是每一种的例子。
Fixed
固定的
Fixed allows us to use a value from 0-8 in the Max Subdivisions slider to determine how many times your trail will be subdivided.
固定允许我们使用一个值从0-8在最大细分滑块,以确定多少次你的踪迹将被细分。
|
|
|
|
| Steps: 10 Max Subdivisions: 0 步骤: 10个最大细分: 0 | Steps: 10 Max Subdivisions: 2 步骤: 10个最大细分: 2 | Steps: 10 Max Subdivisions: 6 步骤: 10个最大细分: 6 |
Adaptive
适应性
Adaptive mode will give the most optimized result in terms of geometry.
自适应模式将在几何学方面给出最优化的结果。
Adaptive
适应性
Shading Curves
阴影曲线
Hair Strand-specific Shader Nodes
头发丝特定的着色器节点
These are nodes that should be used in conjunction with the Curve mode Hair Strands, described here.
这些节点应该与这里描述的曲线模式发丝结合使用。
Hair Position
头发的位置
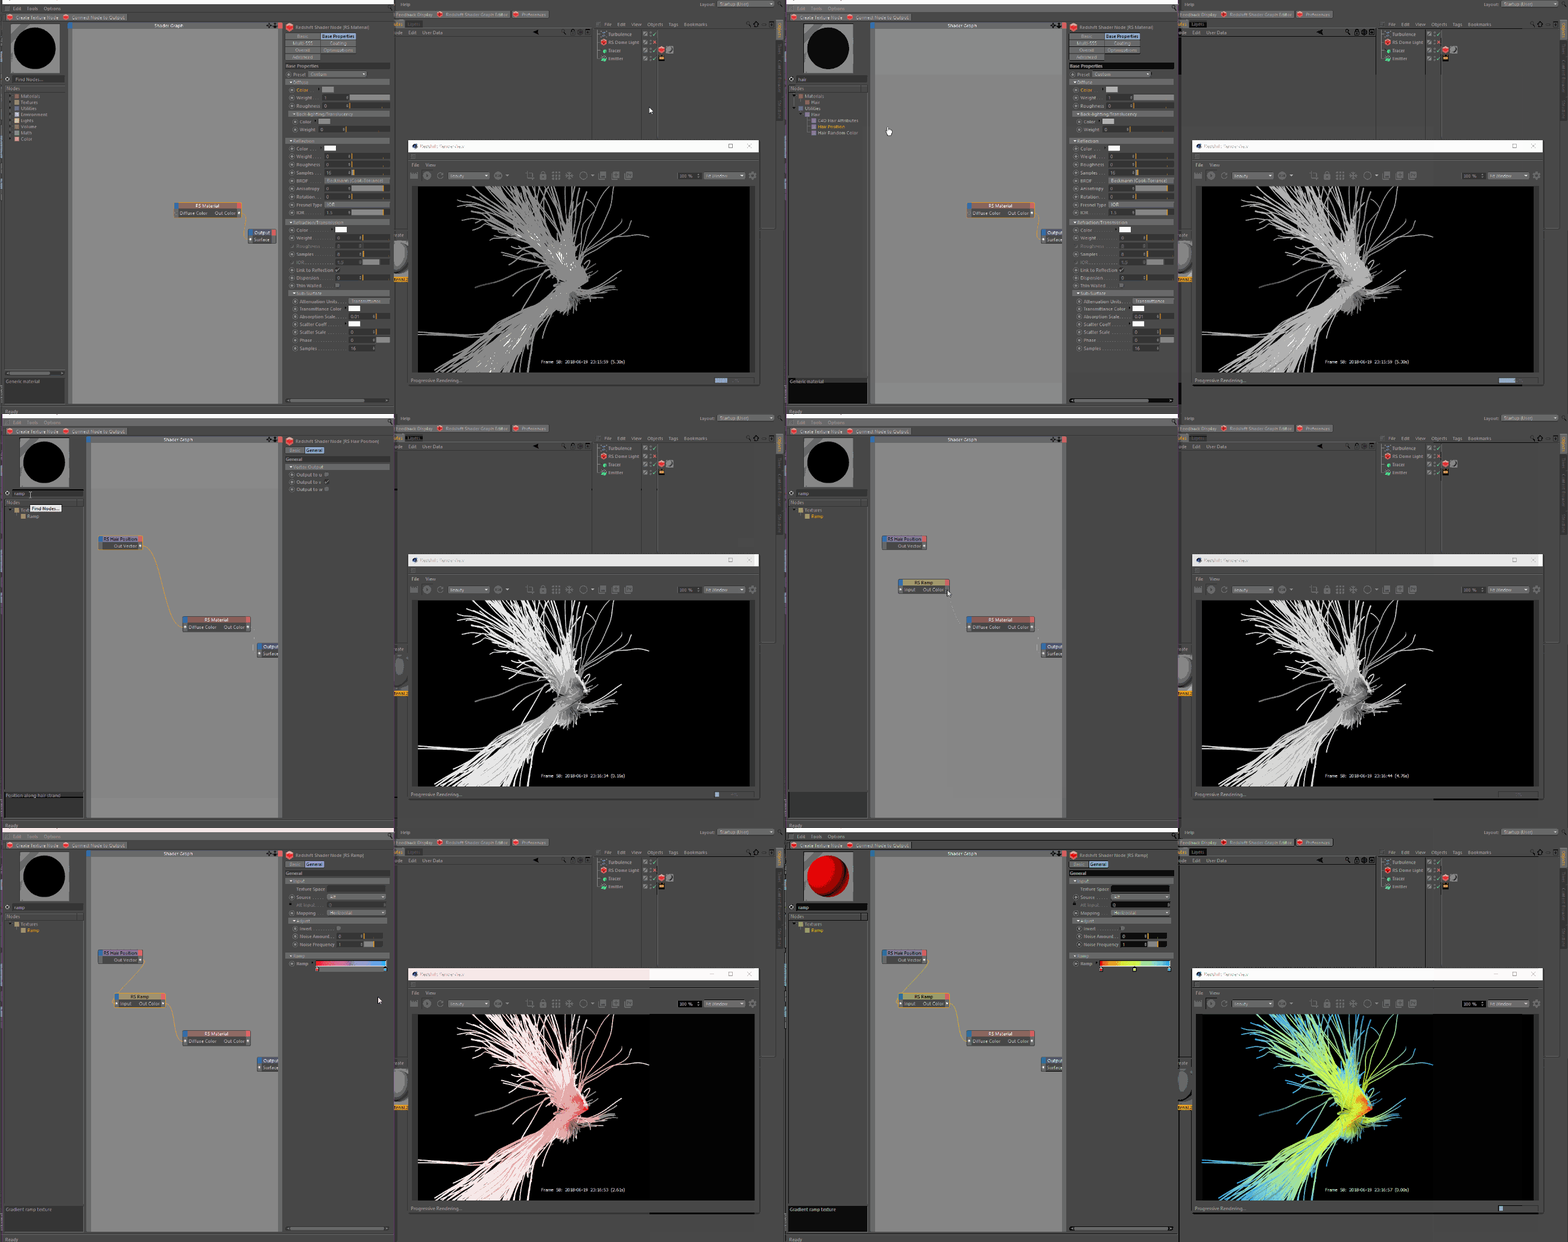
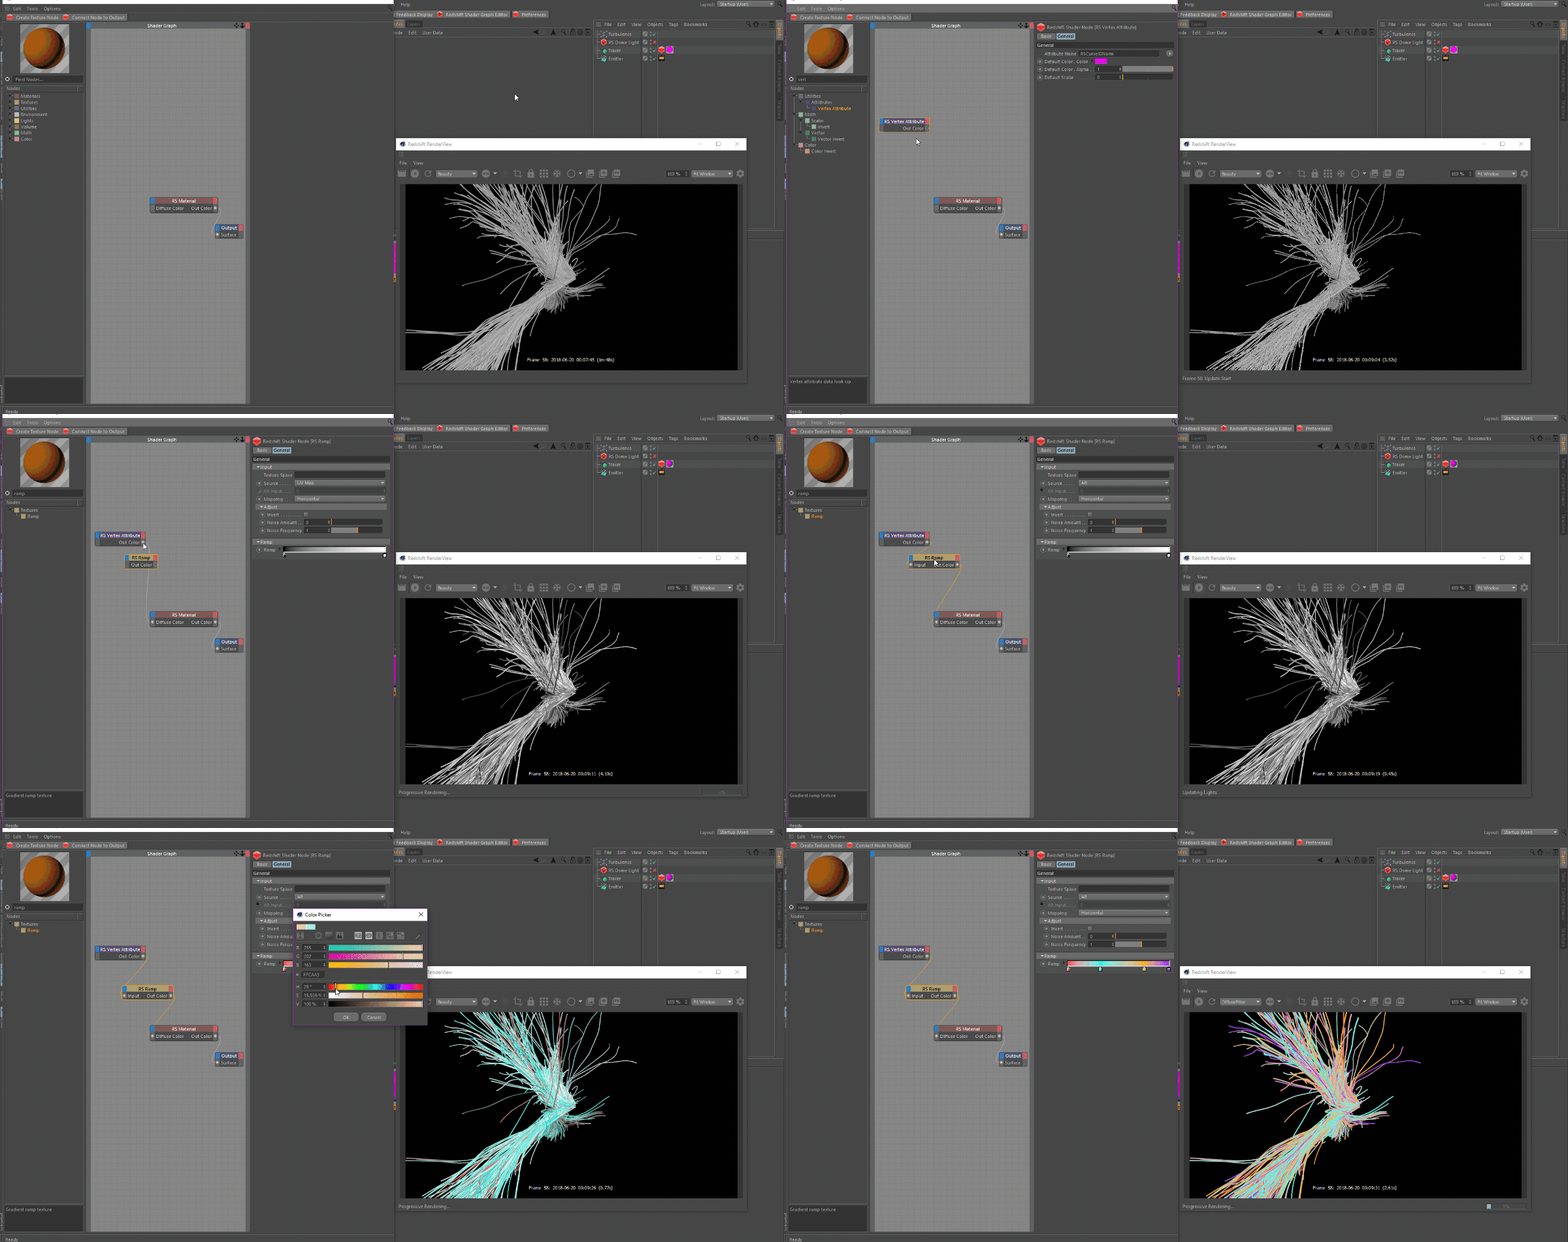
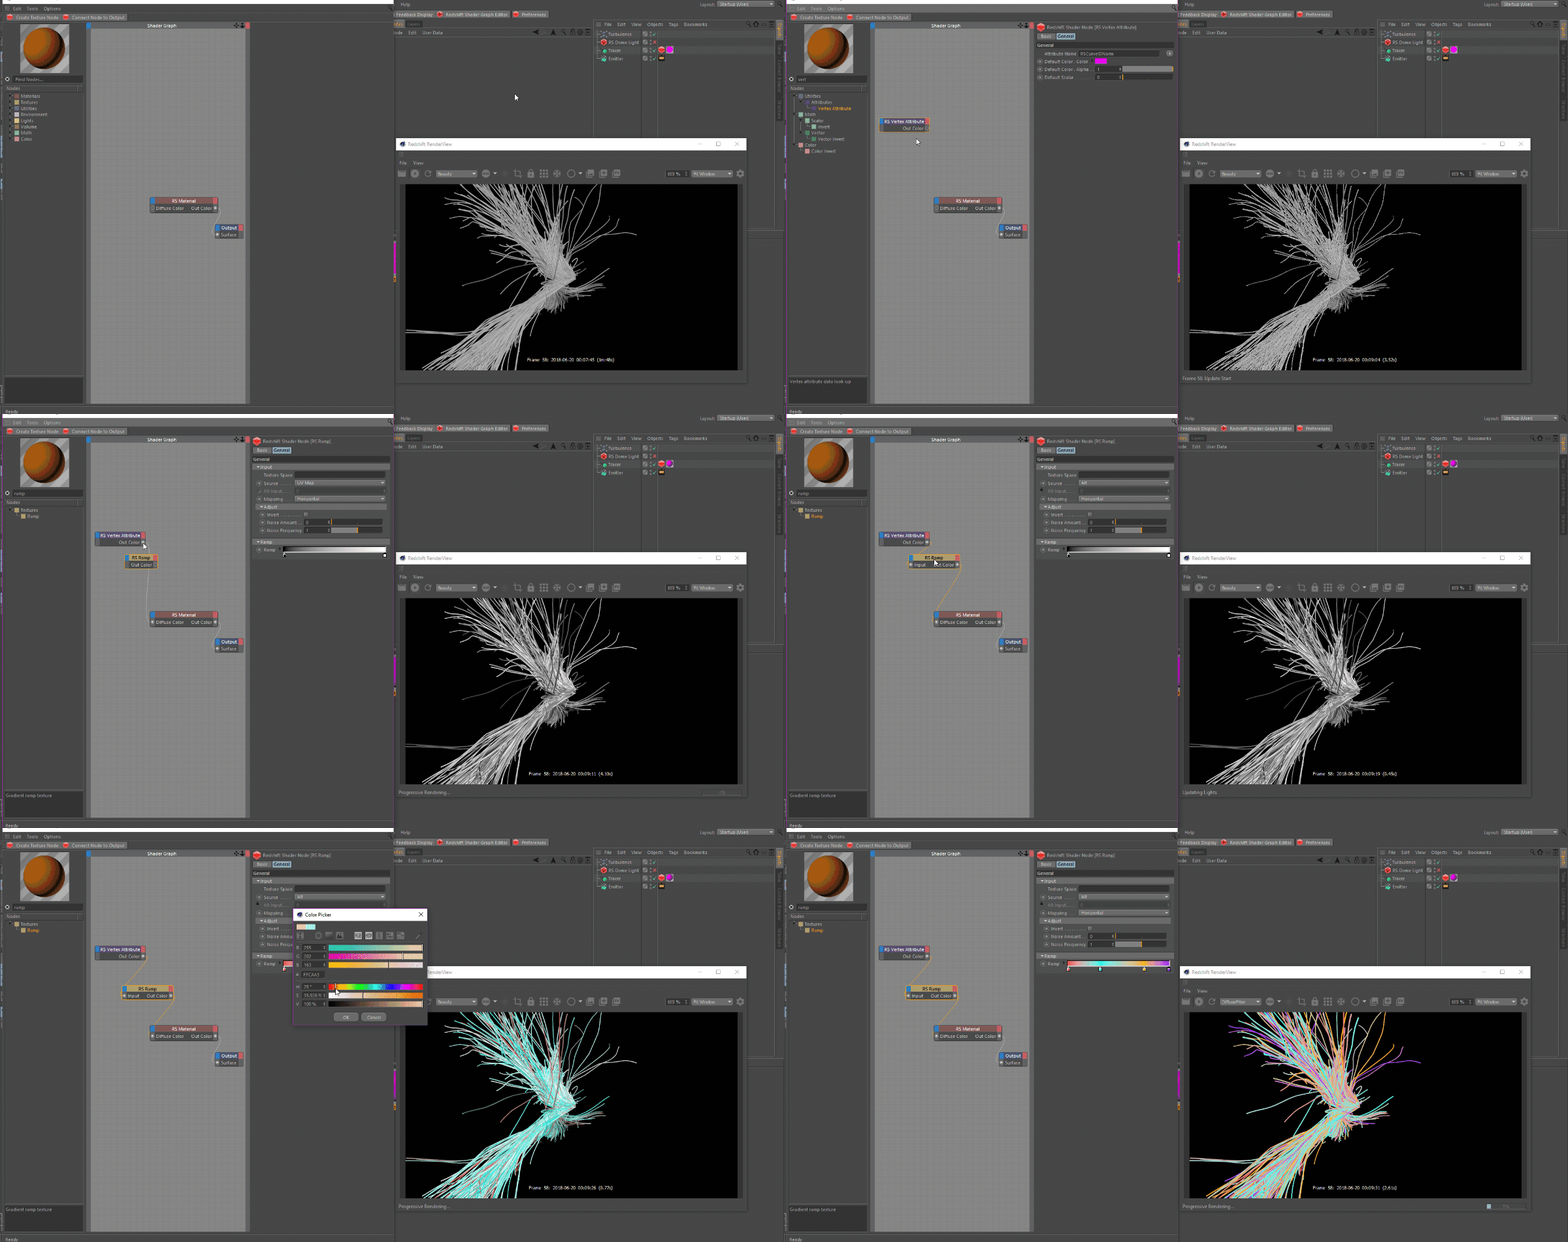
The Hair Position node will create a 0 to 1 value for each point on along the curve. This can be connected to a ramp node source set to Alt Source mode, to remap the colors as shown below.
“头发位置”节点将为曲线上的每个点创建一个0到1的值。这可以连接到一个斜坡节点源设置为 Alt 源模式,以重新映射颜色,如下所示。
Hair Position node
头发位置节点
Hair Random Color
头发的随机颜色
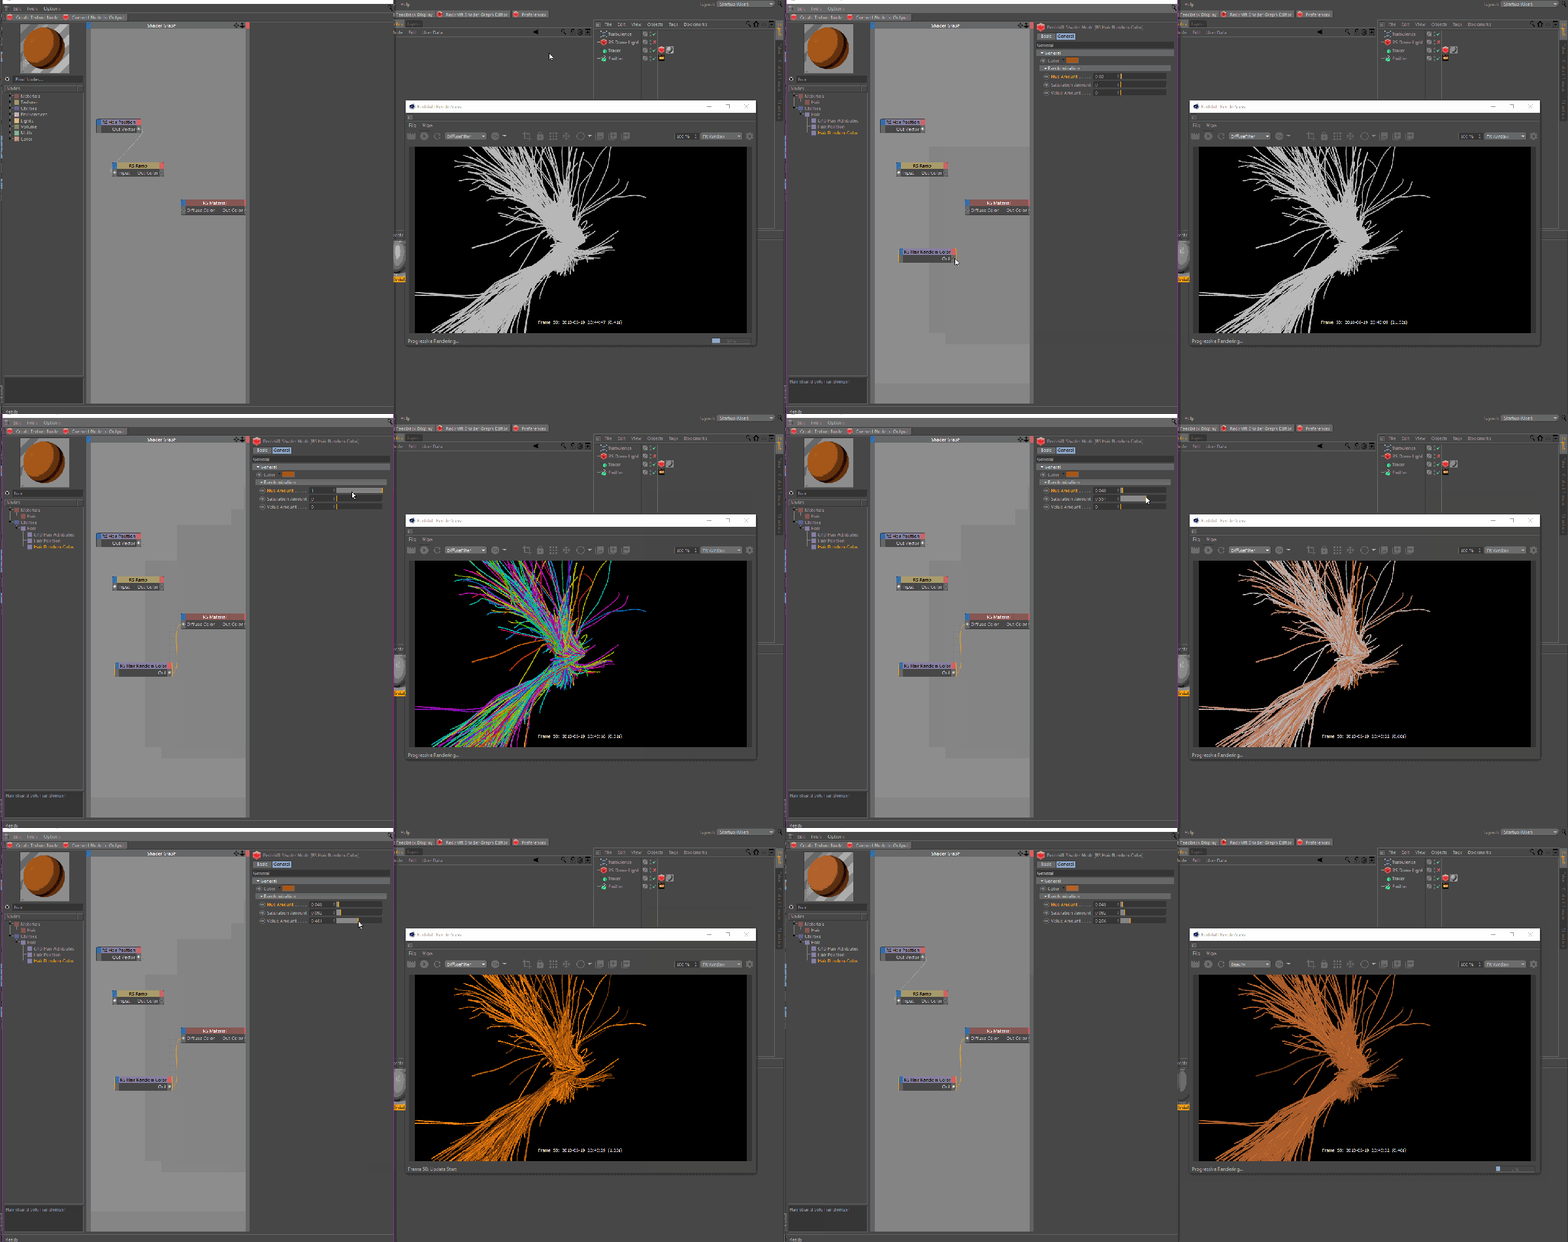
The Hair Random Color node is used for randomizing the color per hair strand. Its parameters are described down below.
头发随机颜色节点用于随机化每股头发的颜色。它的参数在下面描述。
Color
颜色
The Color parameter will be the overall shade of your strands.
Color 参数将是你头发的总体阴影。
Hue Amount
色相量
The Hue Amount will determine how strong each strand's Hue color will change with a value from 0-1. A value of 1 will effectively change every strand to a completely different color.
色相量将决定每个链的色相颜色的强度将改变一个值从0-1。一个1的值会有效地将每个链改变成一个完全不同的颜色。
Saturation Amount
饱和量
The Saturation Amount will determine the saturation value for each strand with a value from 0-1. A value of 1 will effectively desaturate some of your strands to the point they have no color and are white.
饱和度数量将决定每股的饱和值从0-1。值为1将有效地降低你头发中某些部分的饱和度,使它们变成没有颜色的白色。
Value Amount
价值金额
The Value Amount will determine the brightness & darkness value for each strand with a value from 0-1.
数值金额将决定每个链的亮度和黑暗值,值从0-1。
Hair Random Color
头发的随机颜色
Polygon Curve-specific Vertex Attributes
多边形曲线特定顶点属性
These are Curve Vertex Attributes that should be used in conjunction with the Curve modes; Boxes, Cylinders, Capsules, Cones, and Strips described here.
这些是曲线顶点属性,应该结合使用的曲线模式; 盒子,圆柱,胶囊,锥,和条描述这里。
RSCurvePosition
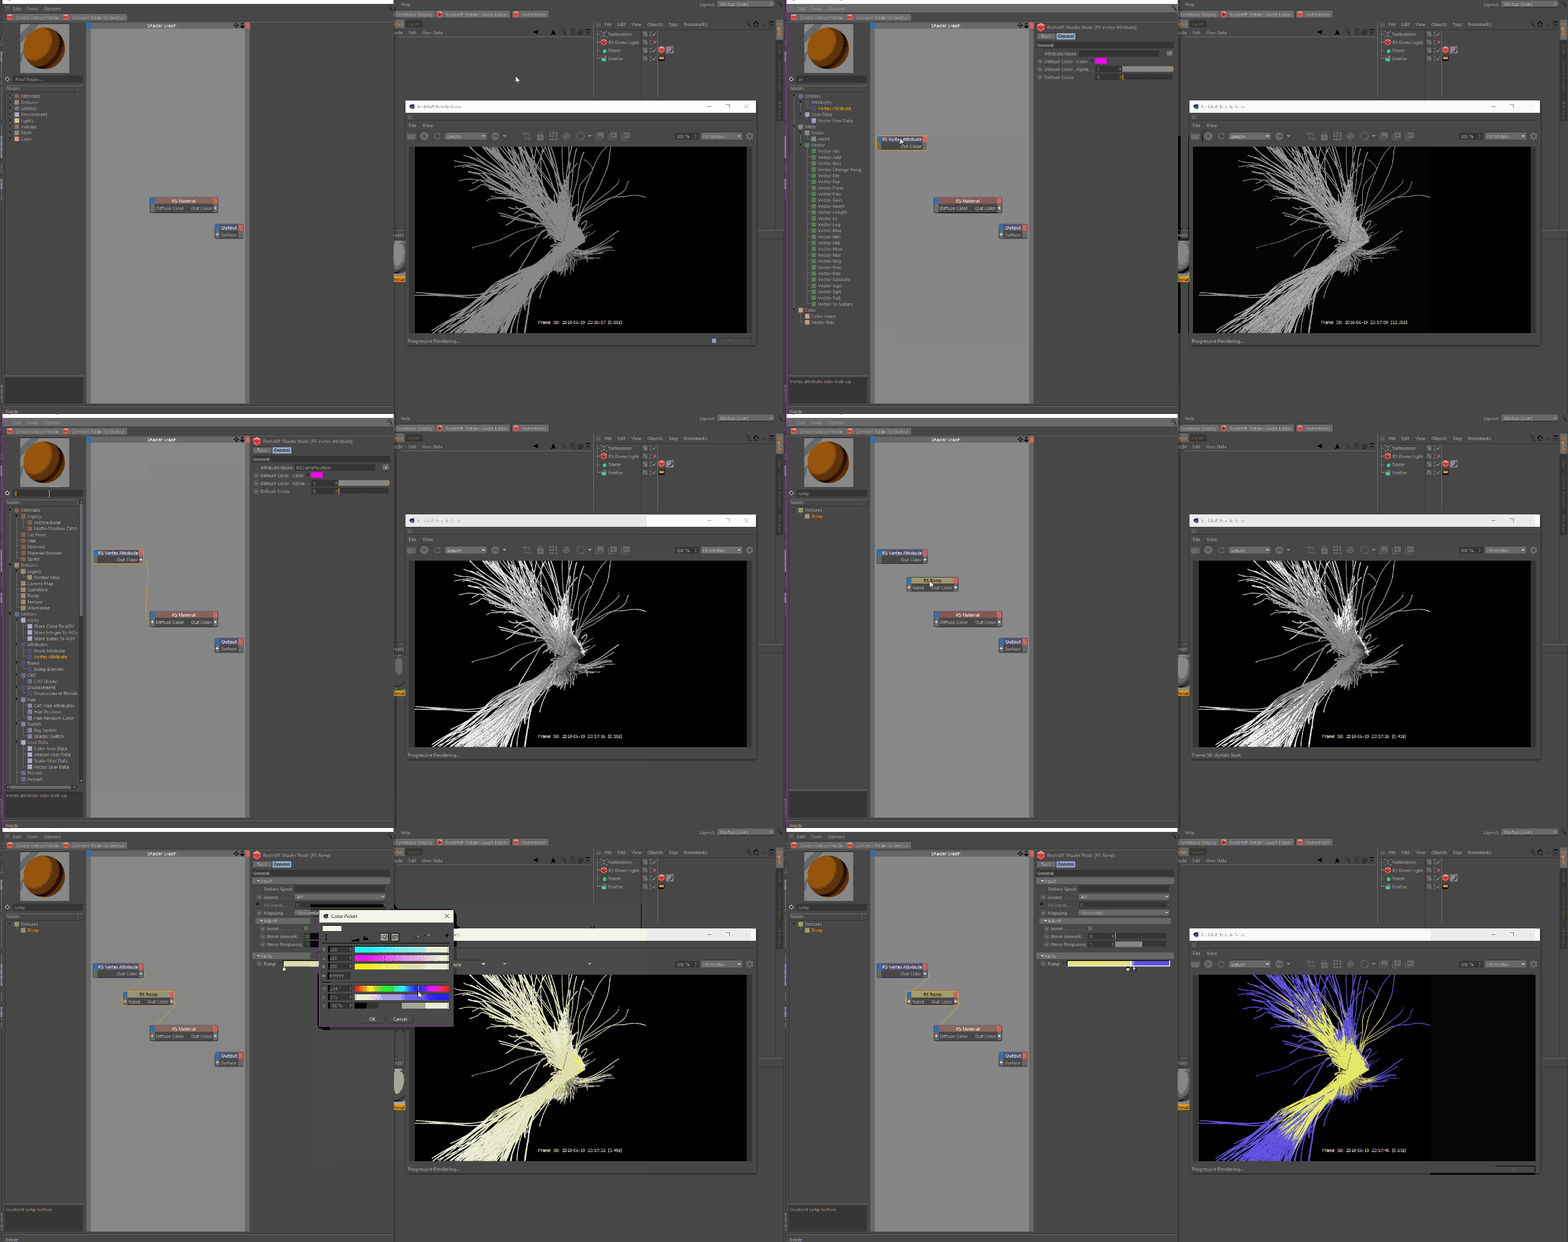
The RSCurvePosition attribute will create a 0 to 1 value for each point on along the curve. This can be connected to a Ramp node set to Alt Source mode, to remap the colors, much like the Hair Position node for Hair Strands.
RSCurvePosition 属性将为曲线上的每个点创建一个0到1的值。这可以连接到一个坡道节点设置为 Alt 源模式,以重新映射的颜色,很像头发丝的头发位置节点。
RSCurvePosition
RSCurveIDNorm
The RSCurveIDNorm attribute will create a 0 to 1 grayscale value for each strand. This can be connected to a Ramp node set to Alt Source mode to remap the colors.
RSCurveIDNorm 属性将为每个链创建一个0到1的灰度值。这可以连接到 Ramp 节点设置为 Alt Source 模式来重新映射颜色。
RSCurveIDNorm
RSCurveIDColor
The RSCurveIDColor attribute will create a random color value for each strand. This can be connected to a Ramp node set to Alt Source mode to remap the colors.
RSCurveIDColor 属性将为每个链创建一个随机颜色值。这可以连接到 Ramp 节点设置为 Alt Source 模式来重新映射颜色。
RSCurveIDColor
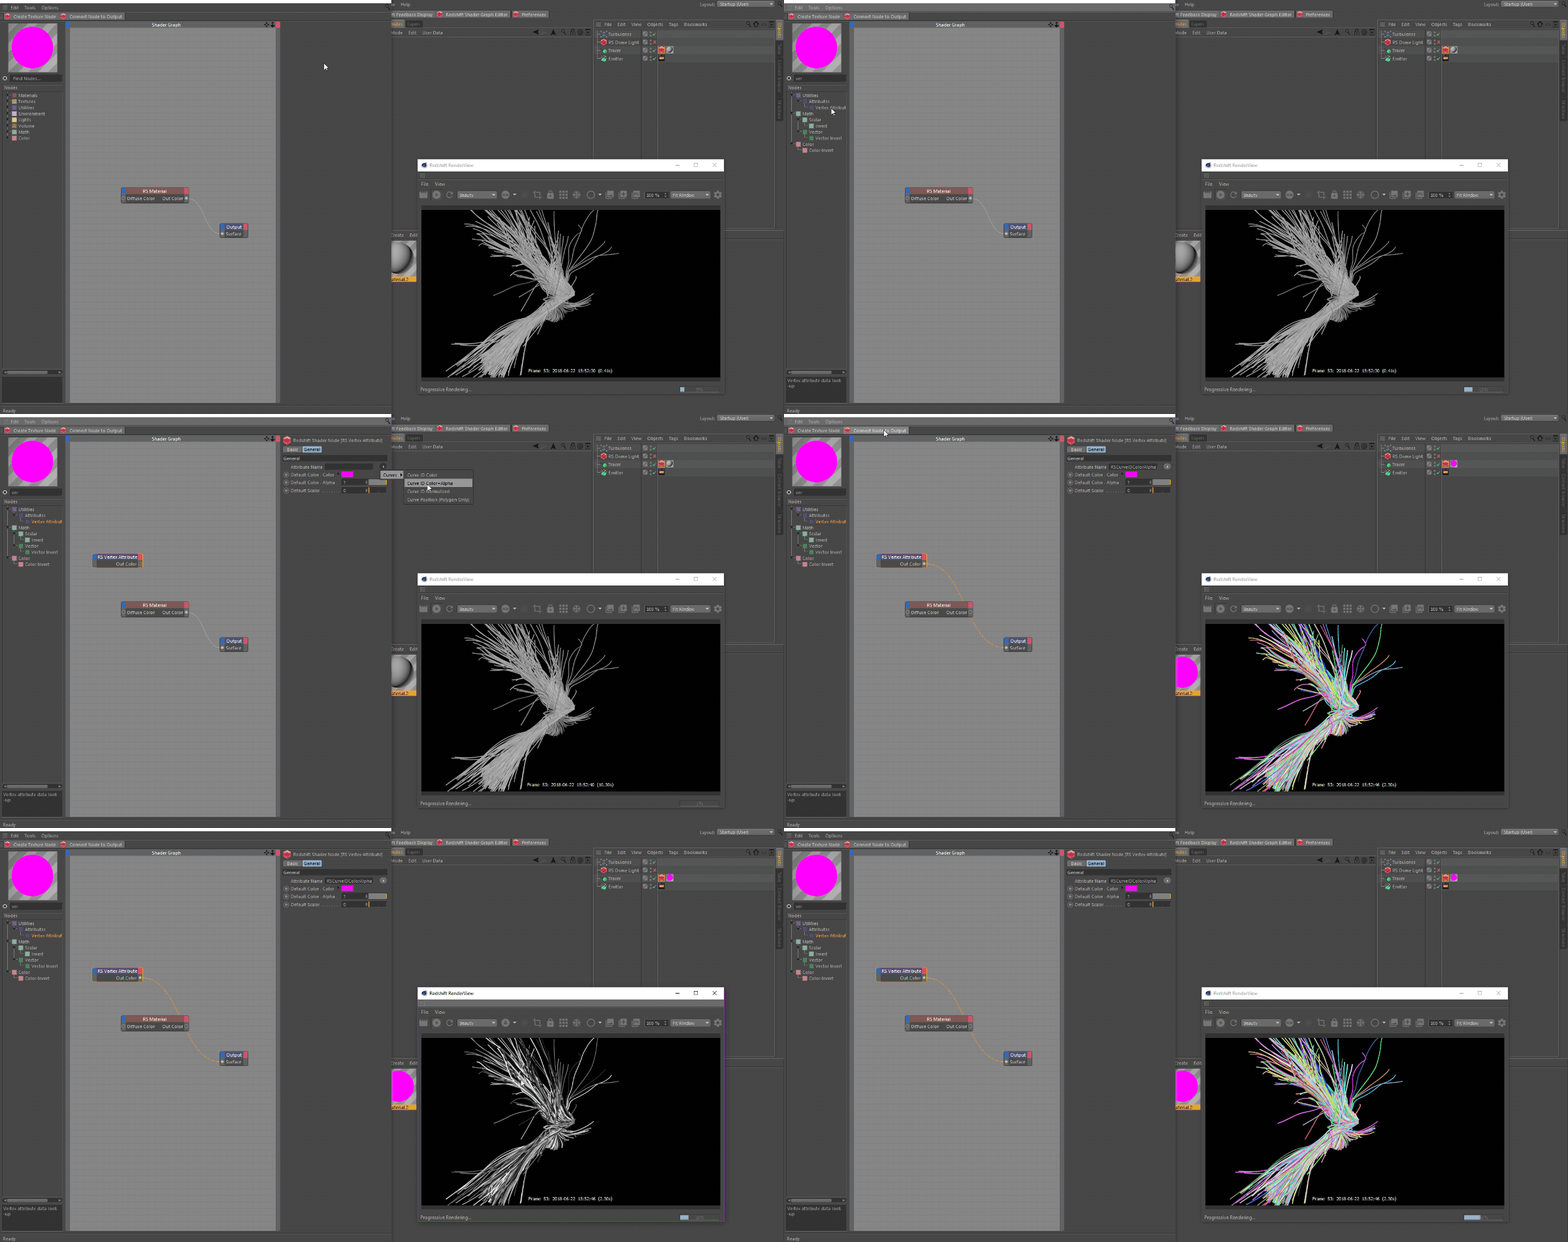
RSCurveIDColorAlpha
图片来源: RSCurveIDColorAlpha
The RSCurveIDColorAlpha attribute will create a random color value for each strand, as well as a random value for each strand in the Alpha Channel.
RSCurveIDColorAlpha 属性将为每个链创建一个随机颜色值,并为 Alpha 通道中的每个链创建一个随机值。
RSCurveIDColorAlpha
图片来源: RSCurveIDColorAlpha
Motion Blur
动态模糊
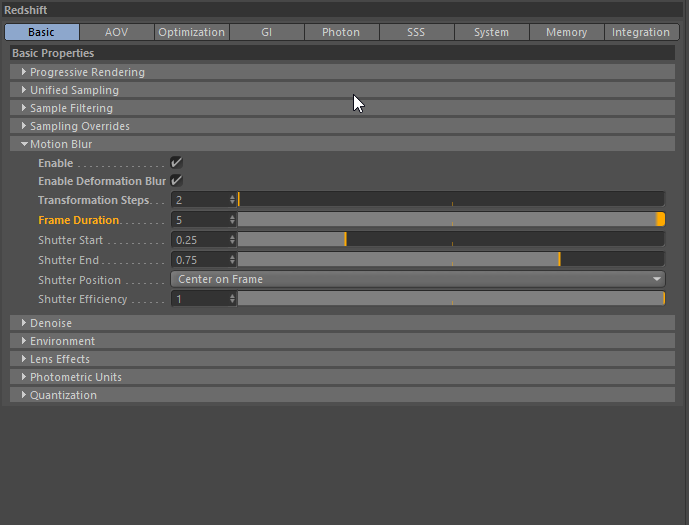
You can enable Motion Blur on our curves by going to the motion blur settings and checking the box. We are also going to enable deformation blur. You can view the specific motion blur section here.
您可以启用运动模糊我们的曲线进入运动模糊设置和勾选框。我们也要使变形模糊。你可以在这里查看特定的动态模糊部分。
Motion Blur Settings
动态模糊设置
If you are having trouble rendering Deformation Blur with your Curves, you can enable Resample Curve in the Redshift Object tag's Curve tab. More information here.
如果你的曲线渲染变形模糊有困难,你可以在红移对象标签的曲线标签中启用重采样曲线。按此处可获得更多资料。
|
|
|
|
| No motion Blur 没有动态模糊 | Motion Blur enabled Frame Duration:5 支持动态模糊的帧持续时间: 5 | Motion Blur enabled Frame Duration:20 支持动态模糊的帧持续时间: 20 |
Examples: Tracer
例子: Tracer
Let's see how to render and shade Tracer curves.
让我们看看如何渲染和阴影曳光曲线。
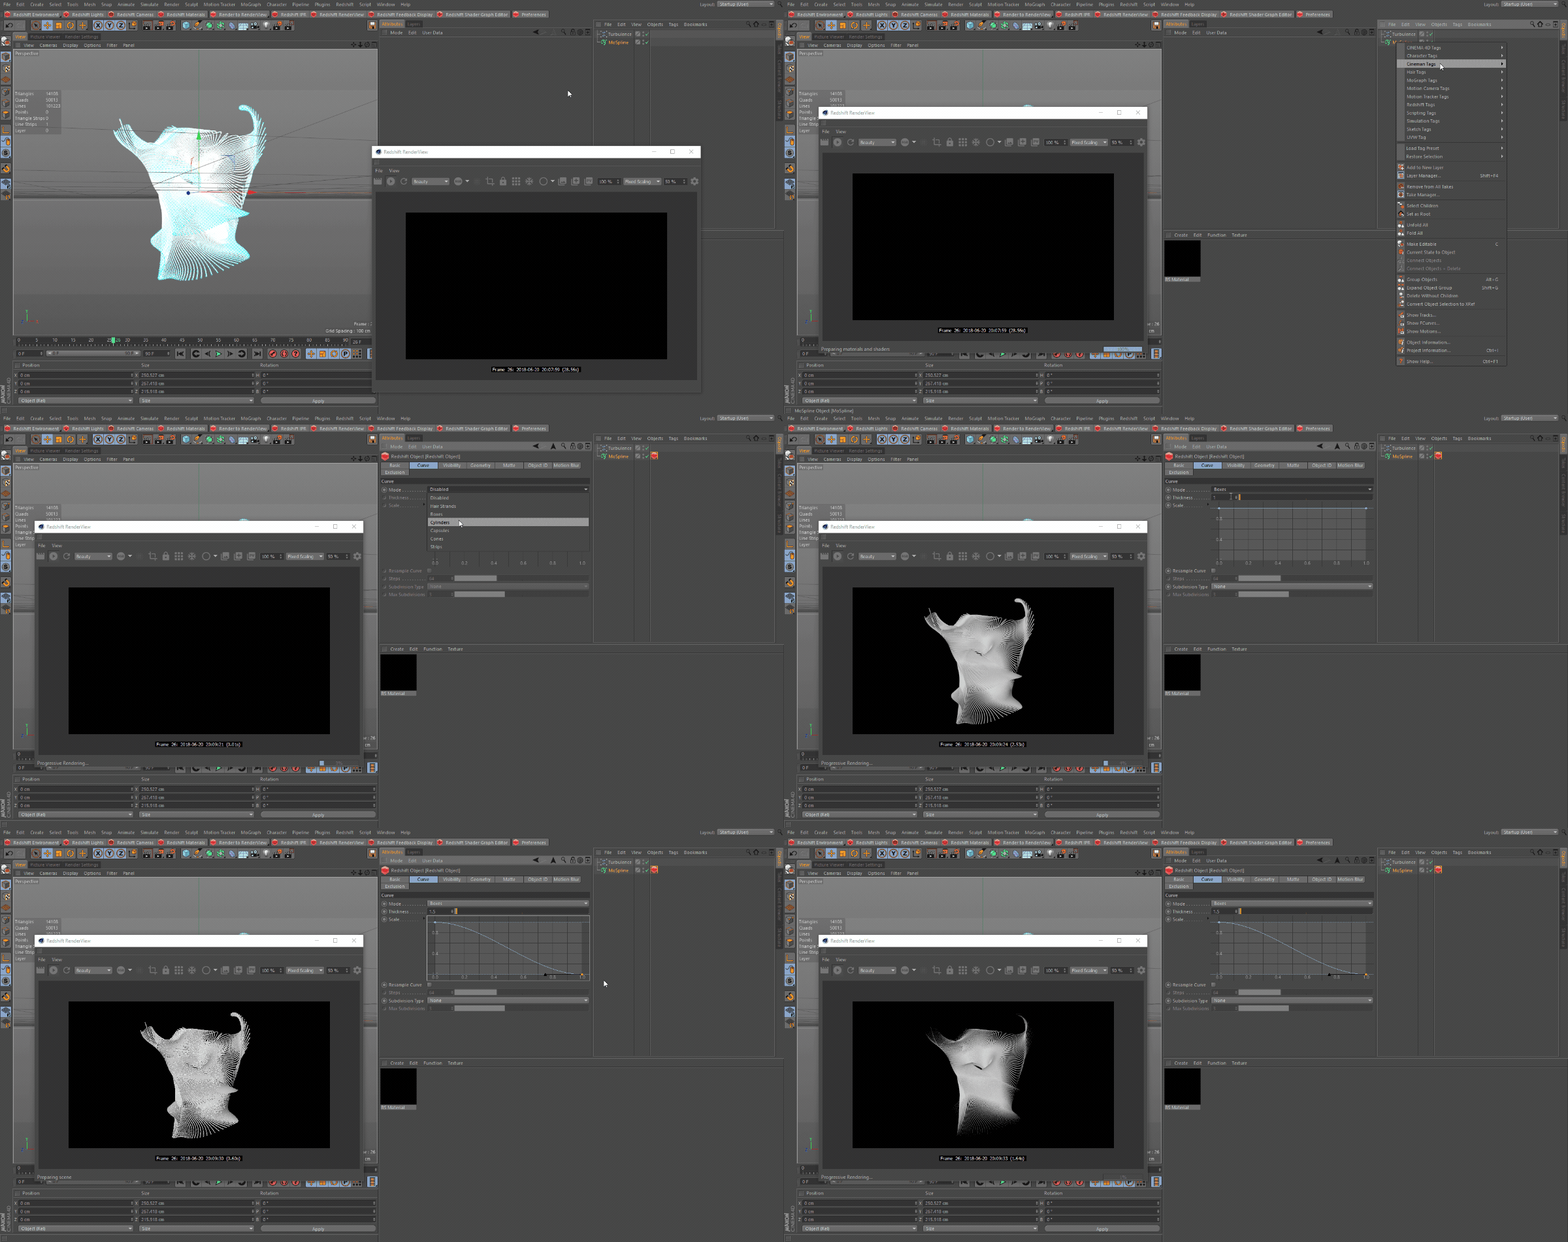
First we need to add a Redshift Object tag and adjust the Curve Mode to Hair Strands. Then we adjust the scale and thickness parameter.
首先,我们需要添加一个红移对象标签和调整曲线模式的头发。然后调整刻度和厚度参数。
Redshfit Object Tag
对象标签
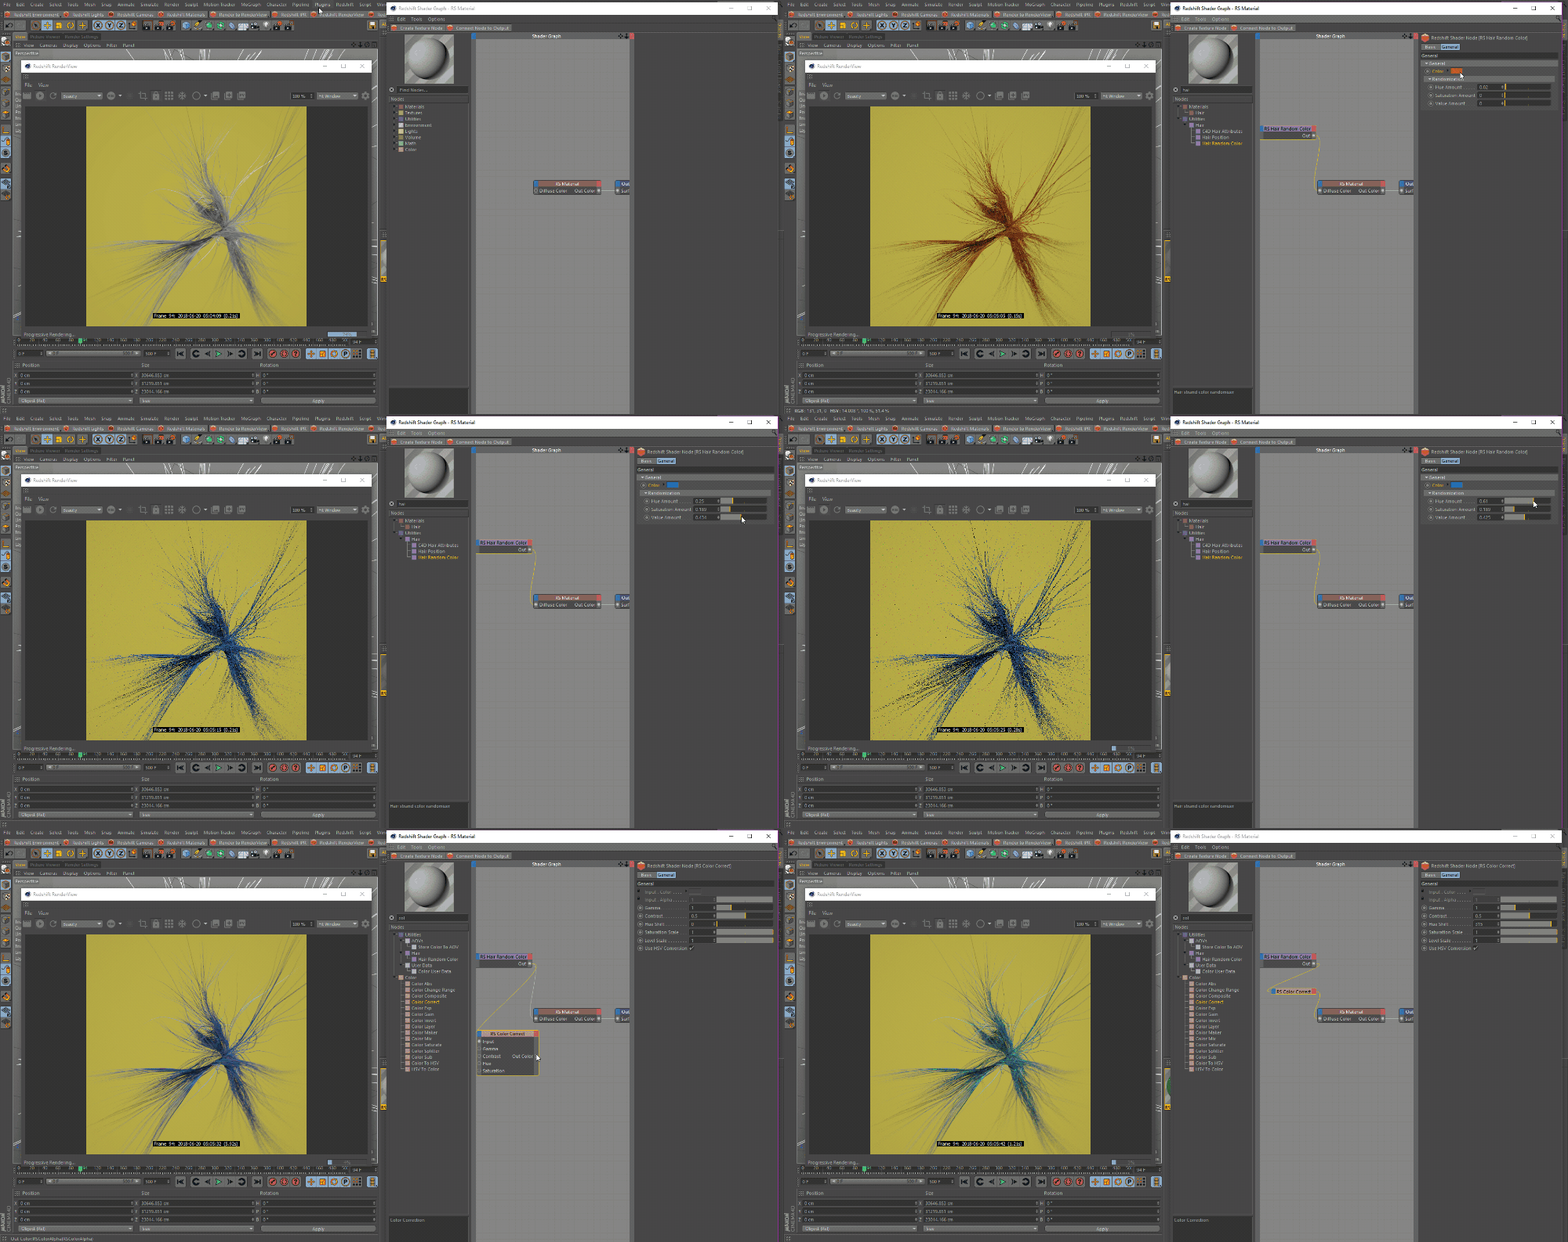
Next we are going to shade our Hair Strands. First we are going to use a Hair Random Color node and adjust the parameters to vary the color per strand. Also we will add a Color Correct node to change our hue with ease.
接下来我们要给我们的头发染色。首先,我们要使用头发随机颜色节点和调整参数,以改变每股的颜色。此外,我们将添加一个颜色正确的节点,以改变我们的色调轻松。
Shading Hair Strands
遮盖发丝
If you need more information on particle-based splines such as tracers and xpTrails check here.
如果您需要更多关于基于粒子的样条函数的信息,比如示踪器和 xpTrails,请点击这里。
Examples: MoSpline
例子: MoSpline
Let's see how to render and shade MoSpline curves.
让我们看看如何渲染和阴影 MoSpline 曲线。
To start off we need to add a Redshift Object tag and adjust the Curve Mode to Boxes. Then we adjust the scale and thickness parameter.
首先,我们需要添加一个红移对象标签,并调整曲线模式为盒子。然后调整刻度和厚度参数。
Redshift Object Tag
红移对象标记
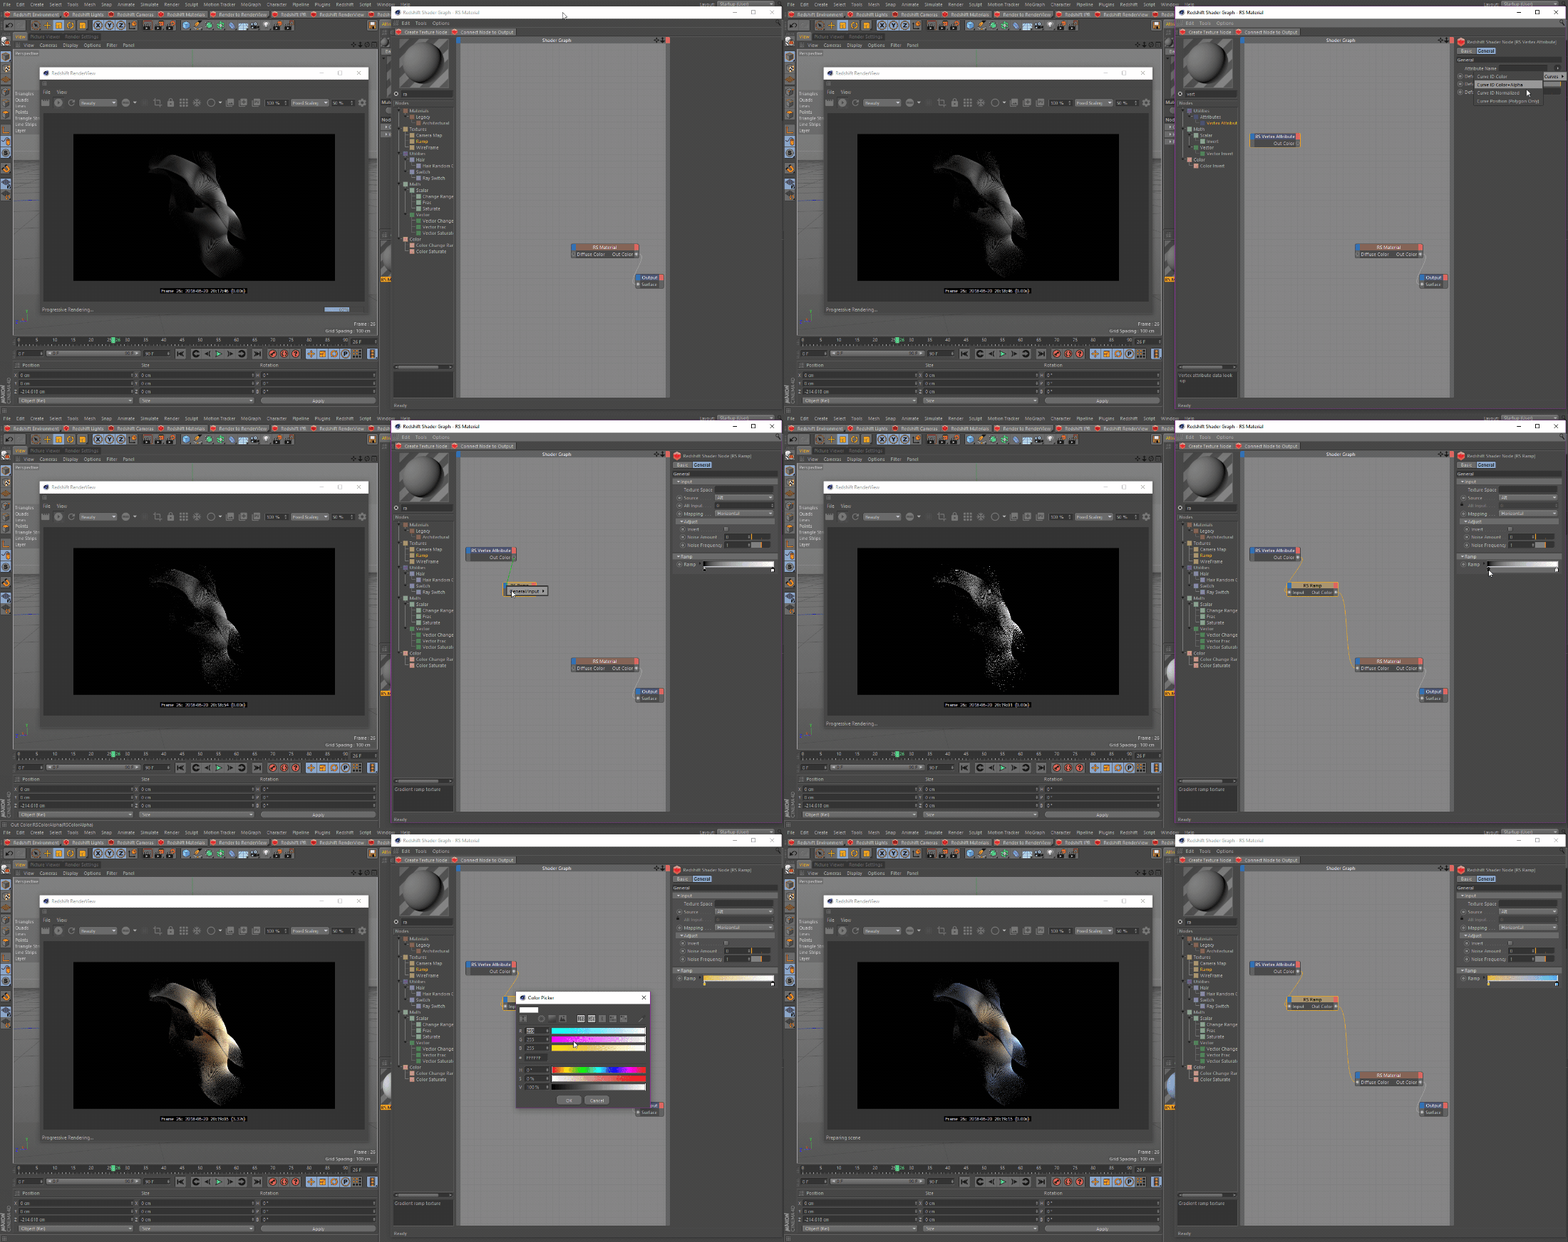
Next we are going to shade our MoSpline setup, first we are going to bring in a Vertex Attribute and use the RSCurvePosition, described here. Then we will remap this with a Ramp node.
下一步我们要阴影我们的 MoSpline 设置,首先我们要带来顶点属性和使用 RSCurvePosition,这里描述。然后我们将用 Ramp 节点重新映射这个。
Vertex Attribute Remapped
顶点属性重新绘制
Examples: Simple Splines
例如: 简单样条
Lets look at how to render and shade Basic splines.
让我们看看如何渲染和阴影基本样条。
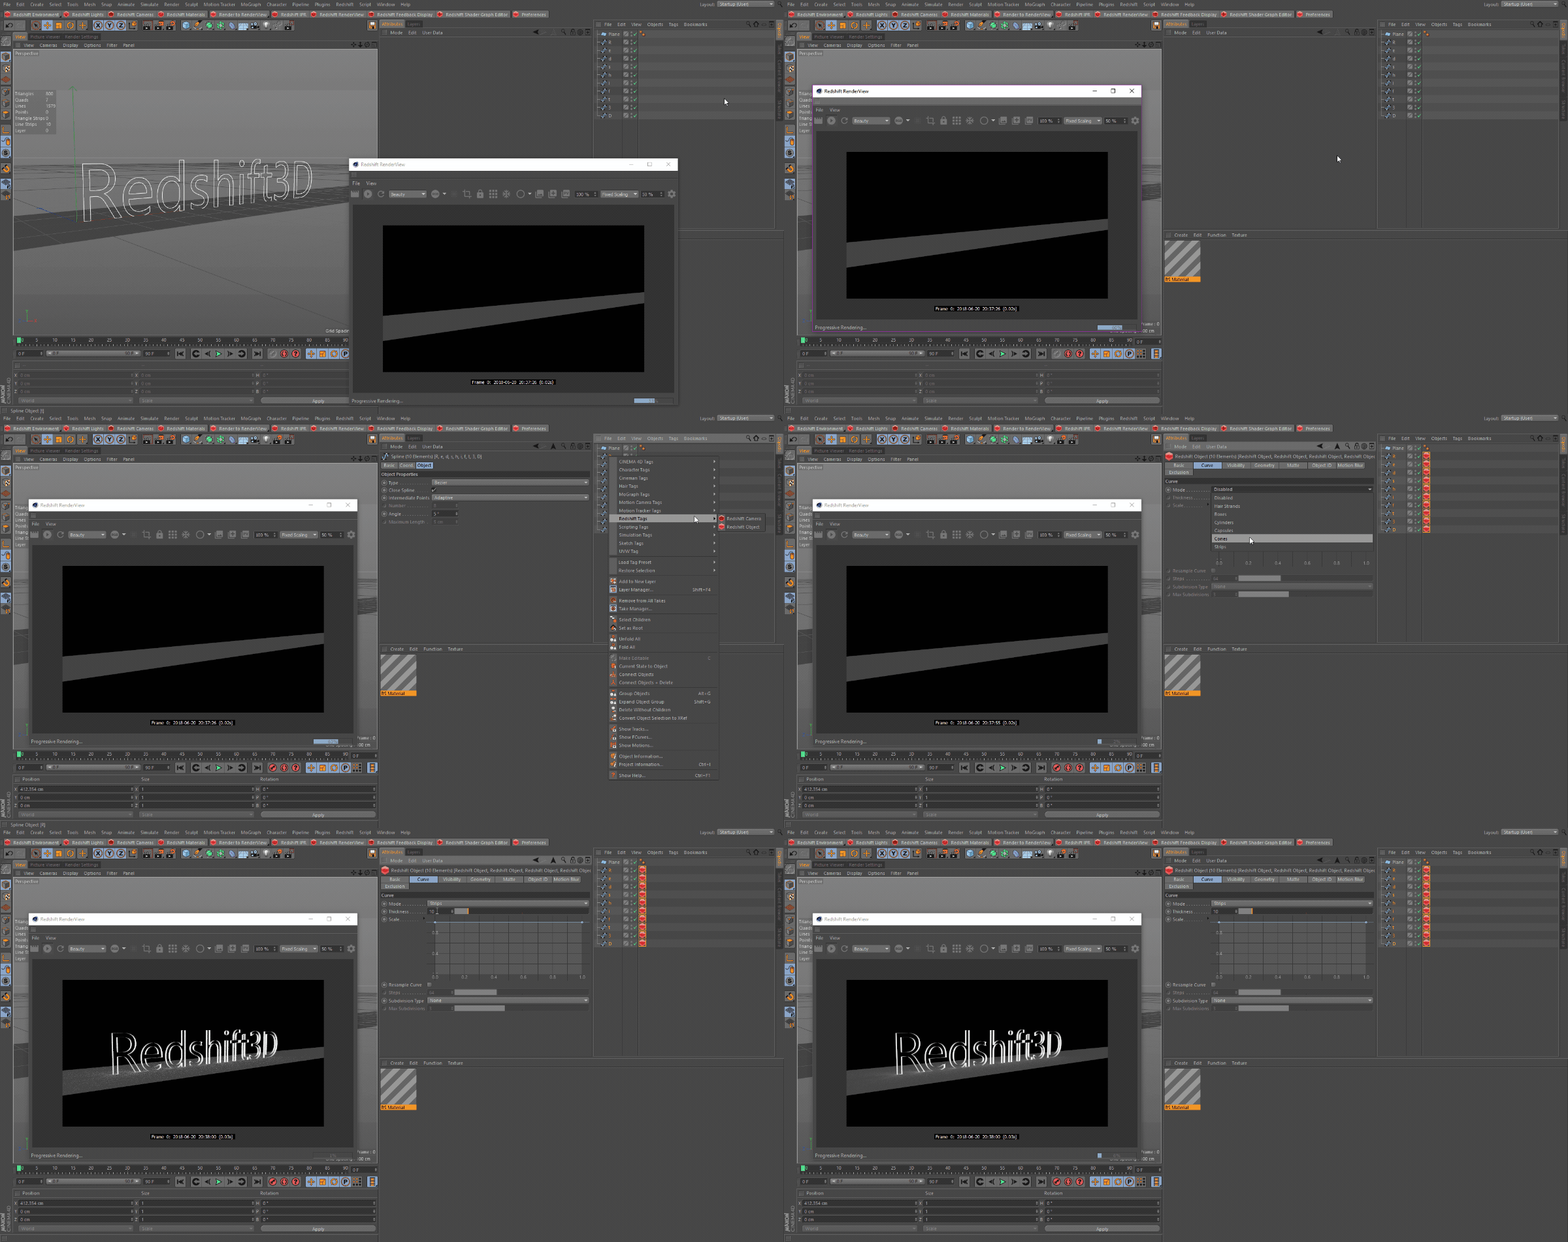
First we need to add a Redshift Object tag to all of our letter splines and set the Curve Mode to Strips.
首先,我们需要添加一个红移对象标签,以我们所有的字母样条和设置曲线模式为条带。
Redshift Object Tag
红移对象标记
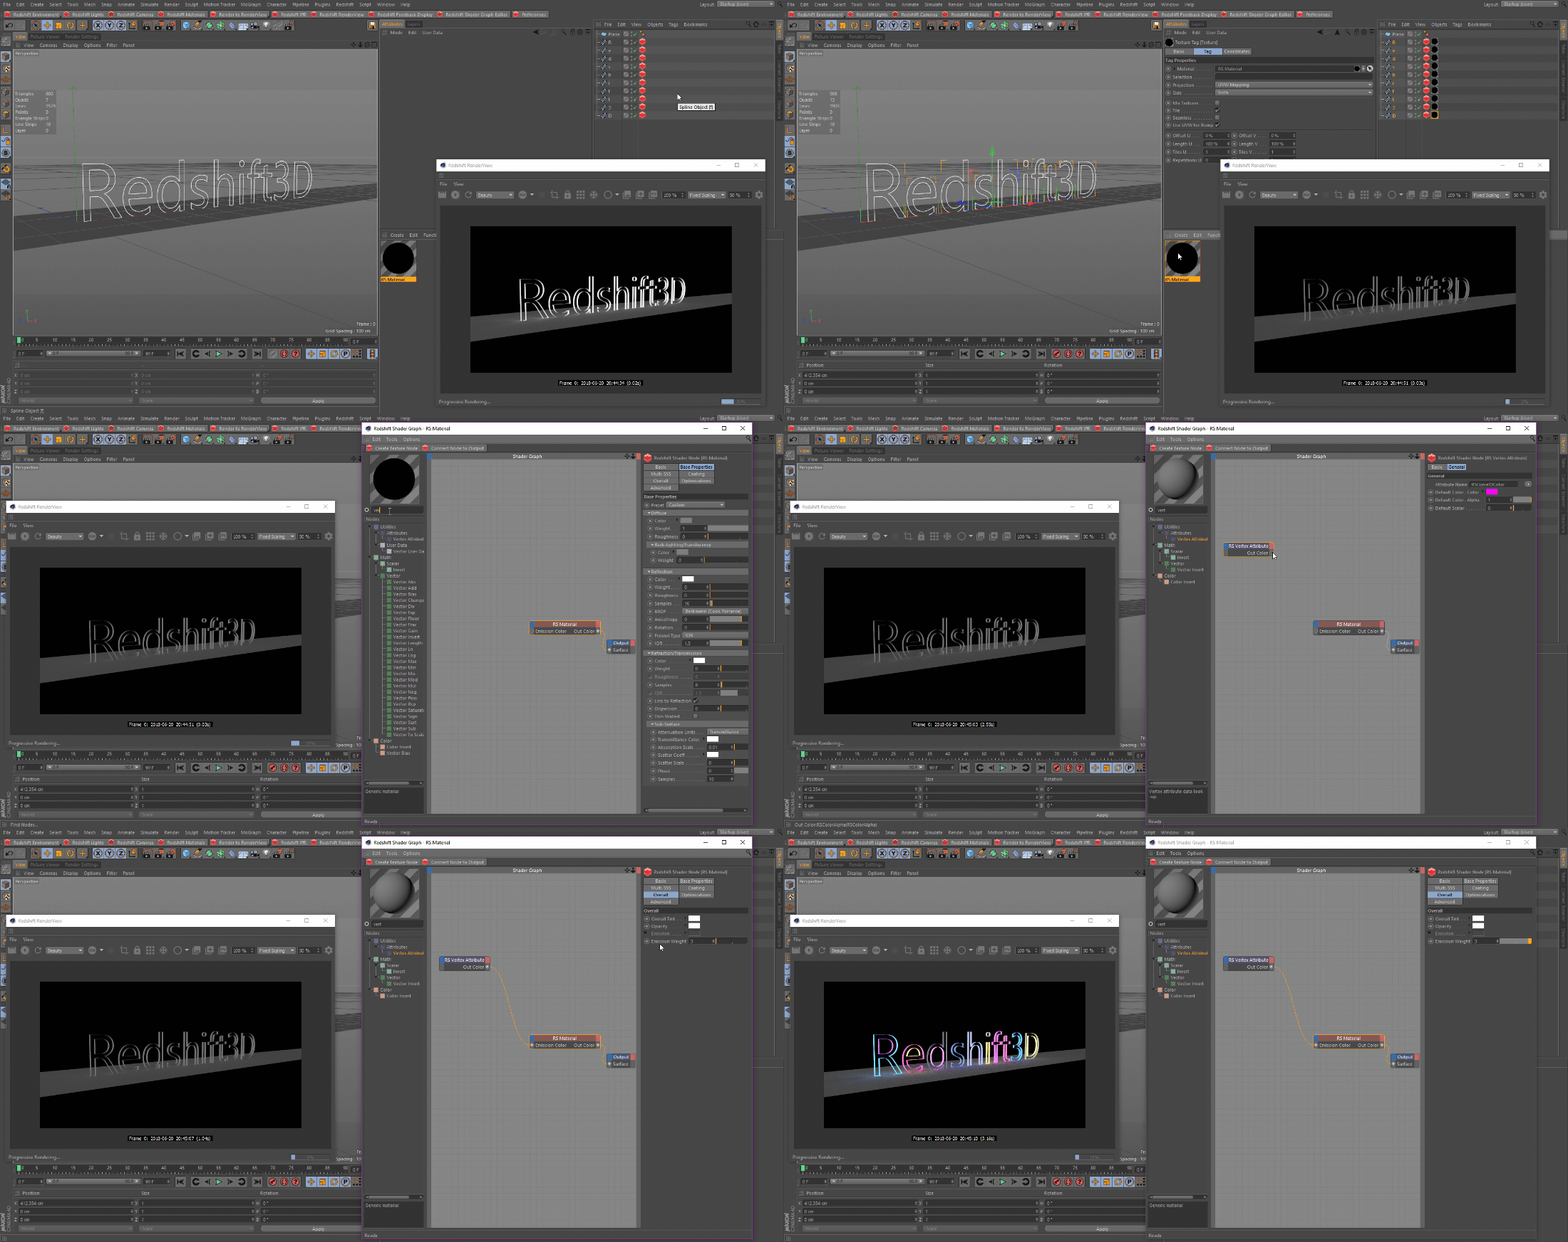
Next we are going to use a Vertex Attribute and set it to RSCurveIDColor described here. Then connect it to the emission parameter of our RS Material.
接下来我们将使用一个 Vertex 属性并将其设置为 RSCurveIDColor。然后把它连接到我们的 RS 材料的发射参数。
Shade Simple Splines
阴影简单样条
Examples: Microfibers
例如: 超细纤维
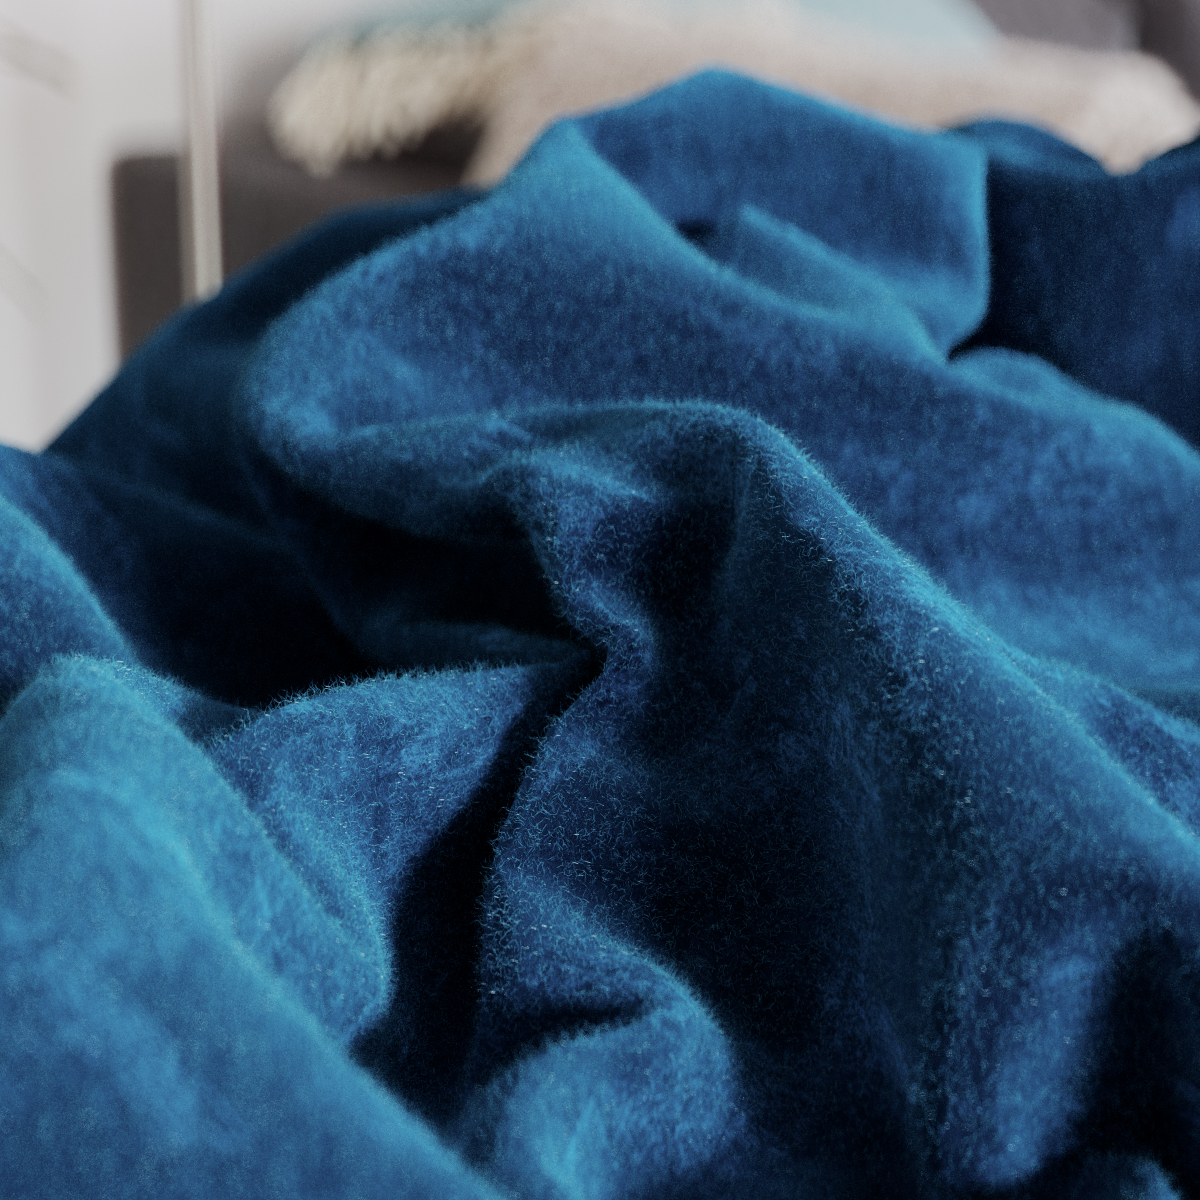
We can scatter splines on our blanket object and render them as curves to give the appearance of actual hairs on our blanket.
我们可以散布在我们的毯子对象和渲染他们的曲线,给出实际的毛发在我们的毯子外观。
Suede Blanket
绒面革毛毯
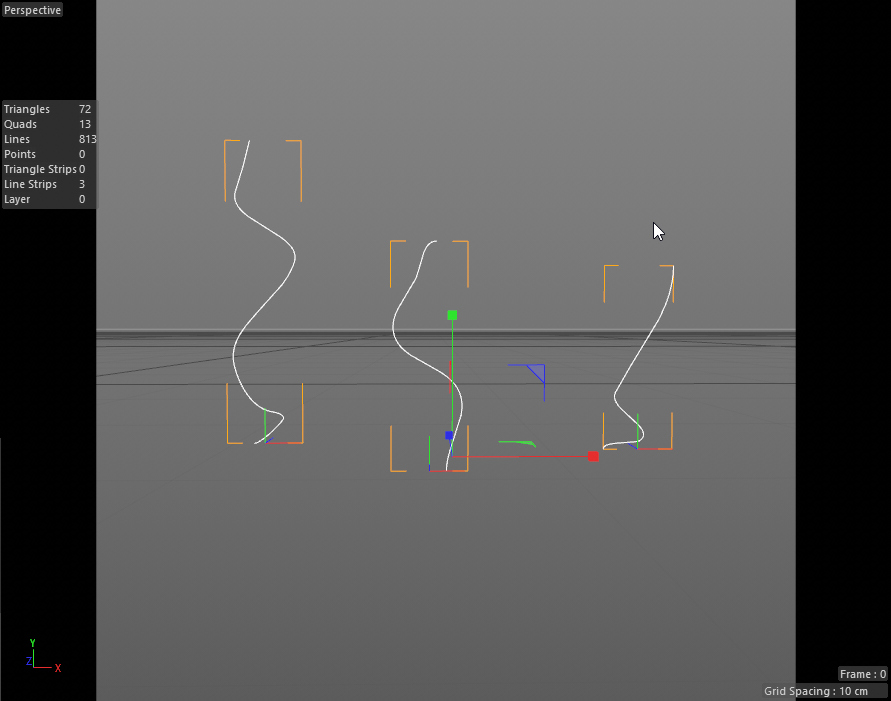
First we are going to create our splines that will be scattered on the blanket, these will resemble our hairs.
首先,我们要创建我们的样条,这些样条会散落在毯子上,这些样条和我们的头发相似。
Simple Splines
简单样条
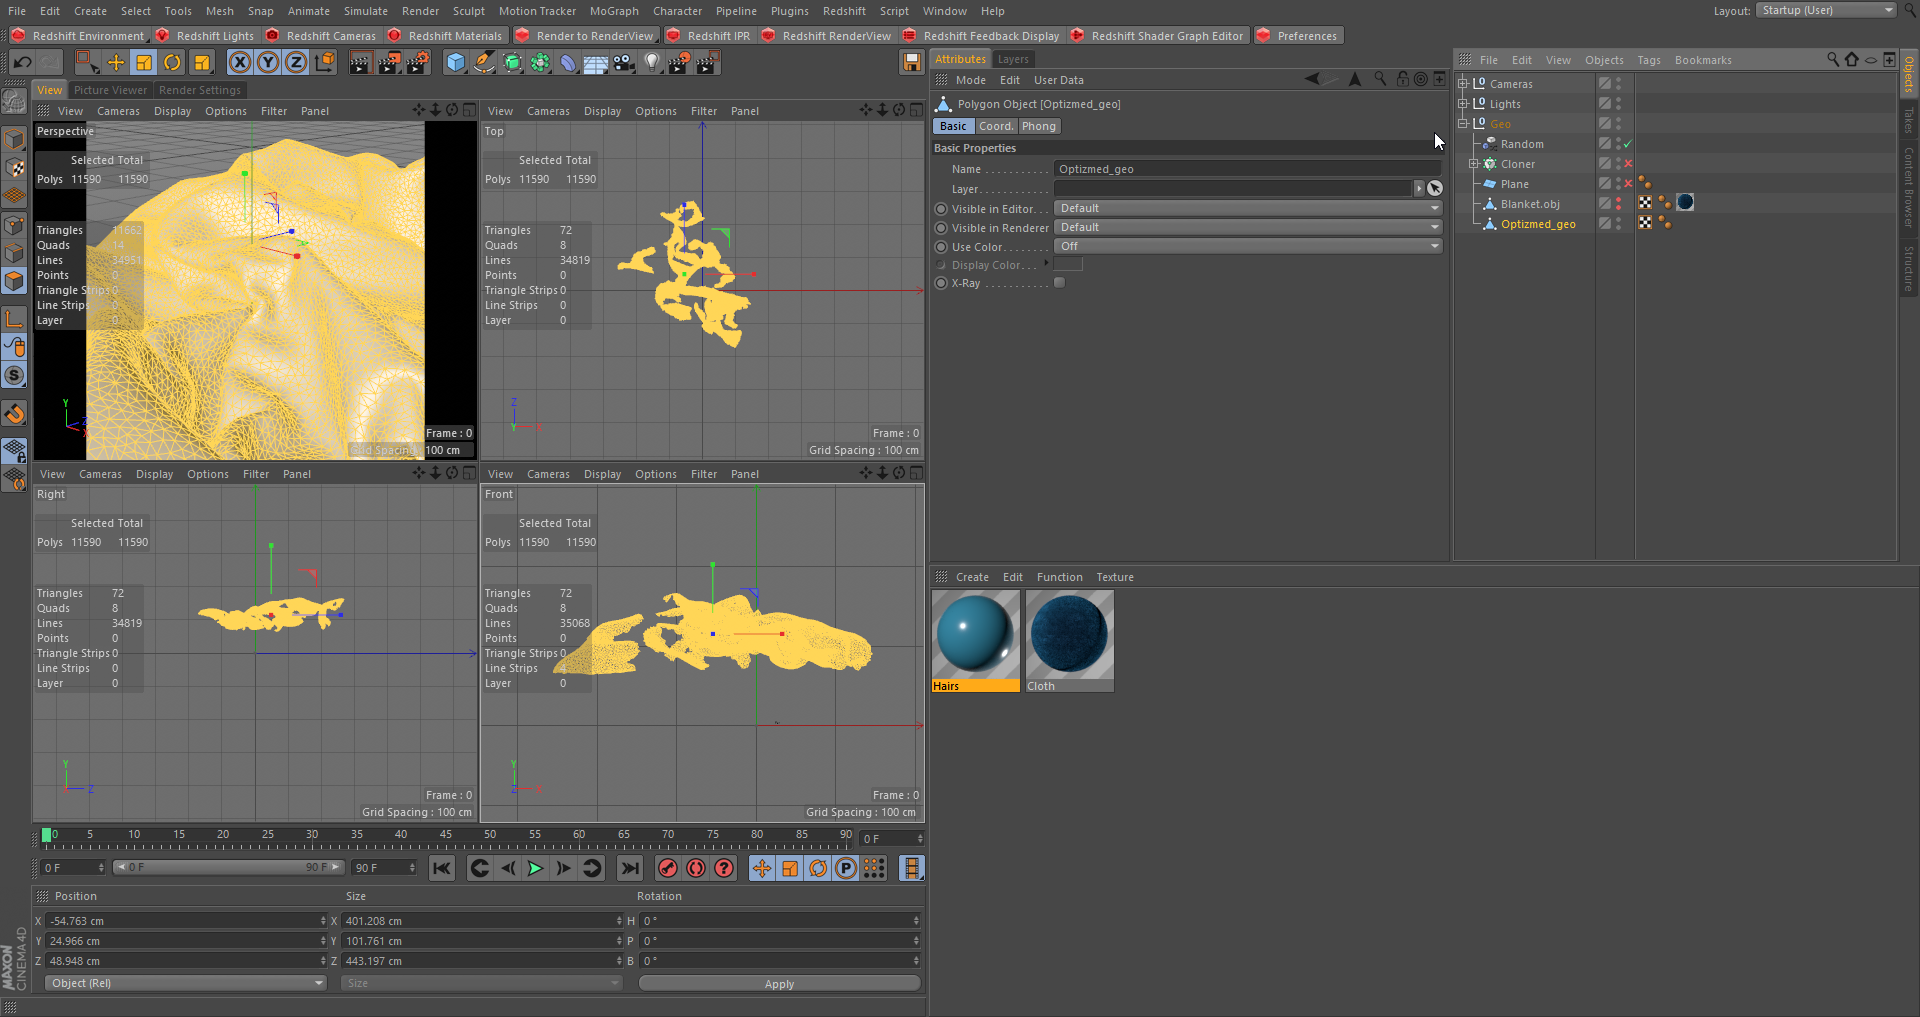
Next we are going to optimize our scene bit, im duplicating my geometry and only scattering on the parts that are seen by the camera as shown below.
接下来我们要优化我们的场景位,即复制我的几何体和只散射的部分,是由相机看到如下所示。
Optimized Geo
优化的地理
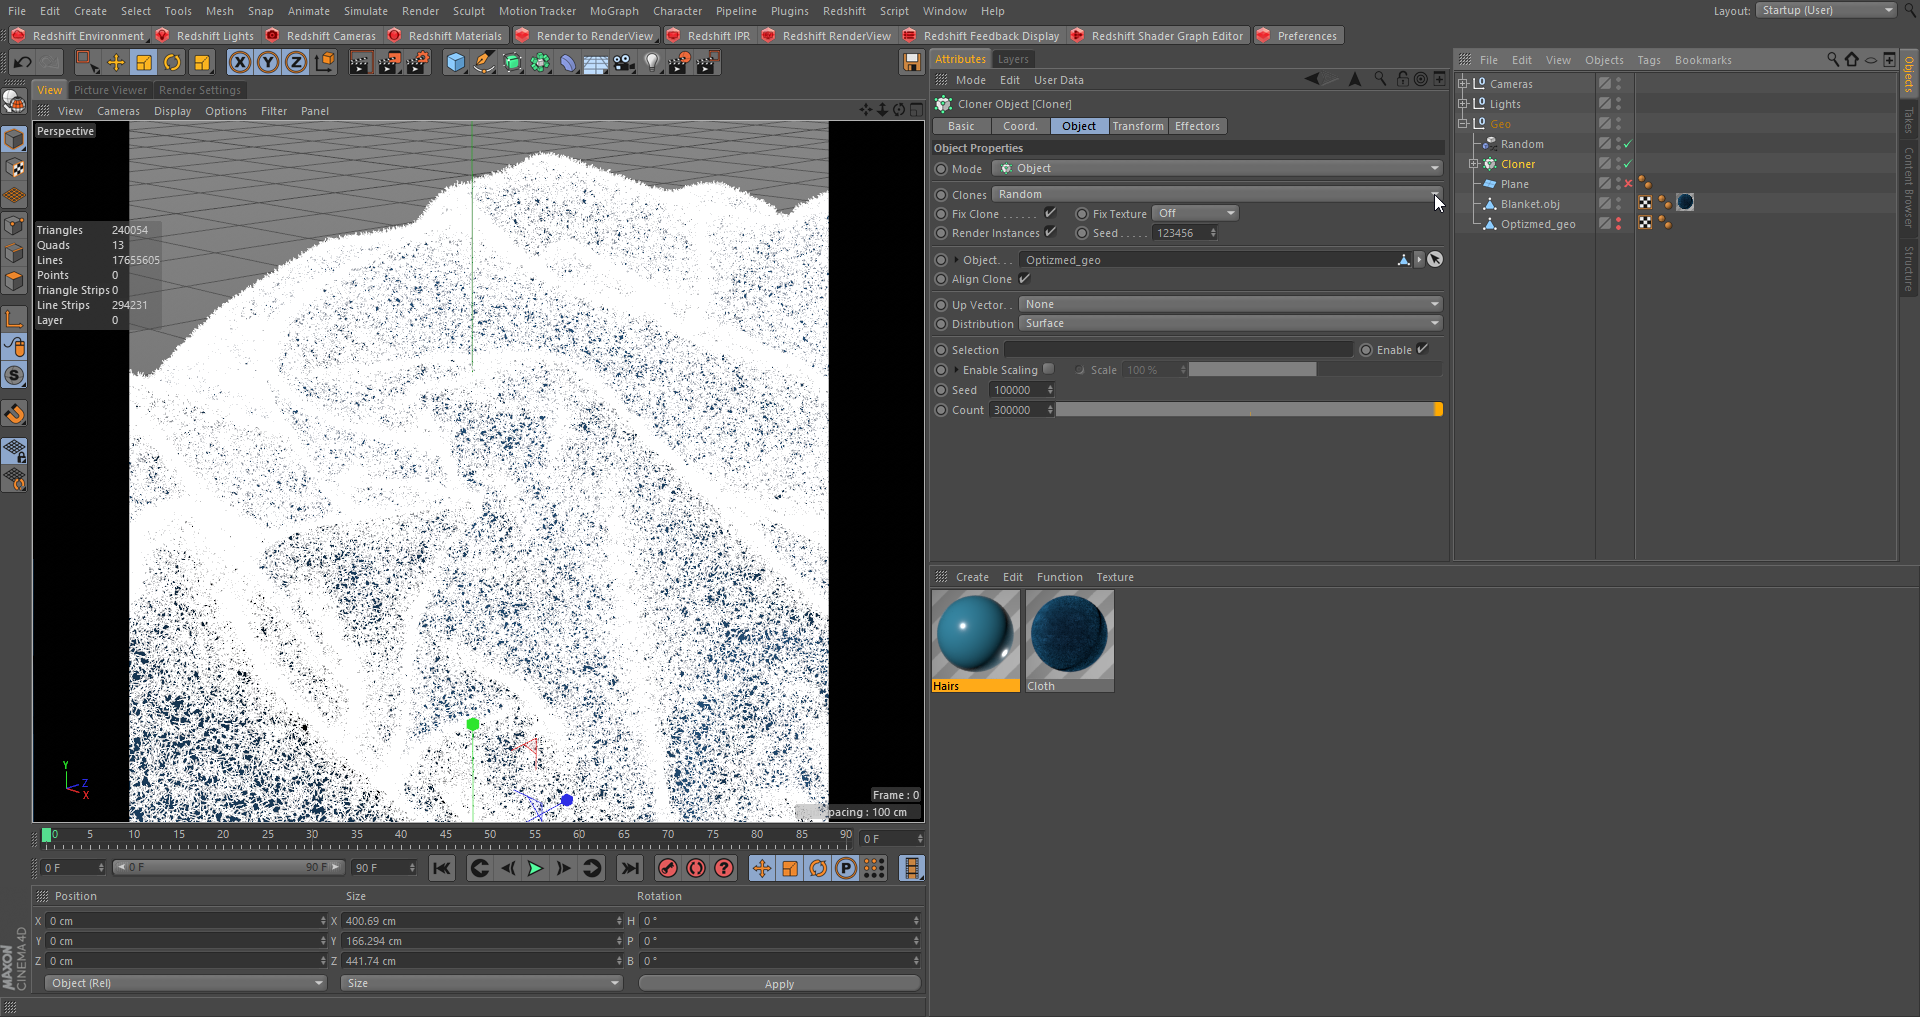
Now we will scatter our splines over the new Optimized_Geo with a cloner object and use a random effector to randomize the direction our hairs are pointing.
现在我们将用一个克隆器对象在新的 Optimized _ geo 上分散我们的样条,并使用一个随机效应器来随机化我们的头发指向的方向。
Scattered Splines
散乱的样条
Try lowering the cloner count if you have low amount of RAM available.
如果可用的 RAM 数量较少,请尝试降低克隆计数。
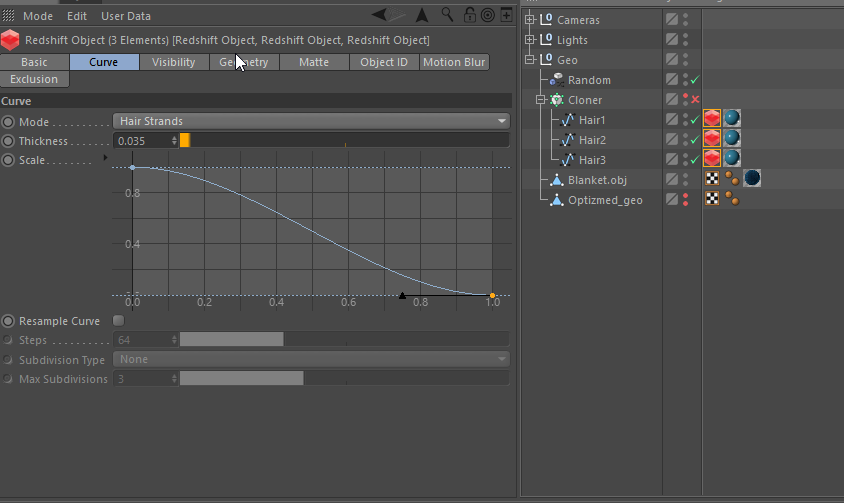
Now let's add a basic blue material to our splines and add a Redshift Object Tag and set it to Hair Strands. Because these hairs are relatively small and far away from the camera the Hair Strand mode will work perfectly.
现在,让我们添加一个基本的蓝色材料到我们的样条,并添加一个红移对象标签,并设置为发丝。因为这些毛发相对较小,而且离摄像机很远,所以头发束模式会非常完美。
Redshfit Object Tag
对象标签
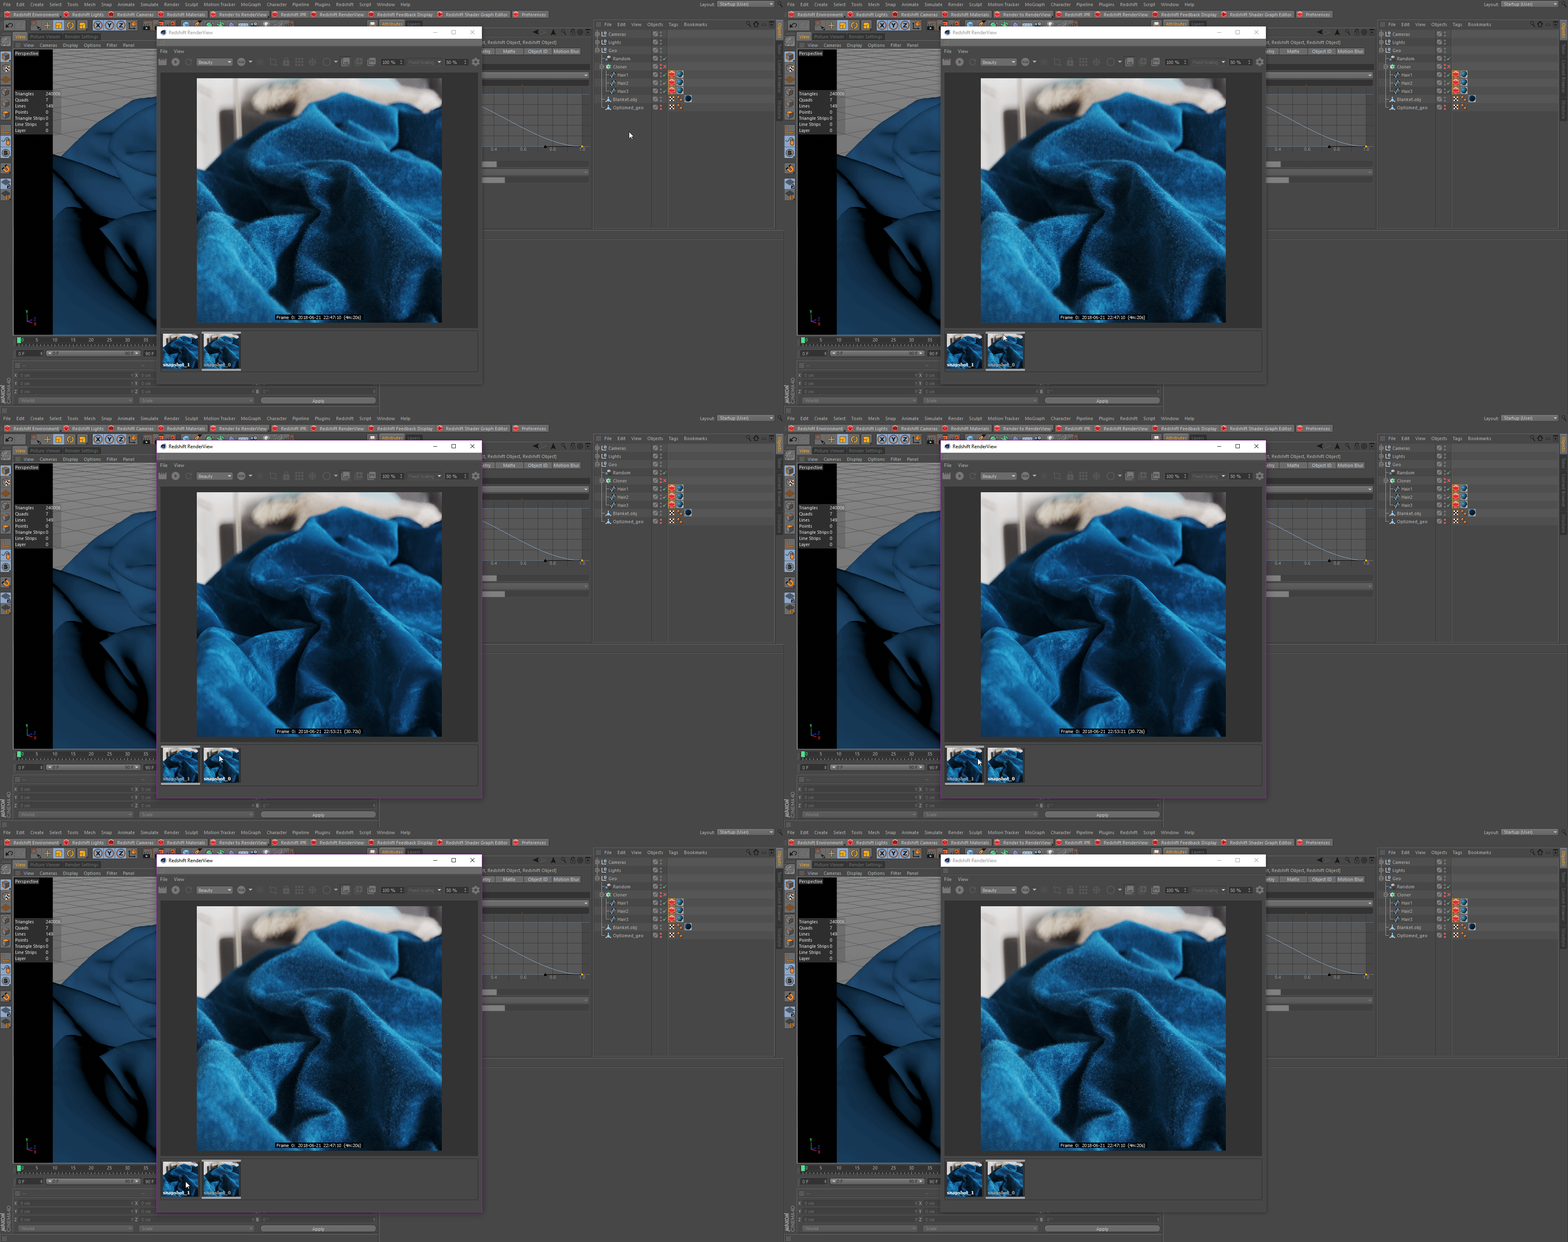
We can now render our setup and see we are getting that hair effect on our blanket and compare it with and without the effect.
我们现在可以渲染我们的设置,看到我们得到的毛发效果,我们的毯子和比较它与没有的效果。
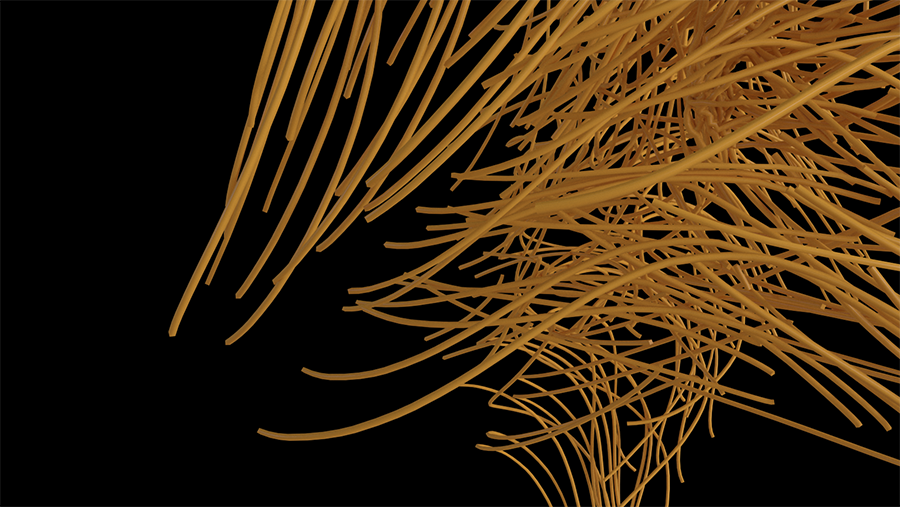
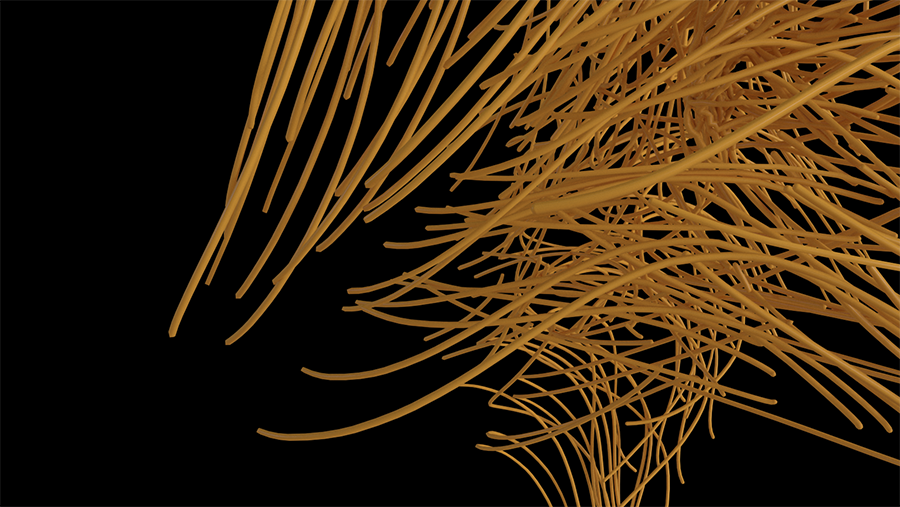
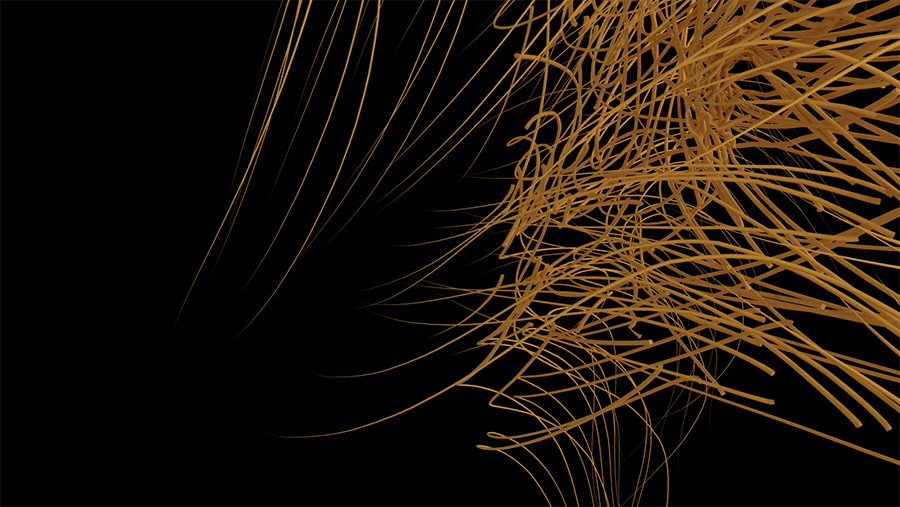
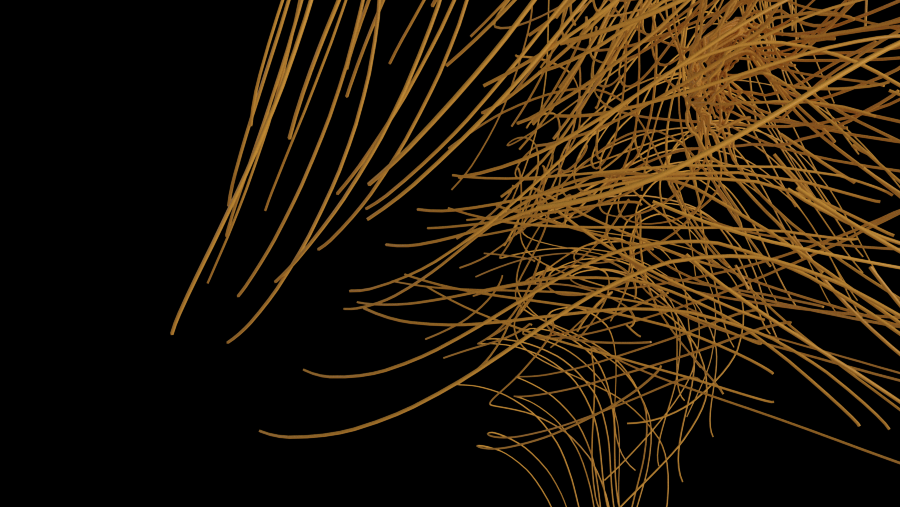
Add details with RS Curves
用 RS 曲线添加细节


赶快留个言打破零评论!~