ADD texture
添加纹理
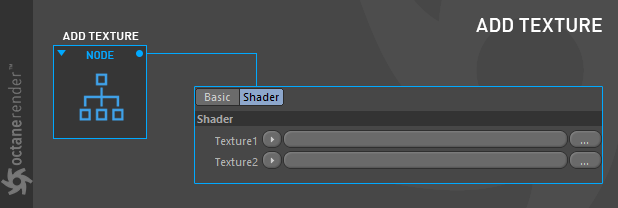
``添加纹理''节点将两个纹理添加在一起。 该计算类似于Photoshop中用于添加两个图层的颜色值的“添加图层”模式。
how to use
如何使用
打开节点编辑器并准备设置,如下图所示。 在此设置中,克隆多维数据集的“随机颜色”节点连接到“添加纹理”插槽1。“渐变”节点连接到纹理2插槽,以着色克隆多维数据集。 “添加纹理”连接到主要材质的漫反射通道。 如您在图片中看到的,区别非常明显。 在纹理创建中,许多情况下将使用“添加”节点。


ADD texture
``添加纹理''节点将两个纹理添加在一起。 该计算类似于Photoshop中用于添加两个图层的颜色值的“添加图层”模式。
how to use
打开节点编辑器并准备设置,如下图所示。 在此设置中,克隆多维数据集的“随机颜色”节点连接到“添加纹理”插槽1。“渐变”节点连接到纹理2插槽,以着色克隆多维数据集。 “添加纹理”连接到主要材质的漫反射通道。 如您在图片中看到的,区别非常明显。 在纹理创建中,许多情况下将使用“添加”节点。
赶快留个言打破零评论!~